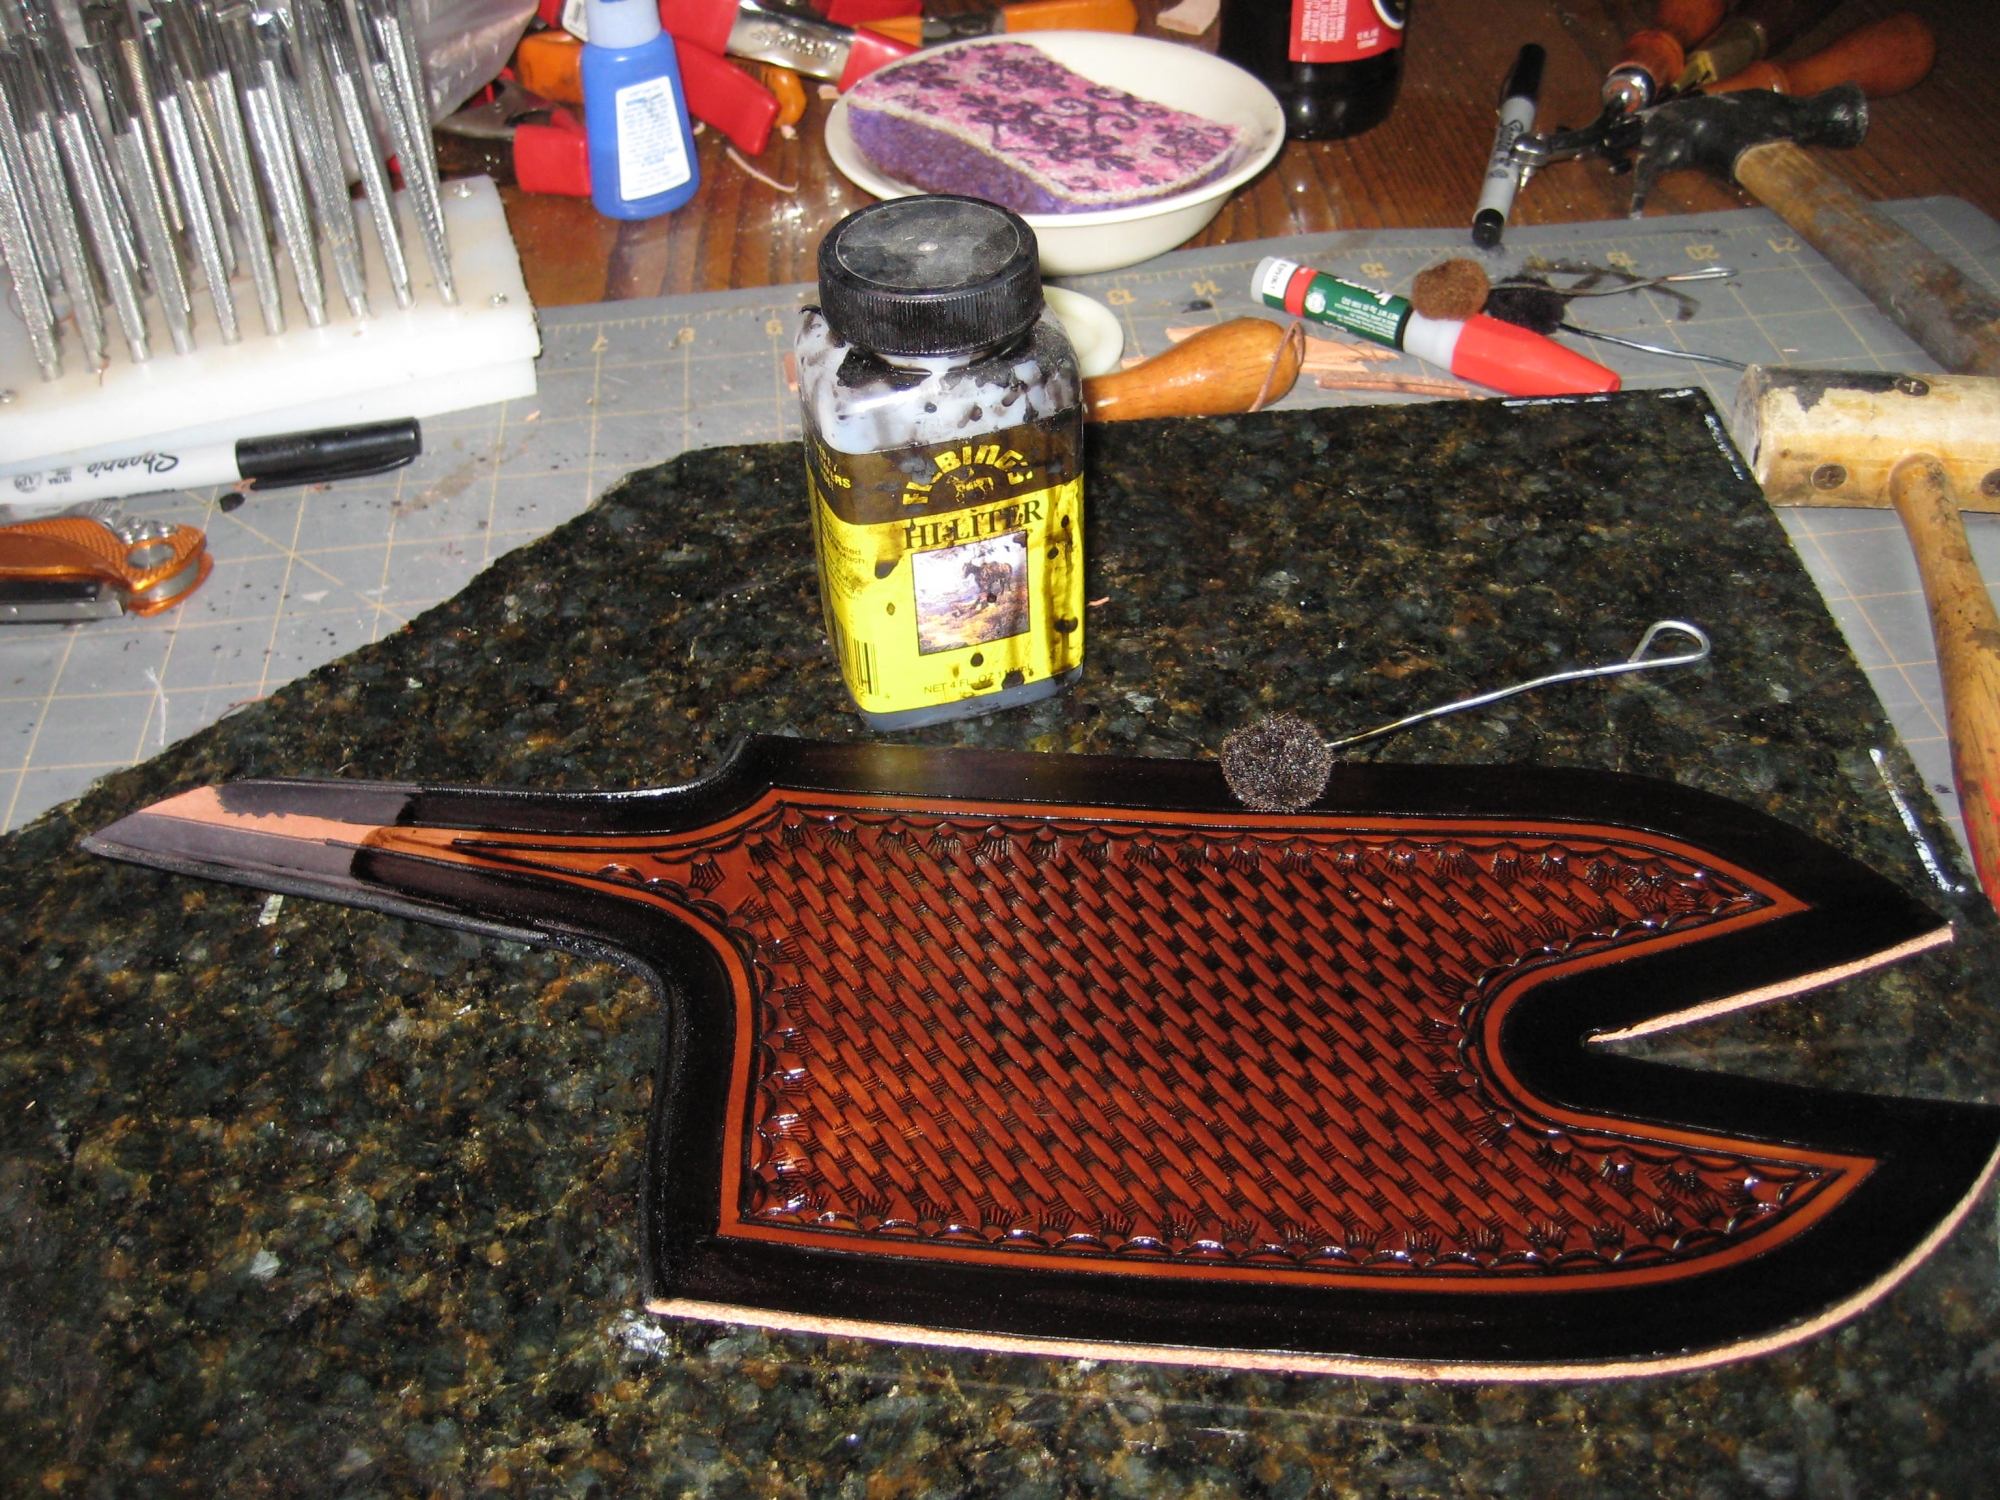
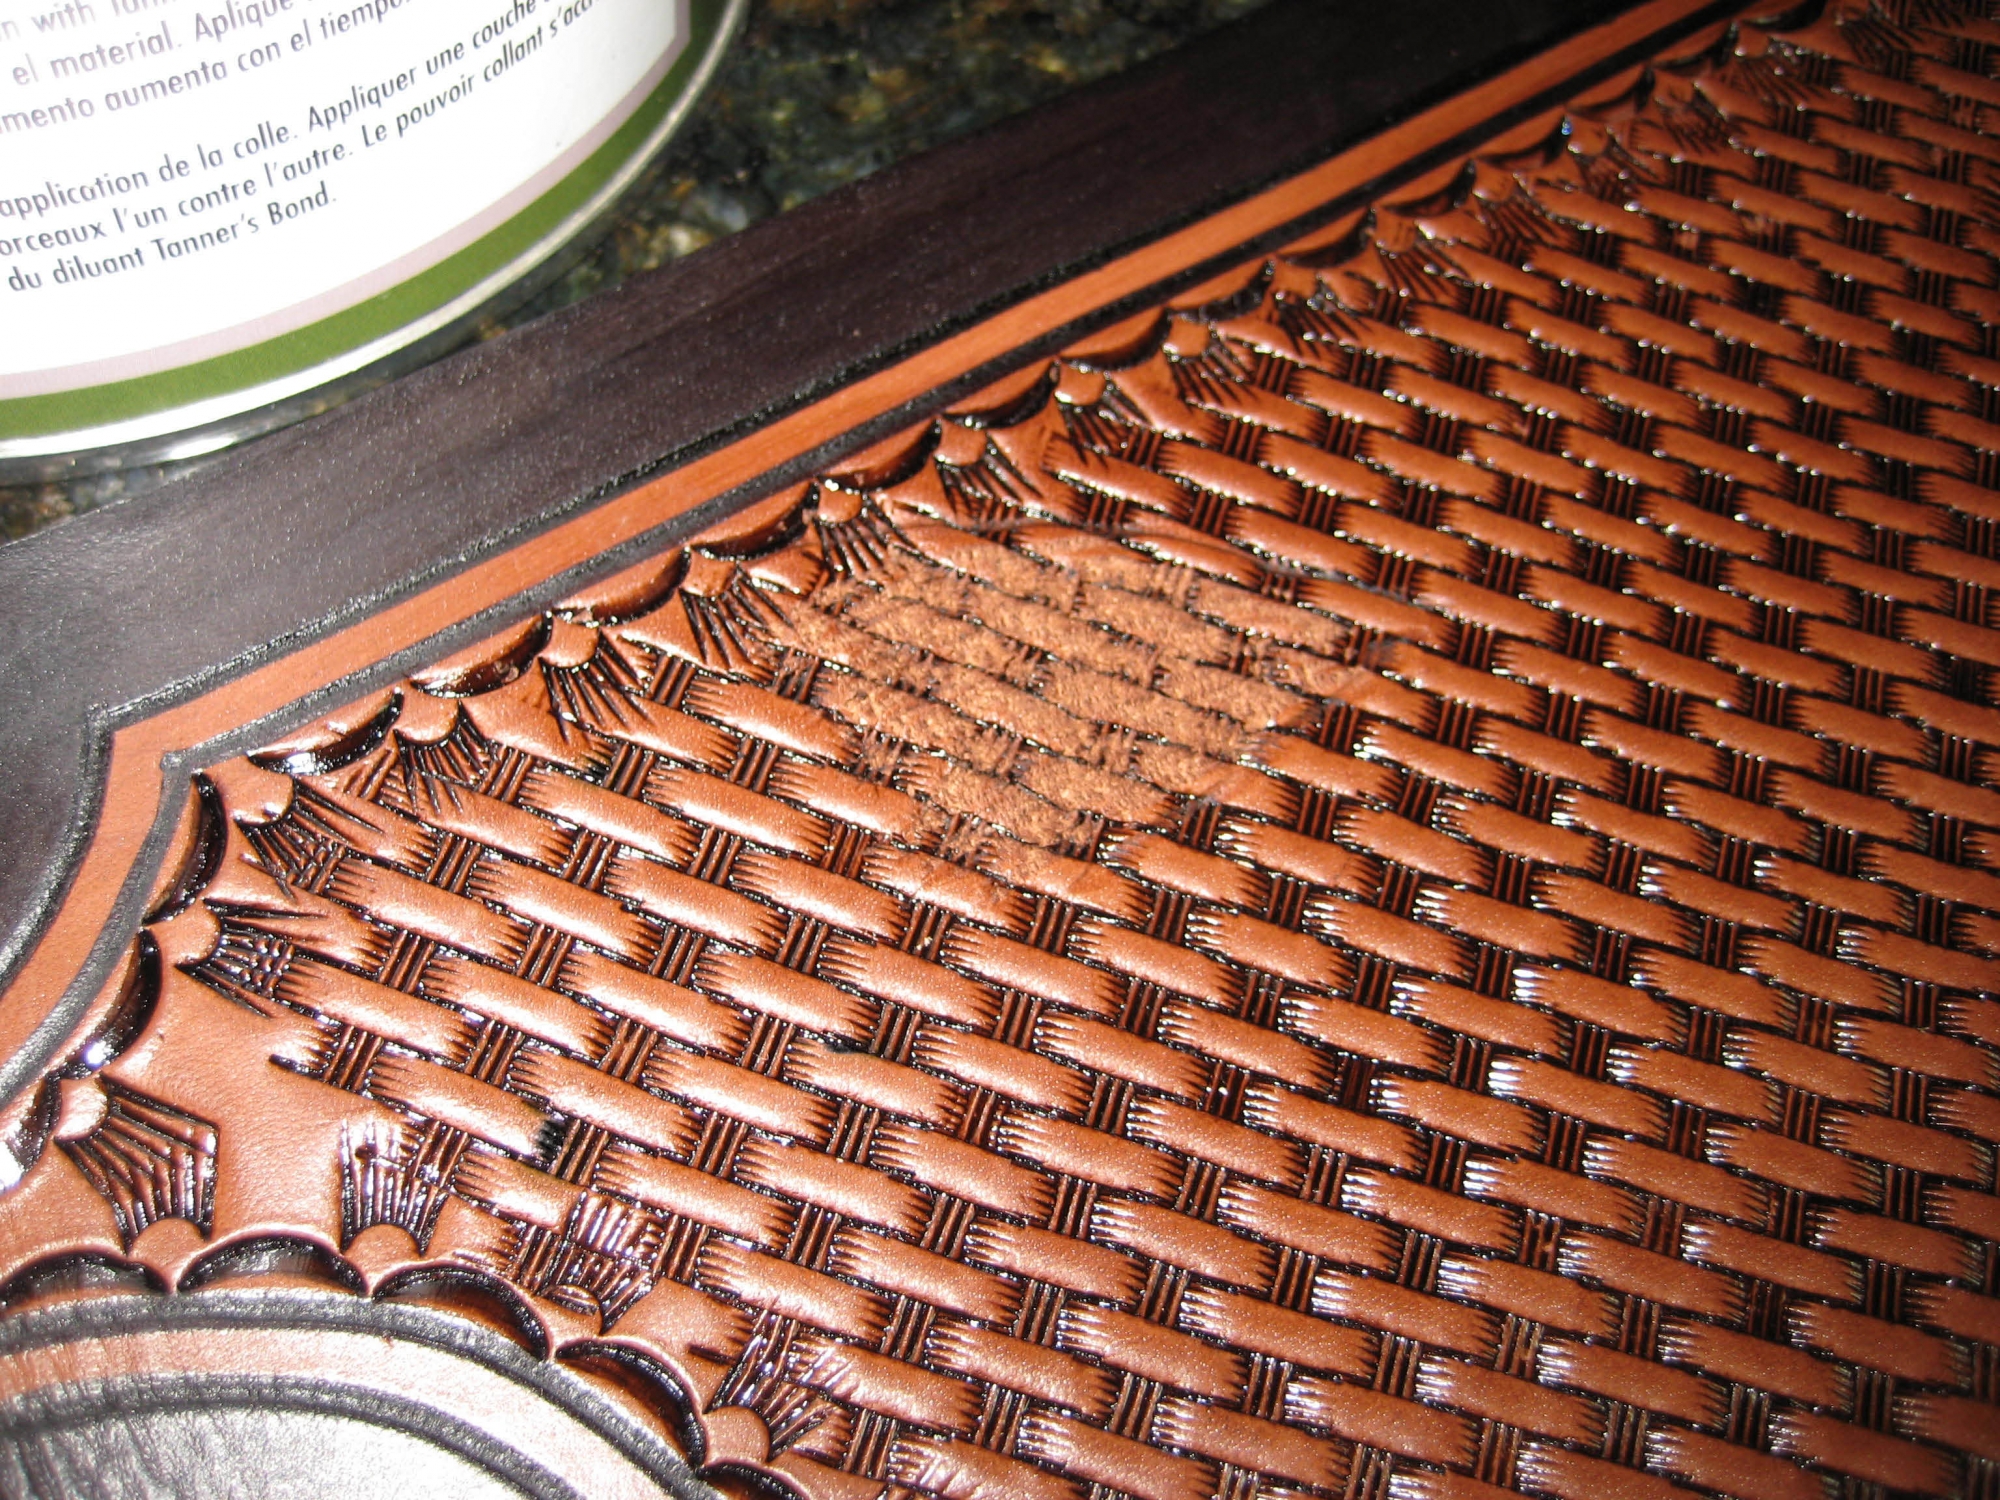
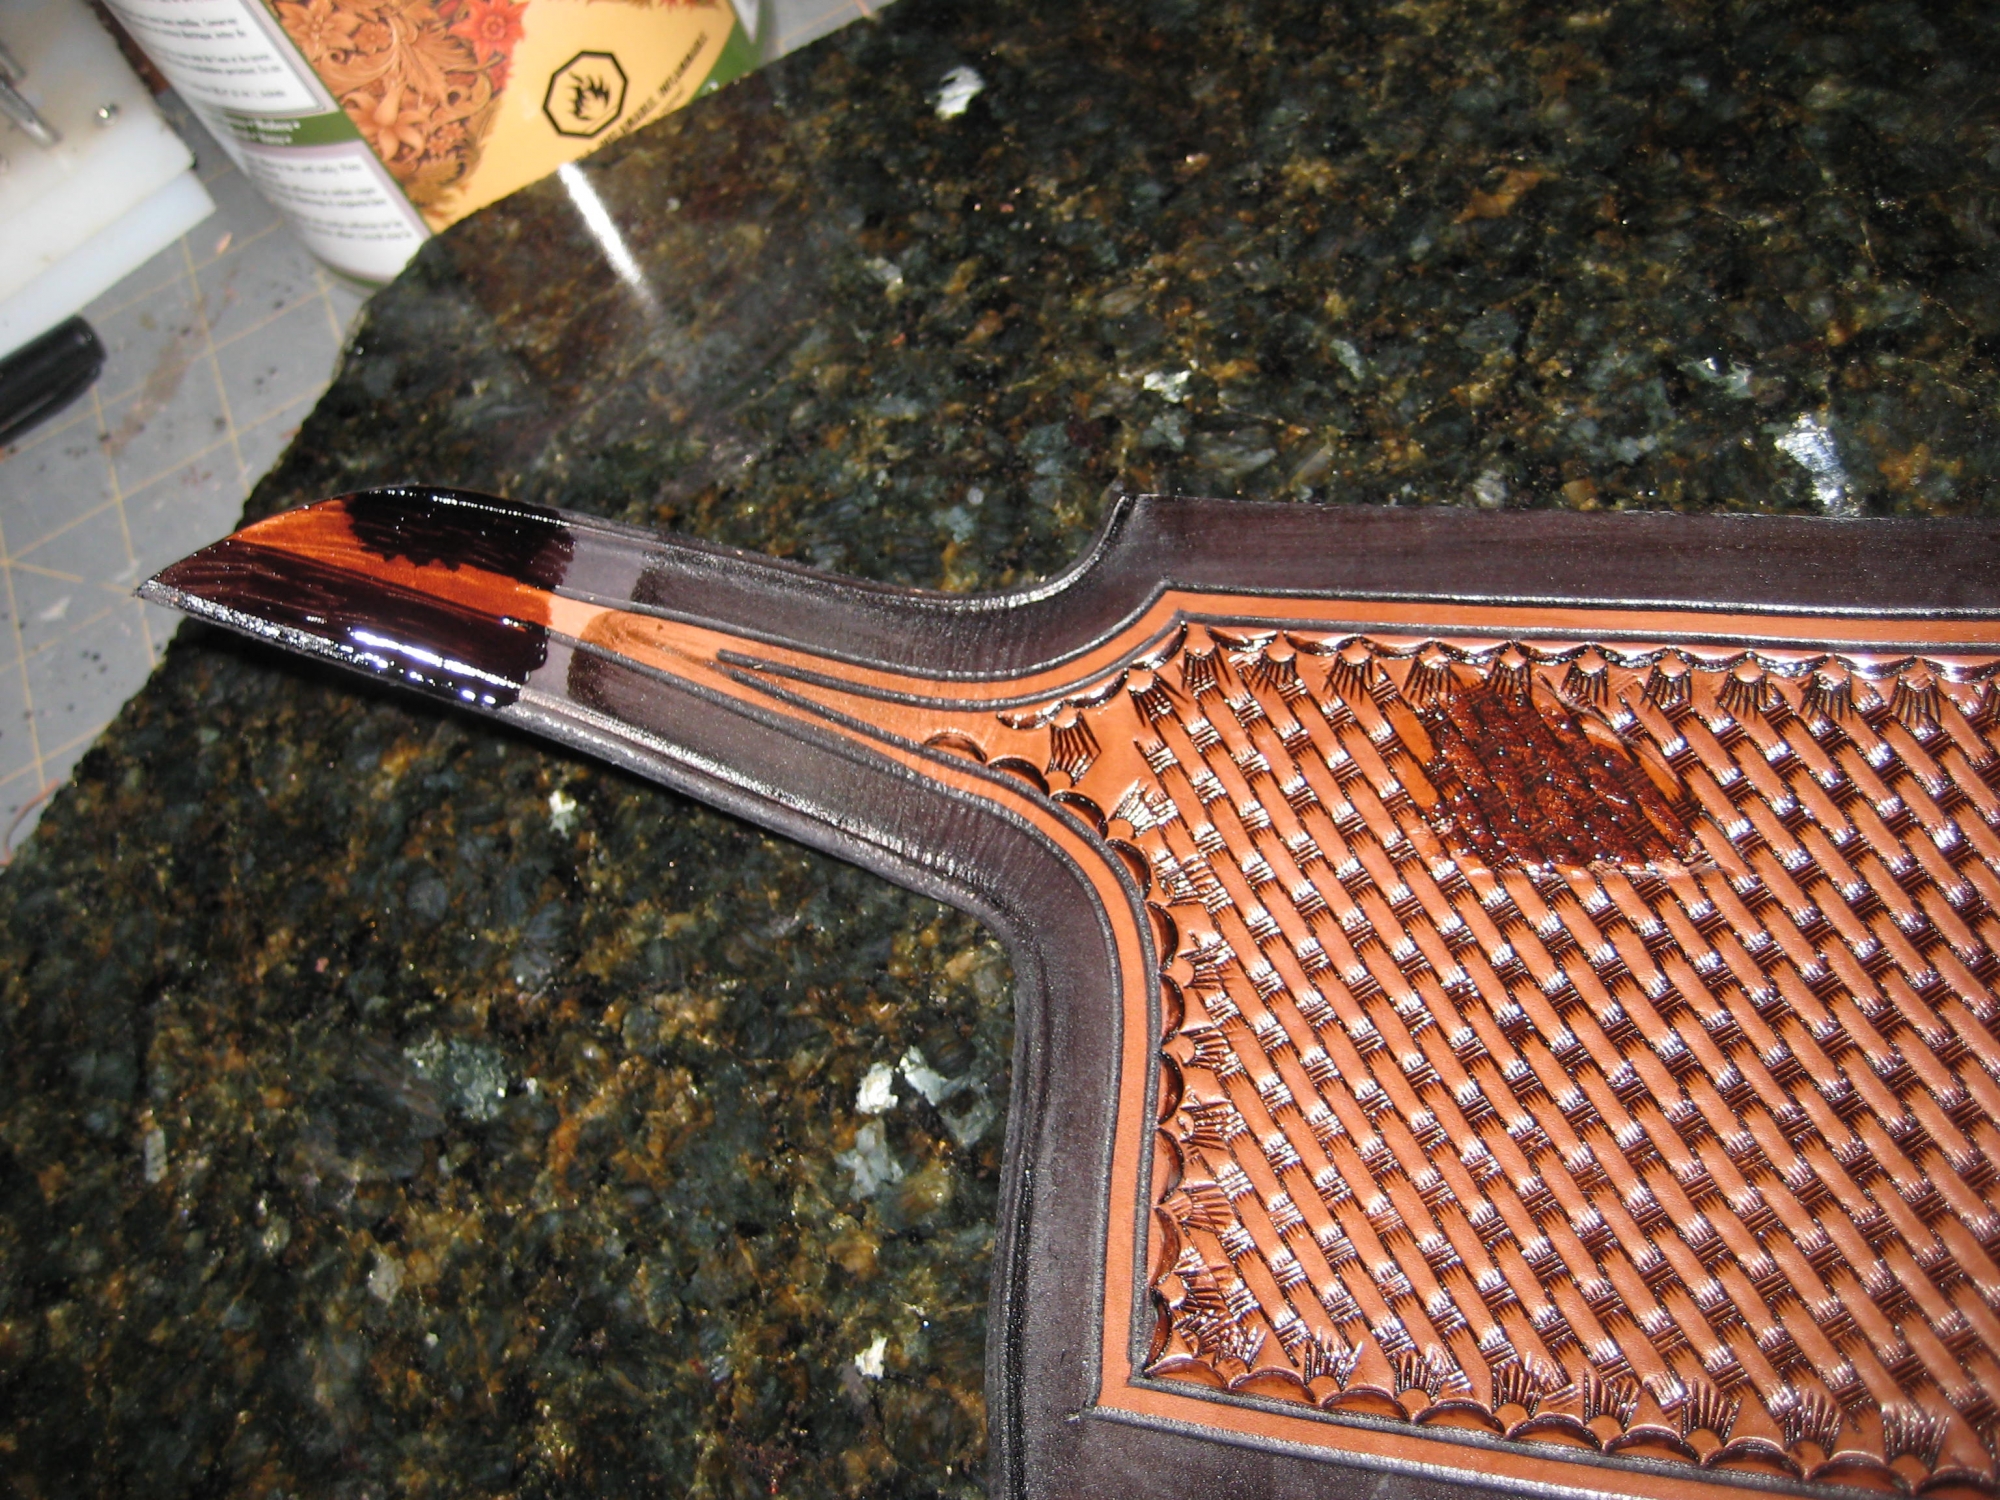
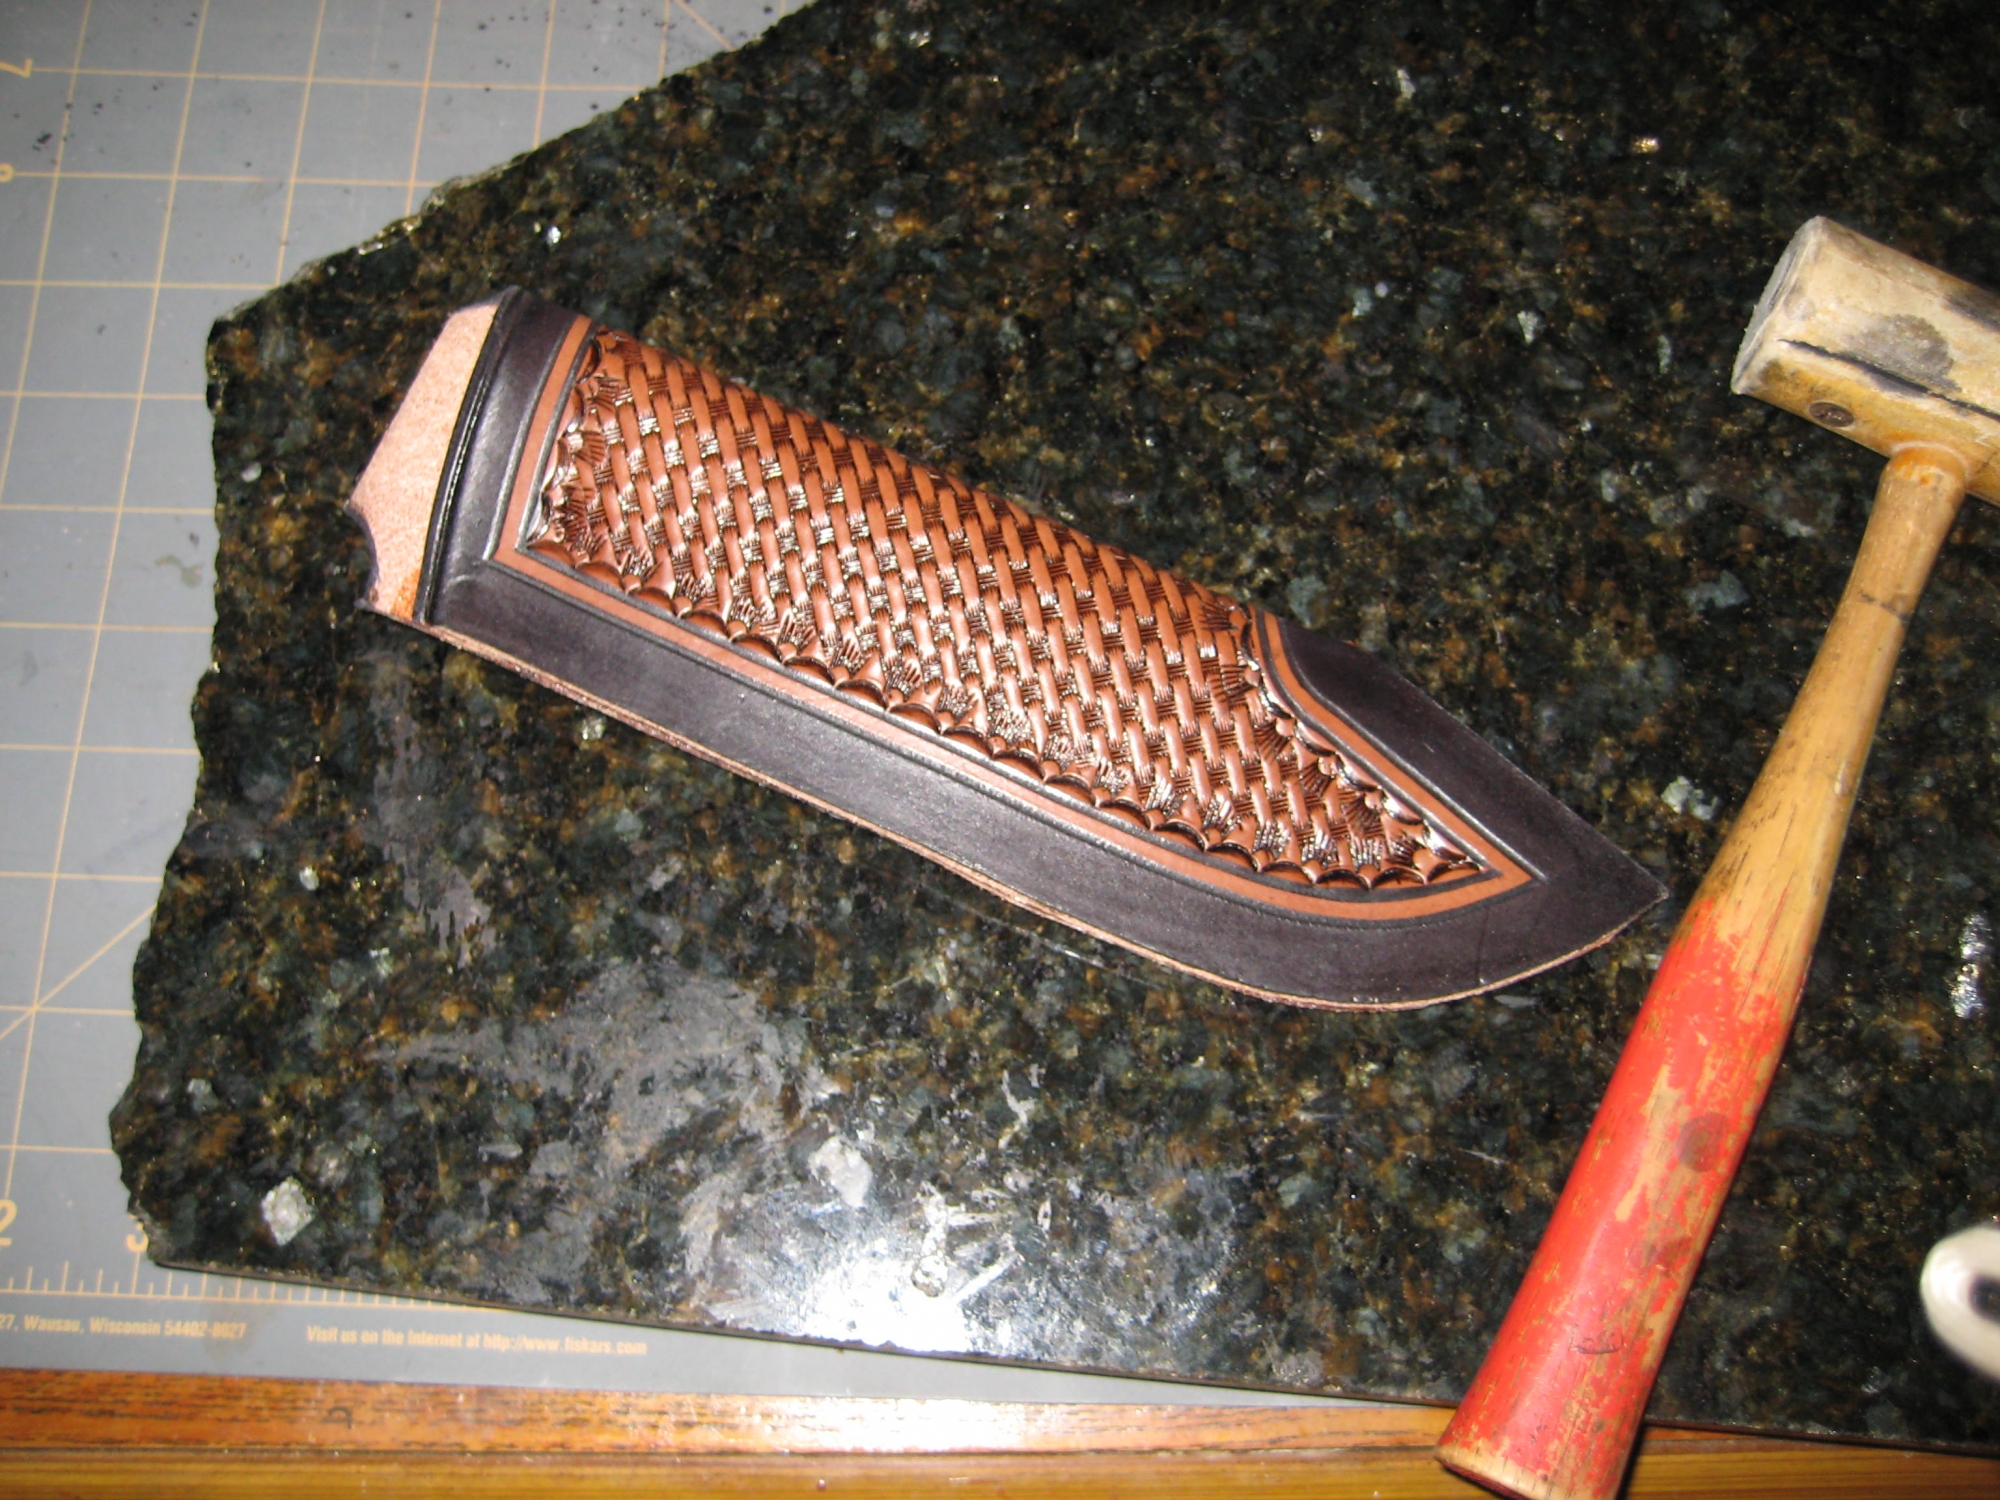
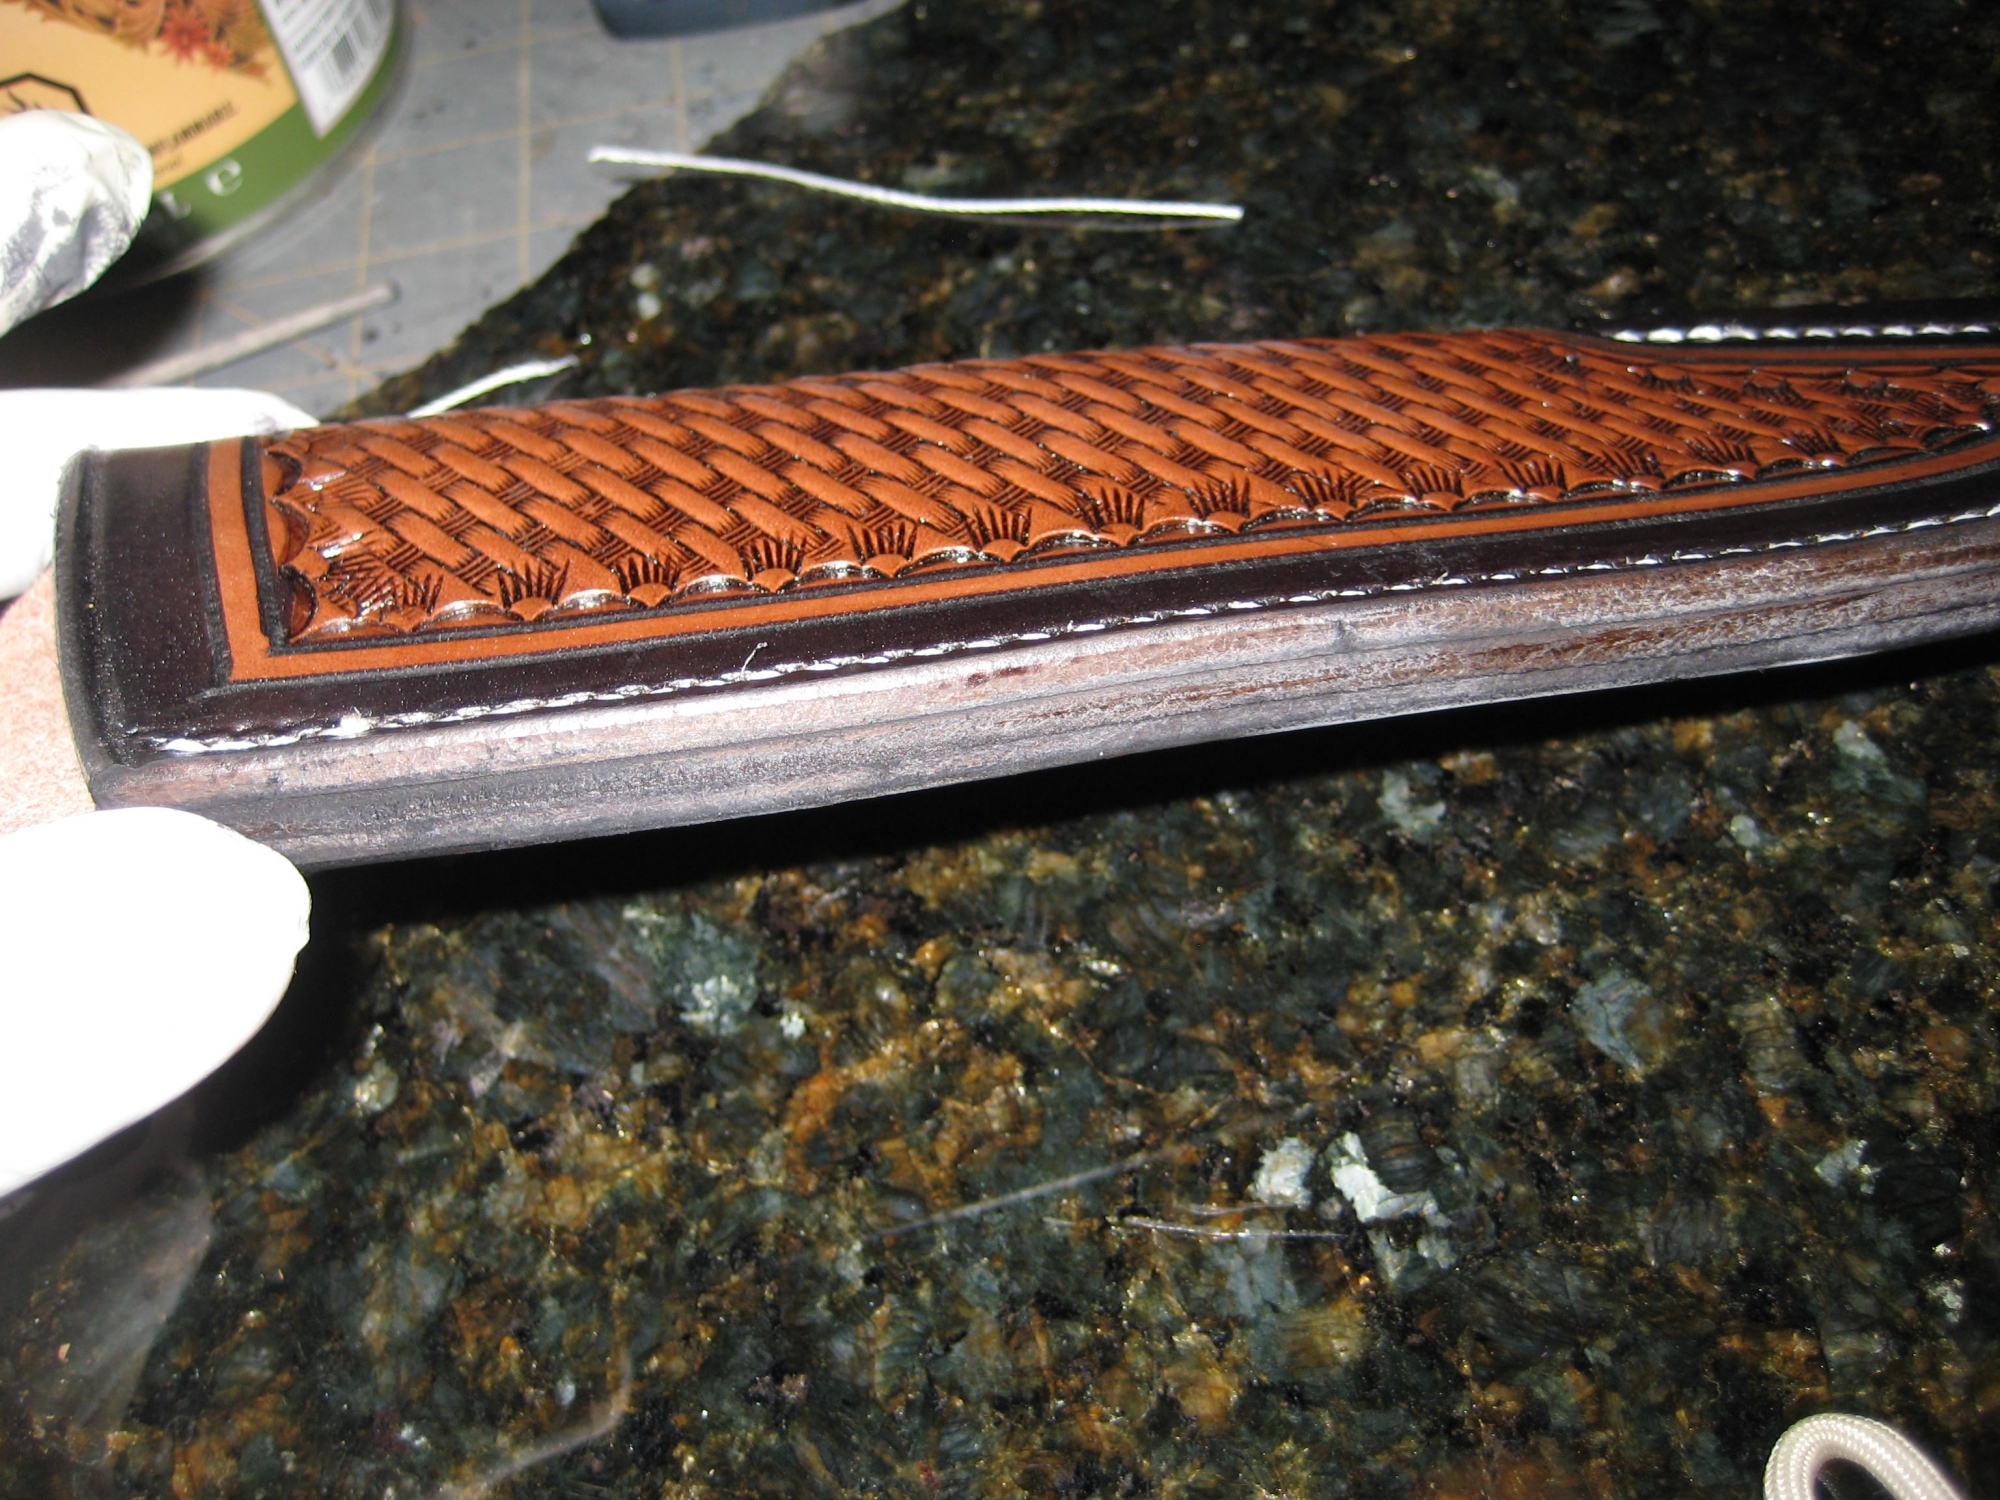
I am going to finish up the sheath tonight. It is all tooled and ready to go. I have dyed the outside edge of it black, and am going to use highlighter to bring out the pattern of the basket weave pattern. The highlighter is a liquid that is put on very heavily, and the excess is wiped off. This leaves the highlighter in the recessed areas. Since it is a darker than the surrounding leather, it makes the pattern really stand out. Here it is.
I use a freehand gouge to clean up the area where I will be applying contact cement. It leaves the area rough and allows for good adhesion of the glue.
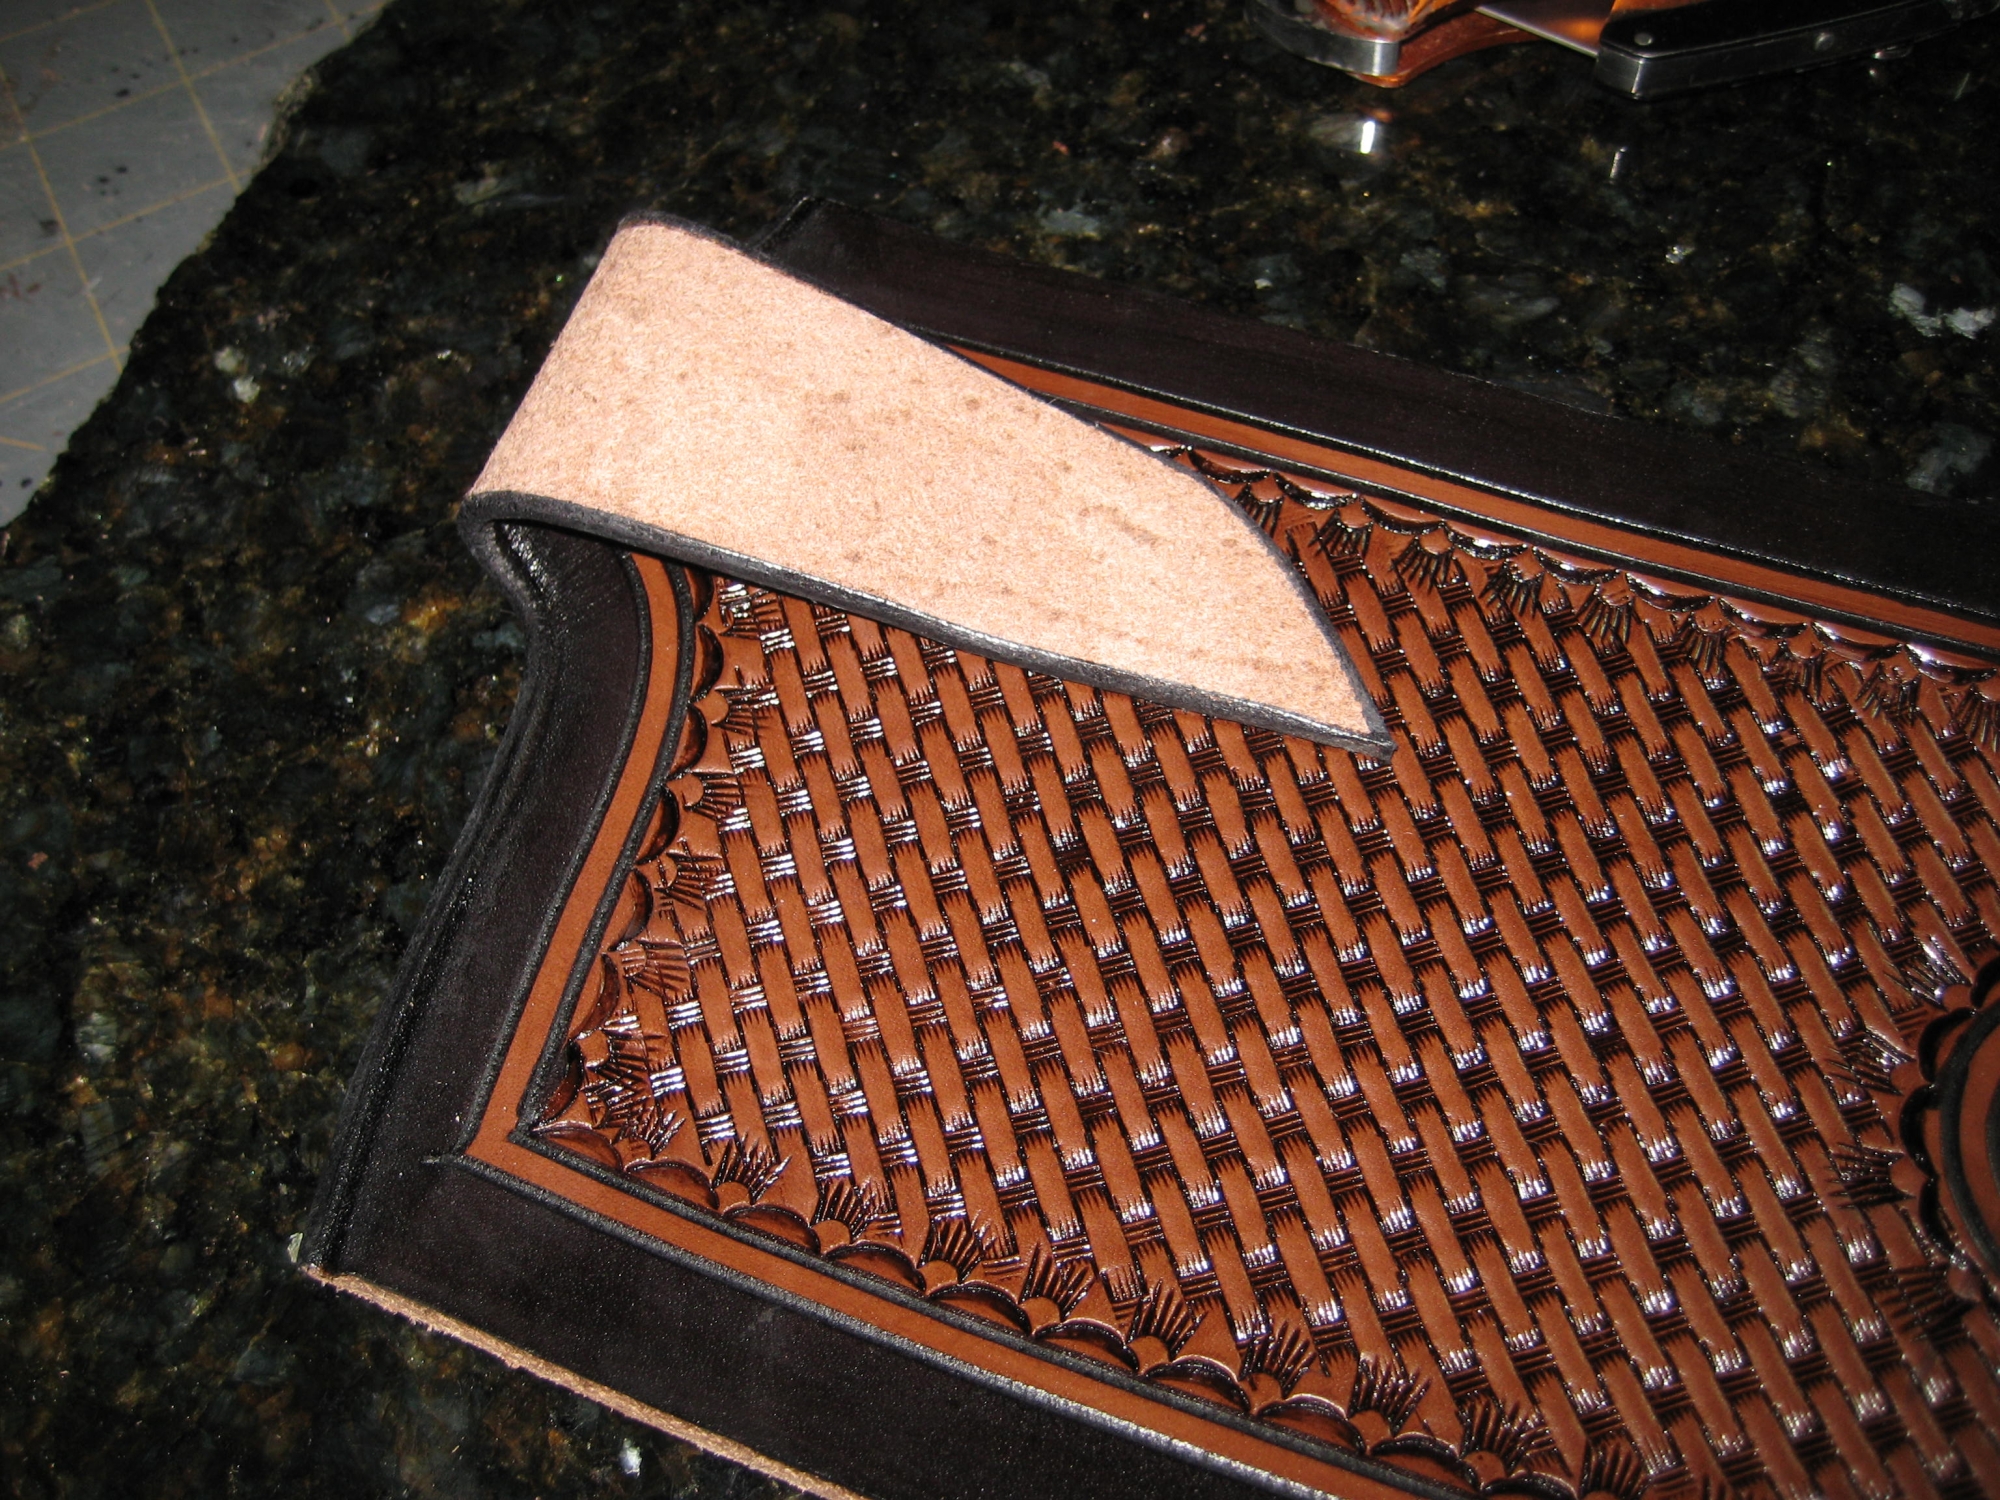
Glued up
Glued down. I intentionally leave the back of the loop un-dyed. I like the contrast. Some people would rather I just turned the whole thing black, but I like it this way, and I am making it so this is how it is.
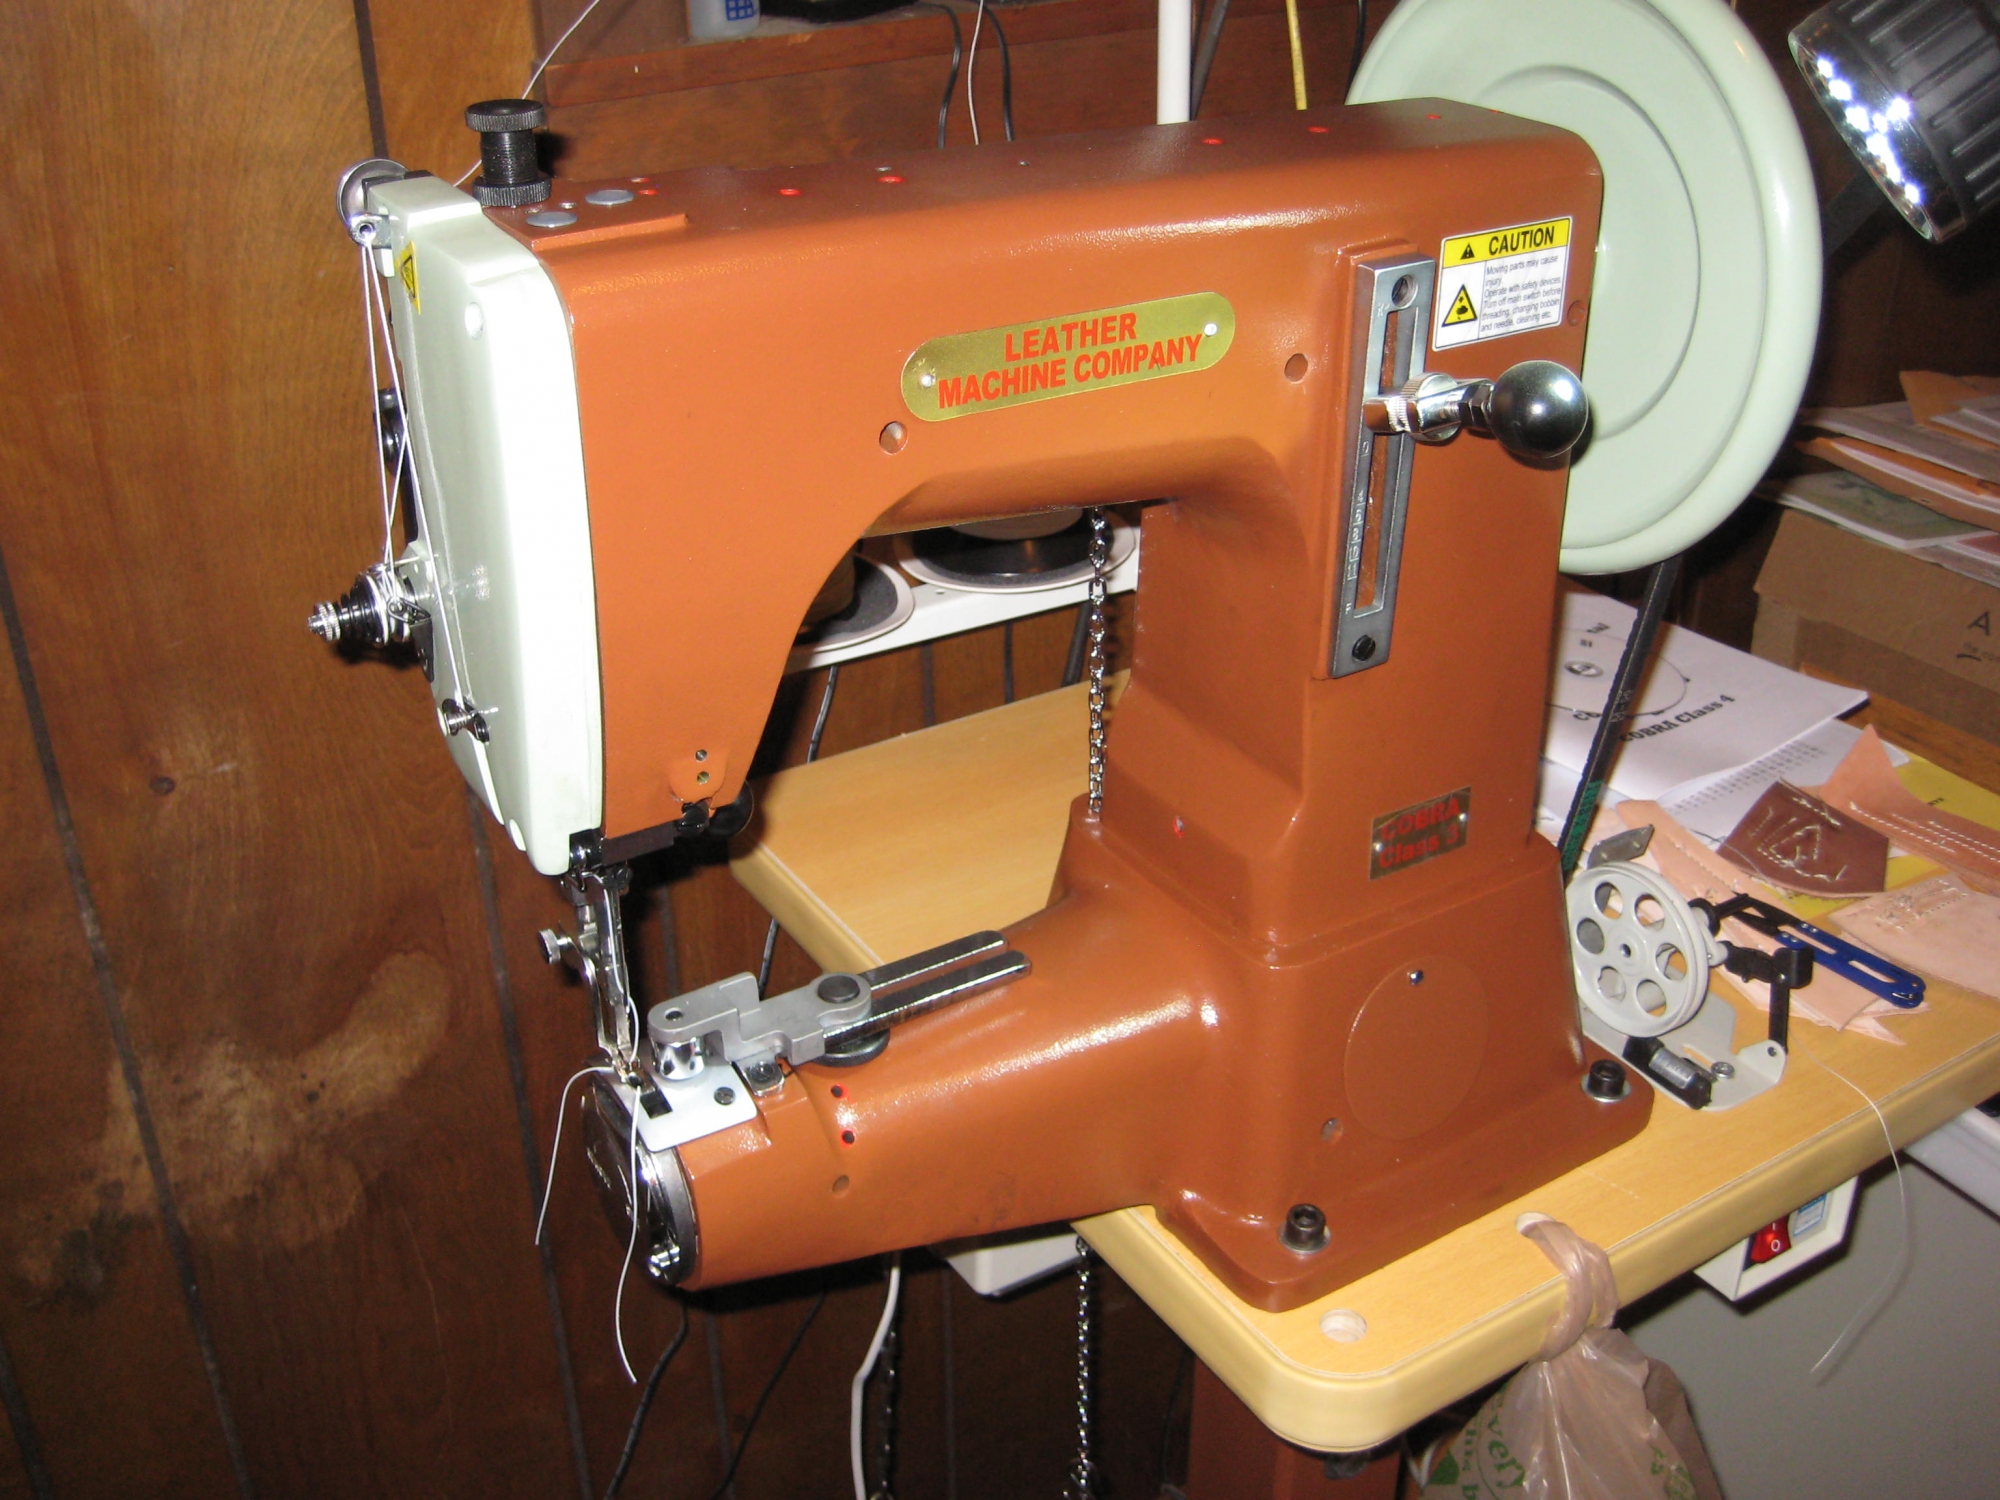
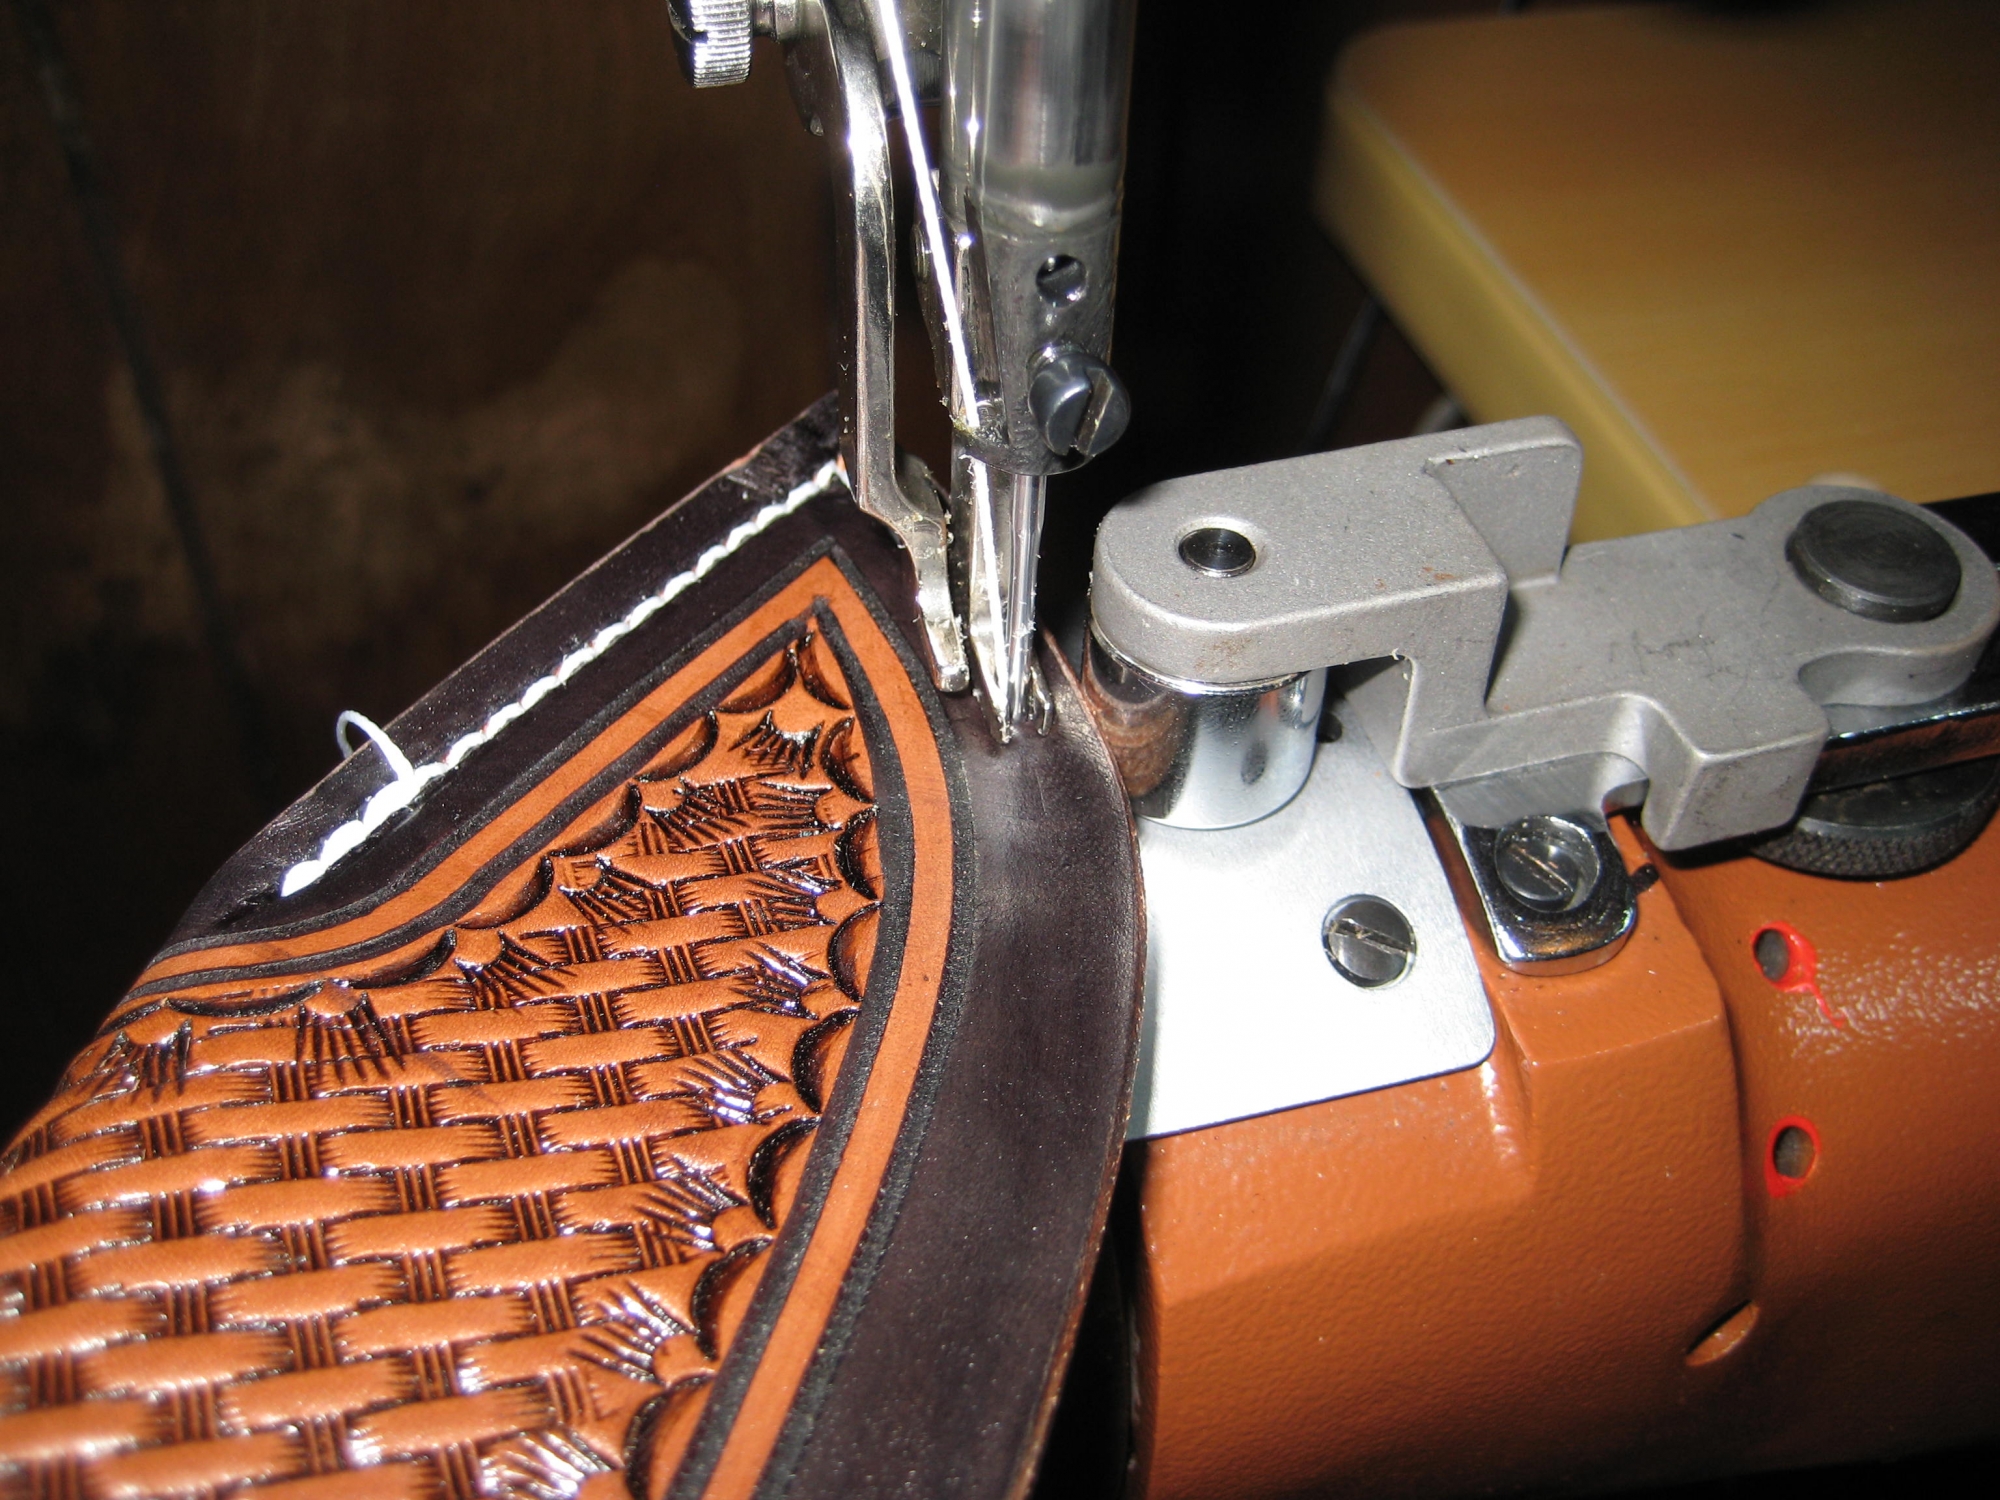
I can't say enough good things about this machine. Some people laughed at me when I said I was going to get a sewing machine. They thought it was kind of girly (my friends may not be the most politically correct). What they didn't realize is that this monster will stitch through 3/4" of leather without blinking. The jobs that used to take me 45 minutes, can be done in under 1 minute. This thing is great, I love it.
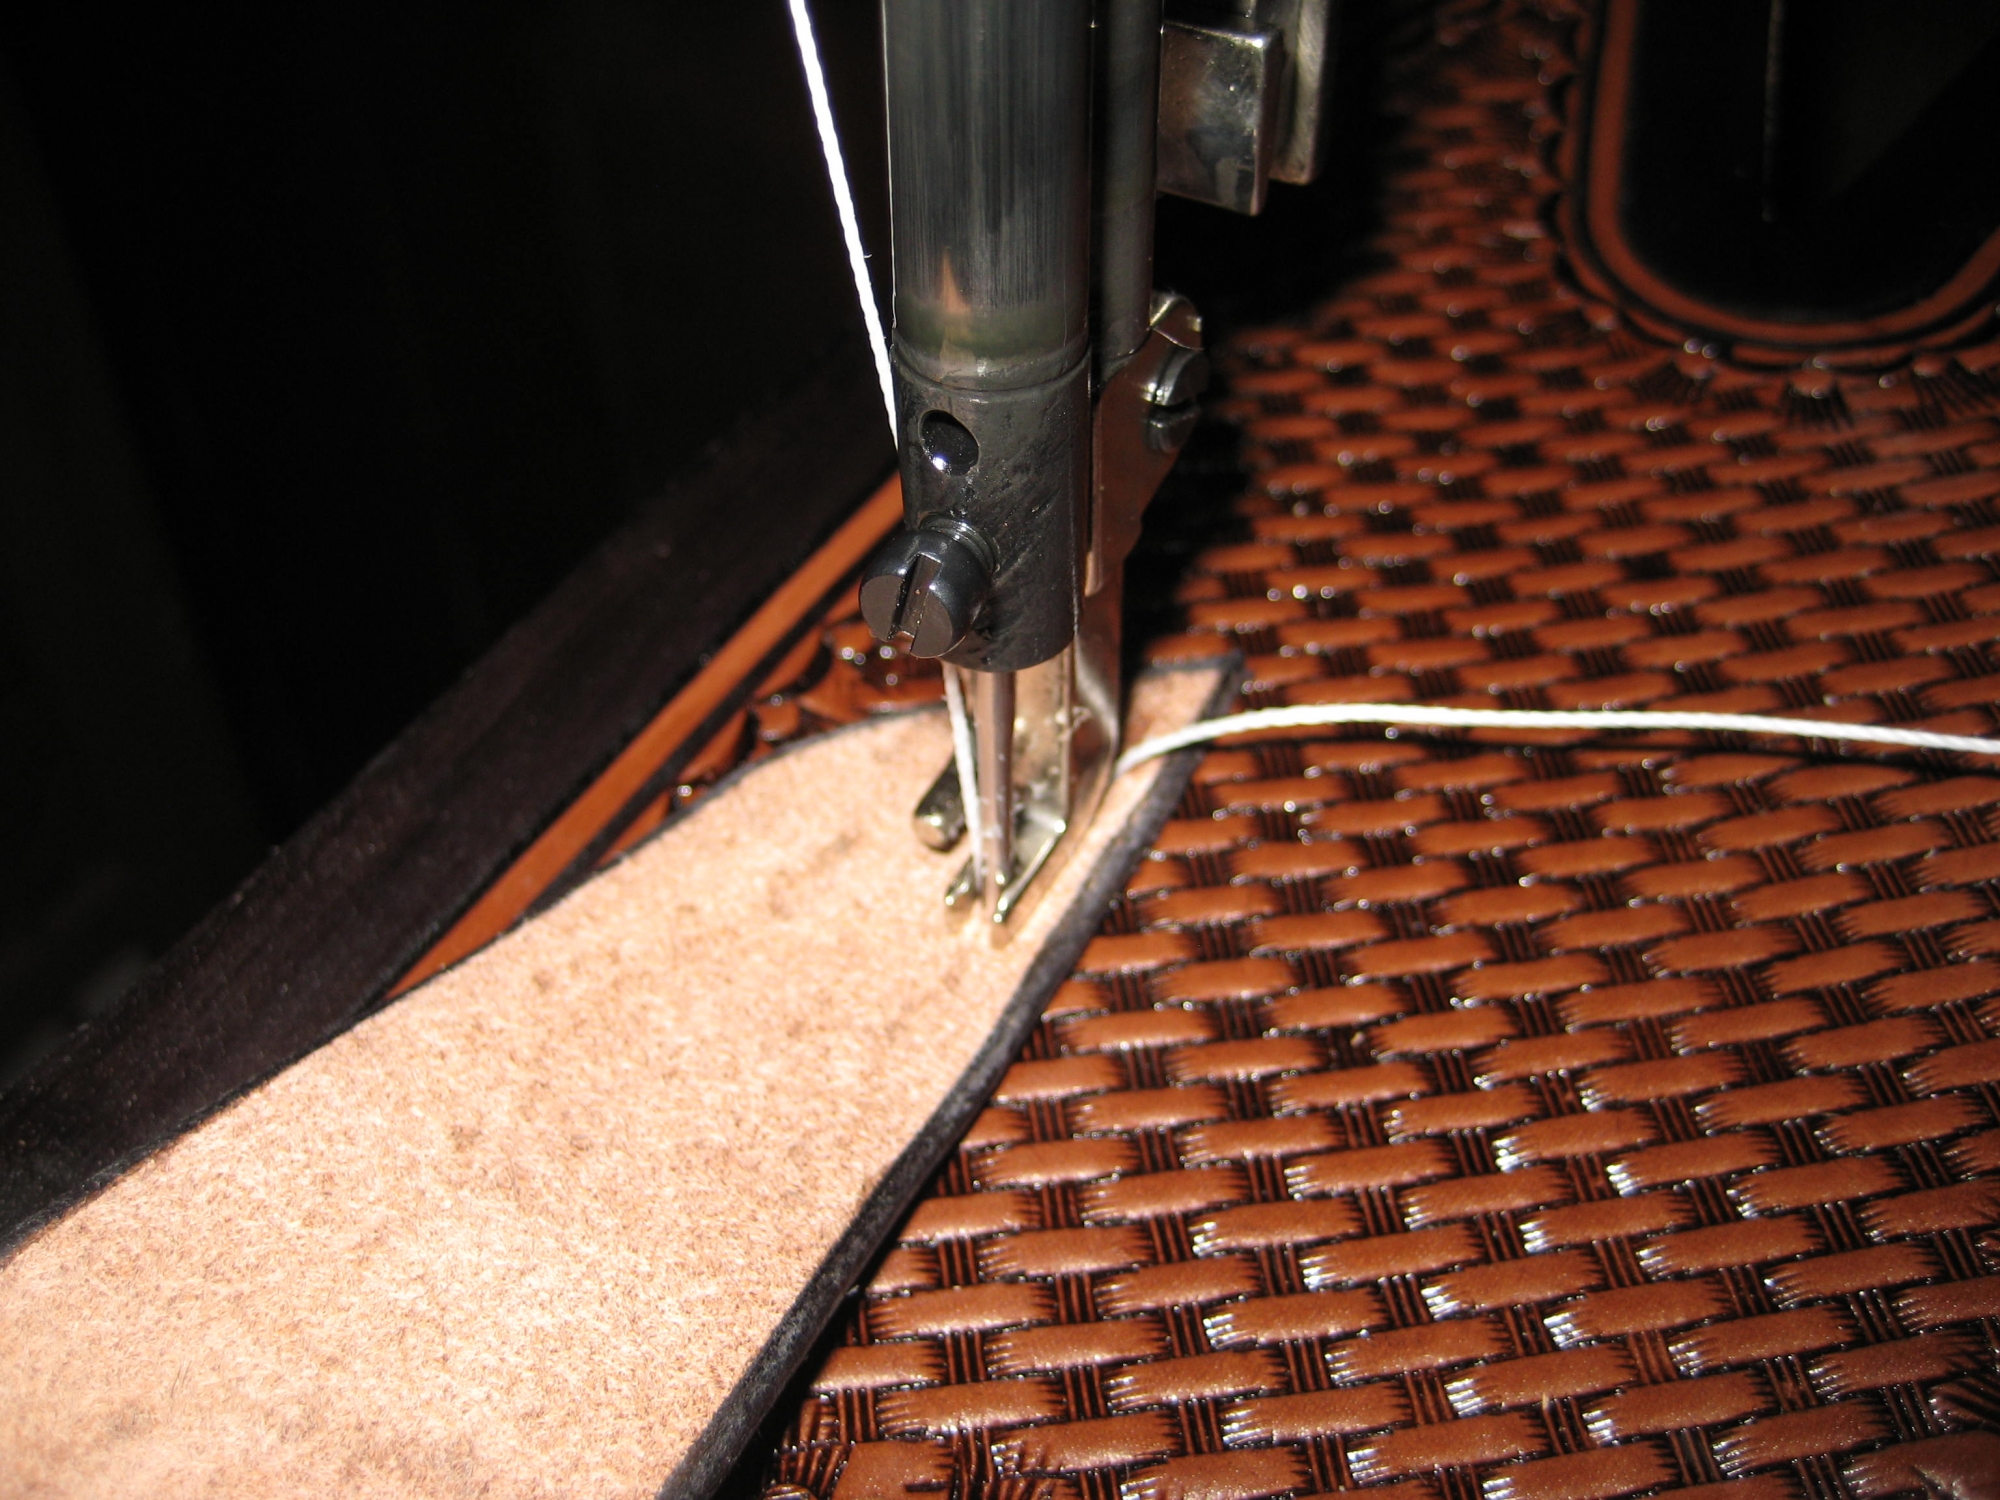
Here it is punching through that leather like it was paper.
All stitched up.
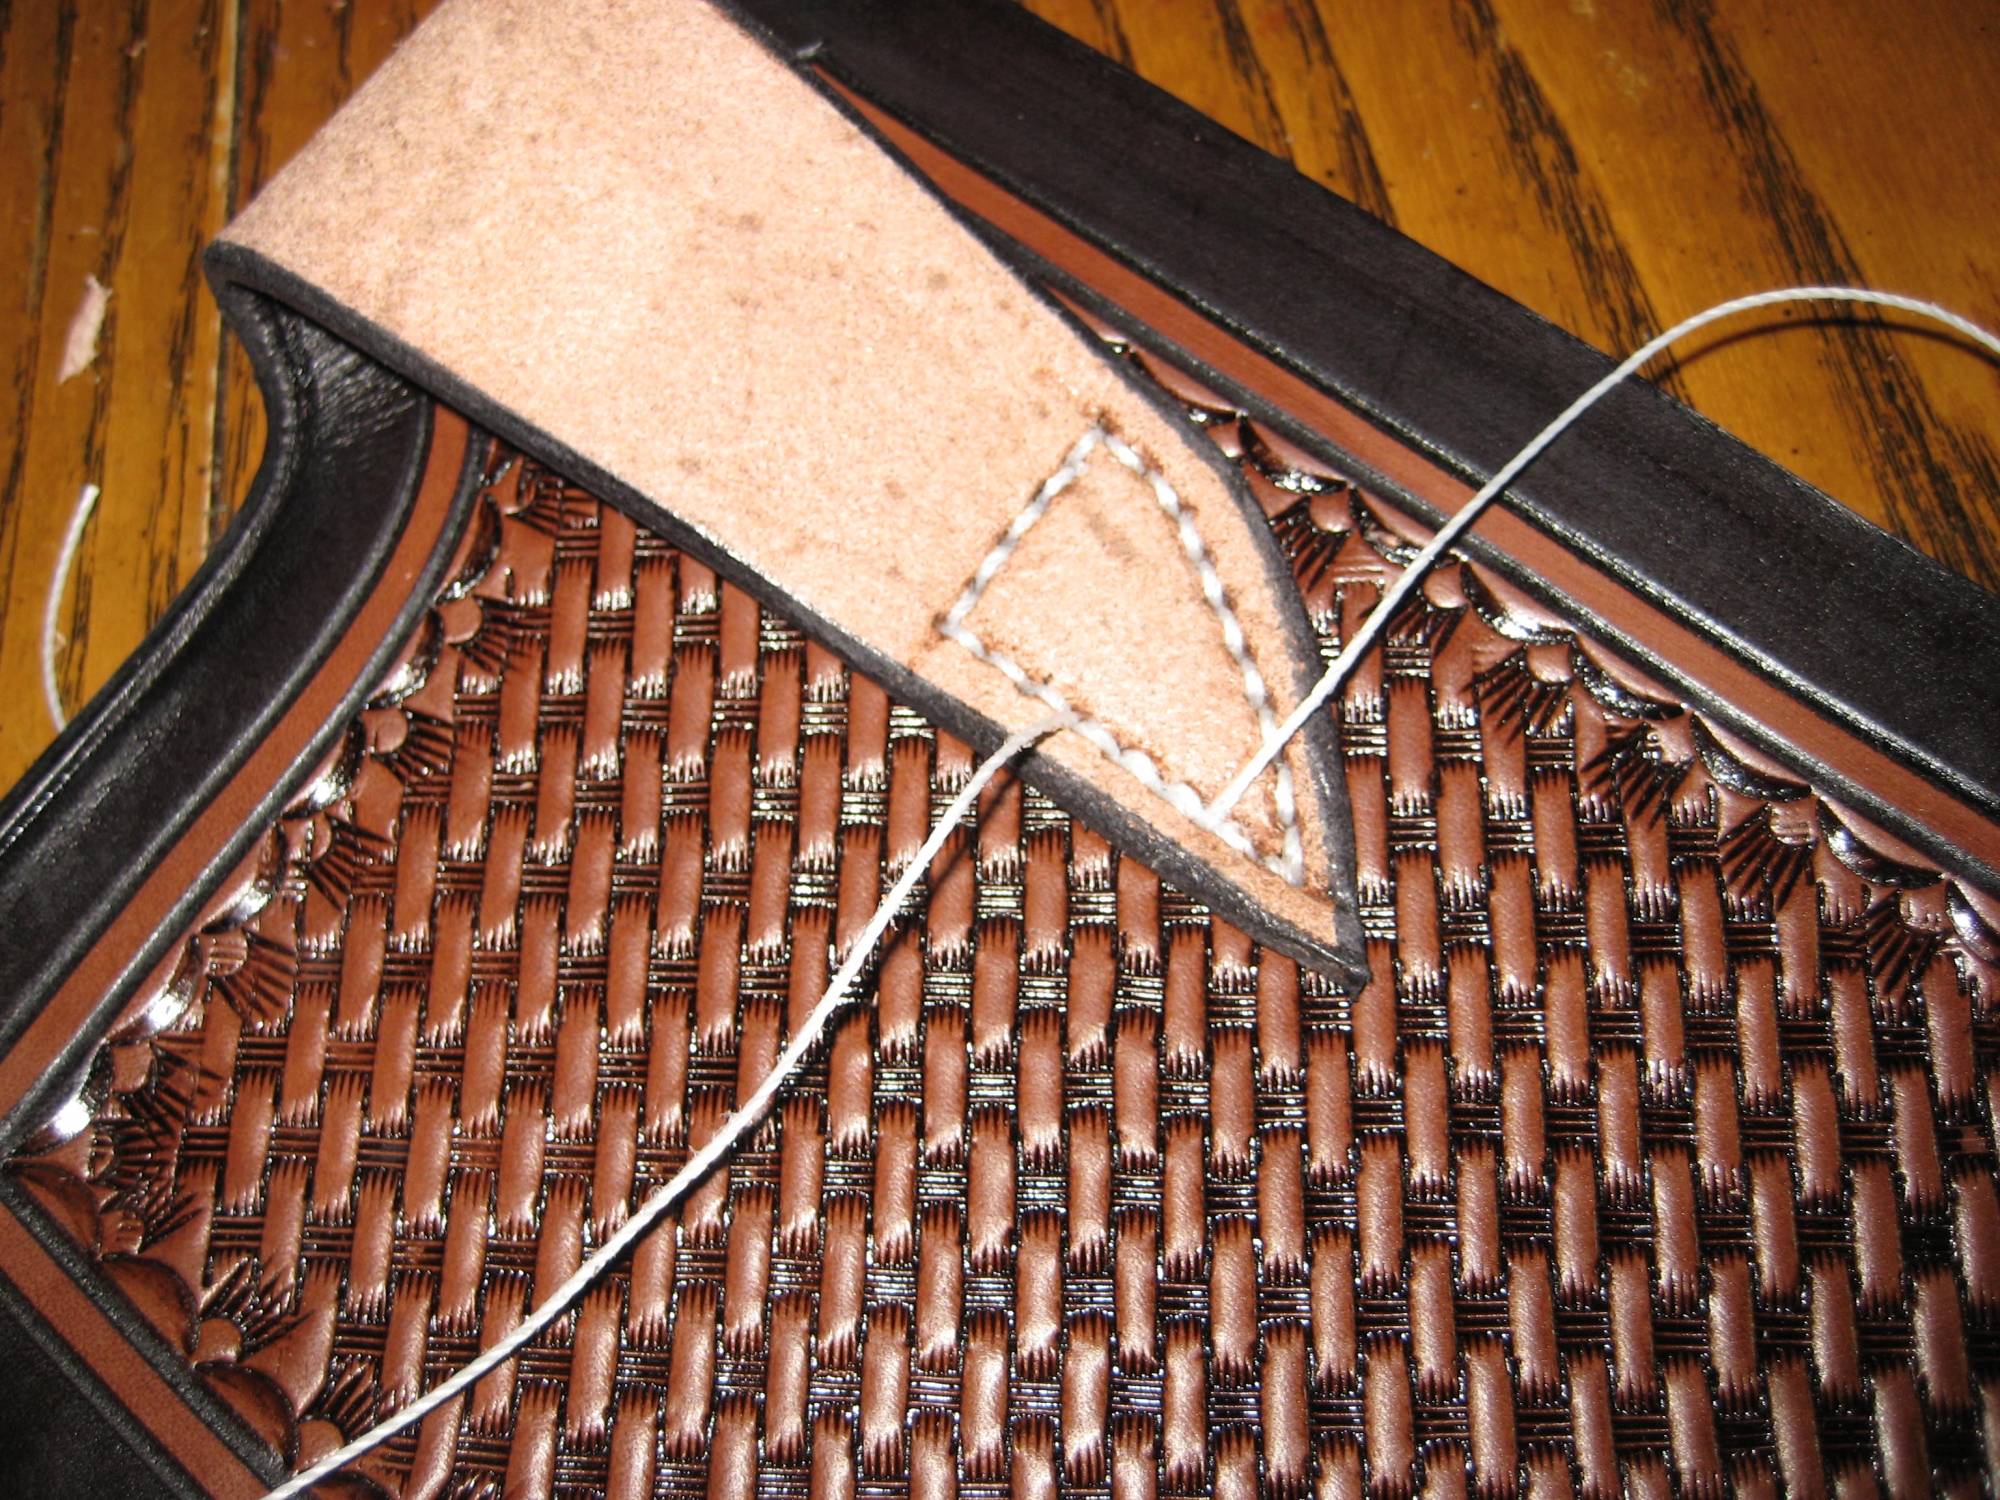
I use my own personal slipjoint (which I also made) to trim off the excess thread.
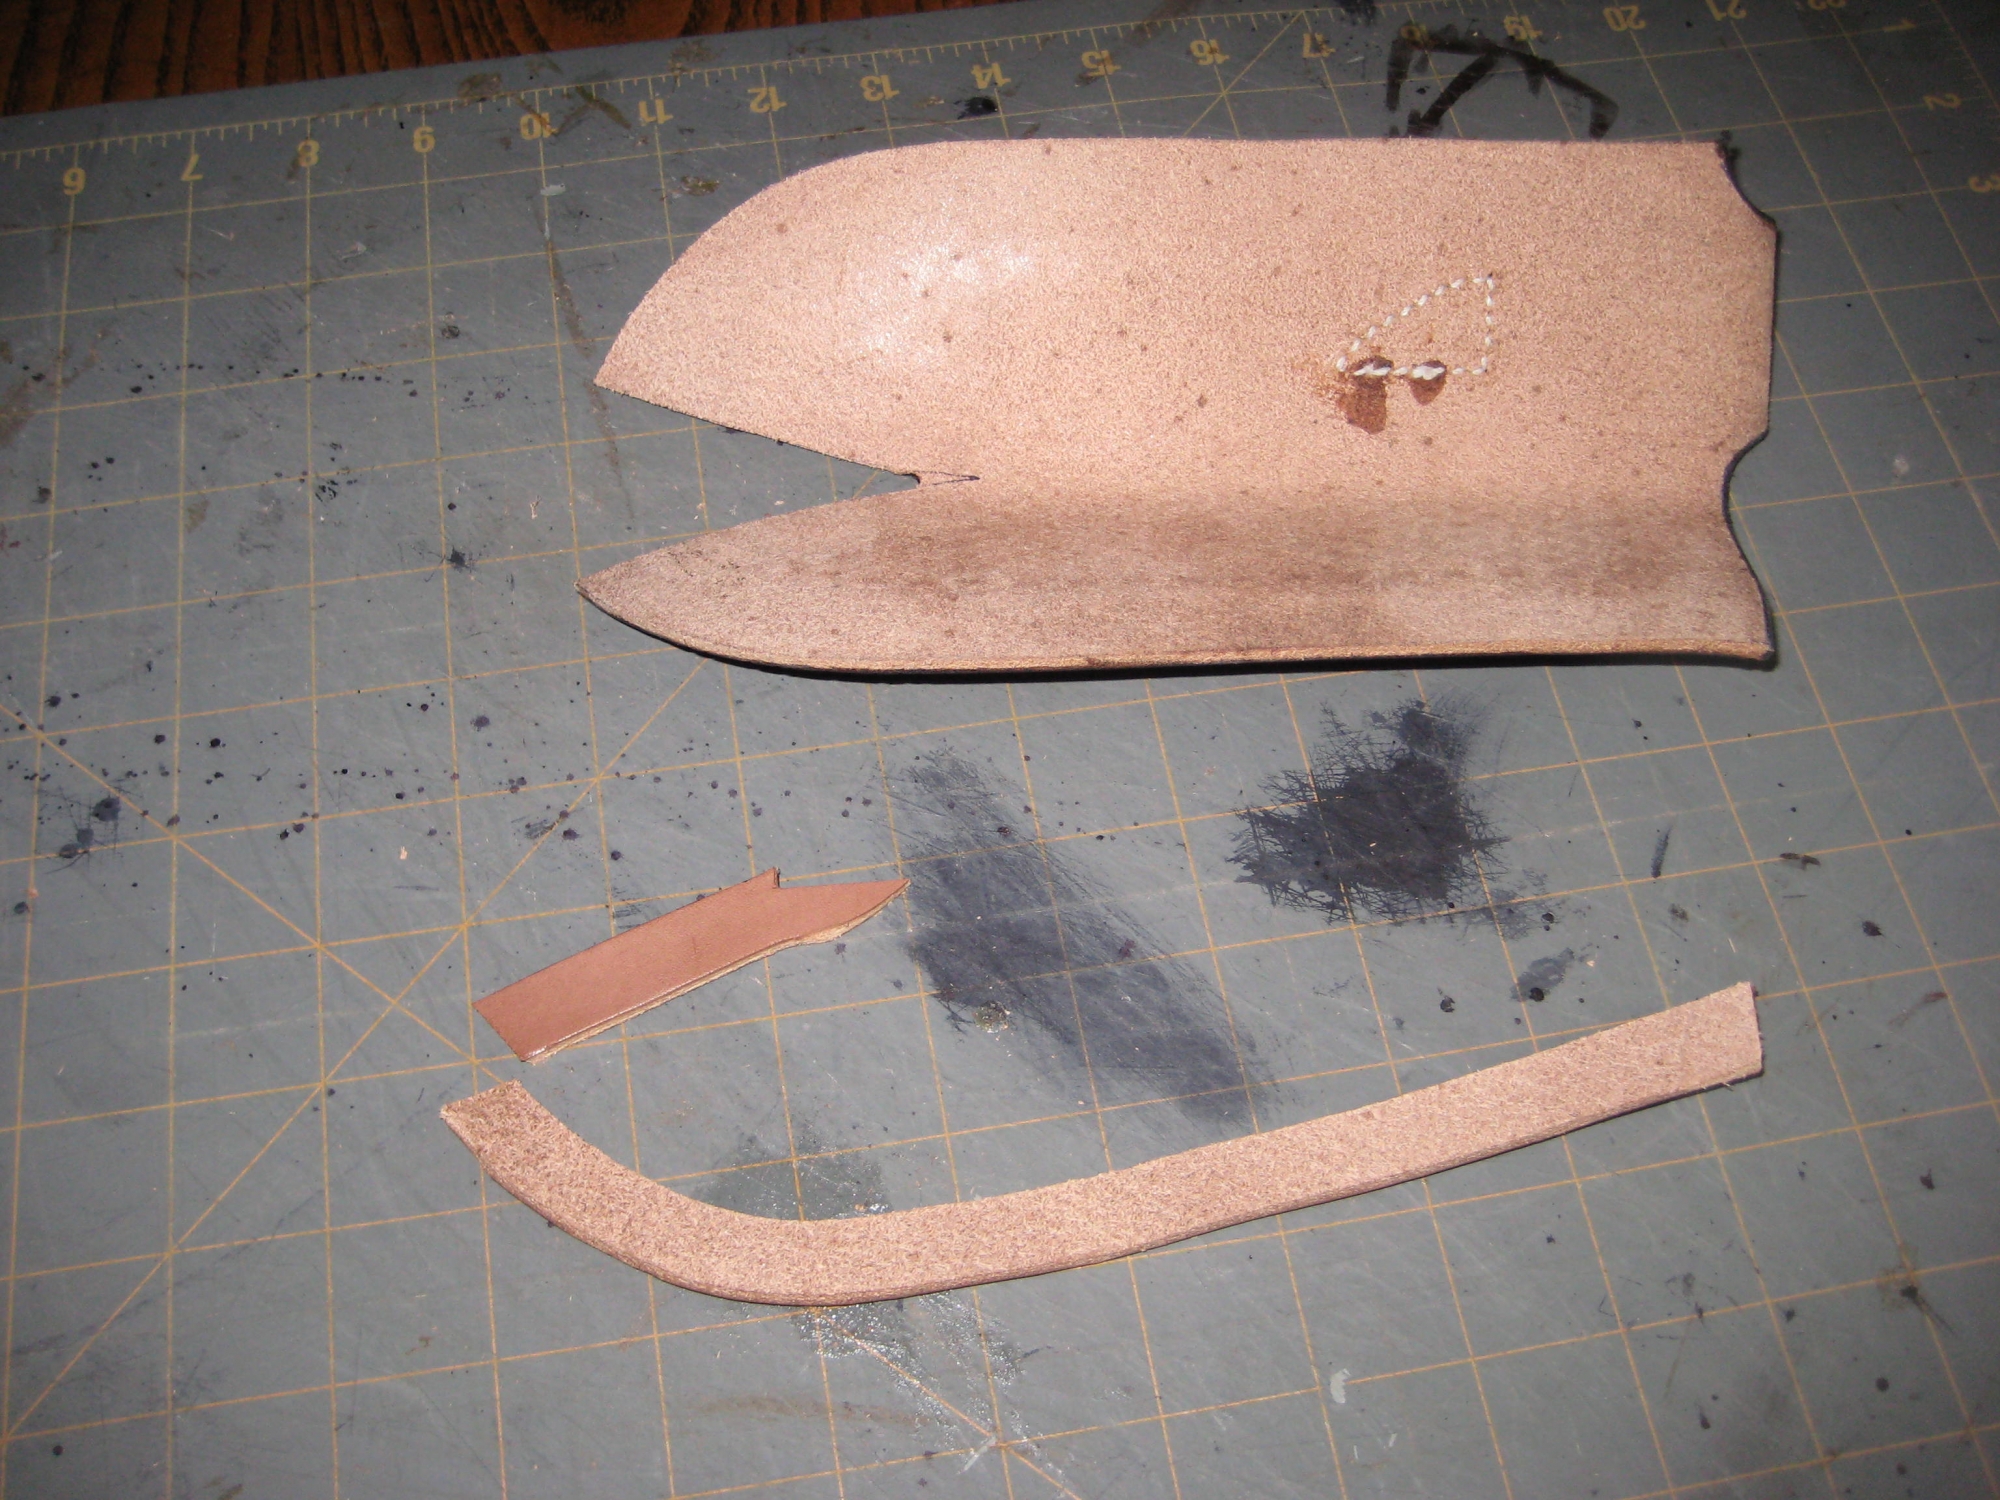
The loop is stitched and ready for the welt. The welt keeps the edge of the blade from cutting through the threads when the knife is put into the sheath. The dark colors that can be seen are dabs of superglue that I put on the thread before I pull it into the middle of the leather. It locks the thread into position. The leather will give out before the thread does.
I have now glued in the welt, and tapped it all in place with my rawhide mallet.
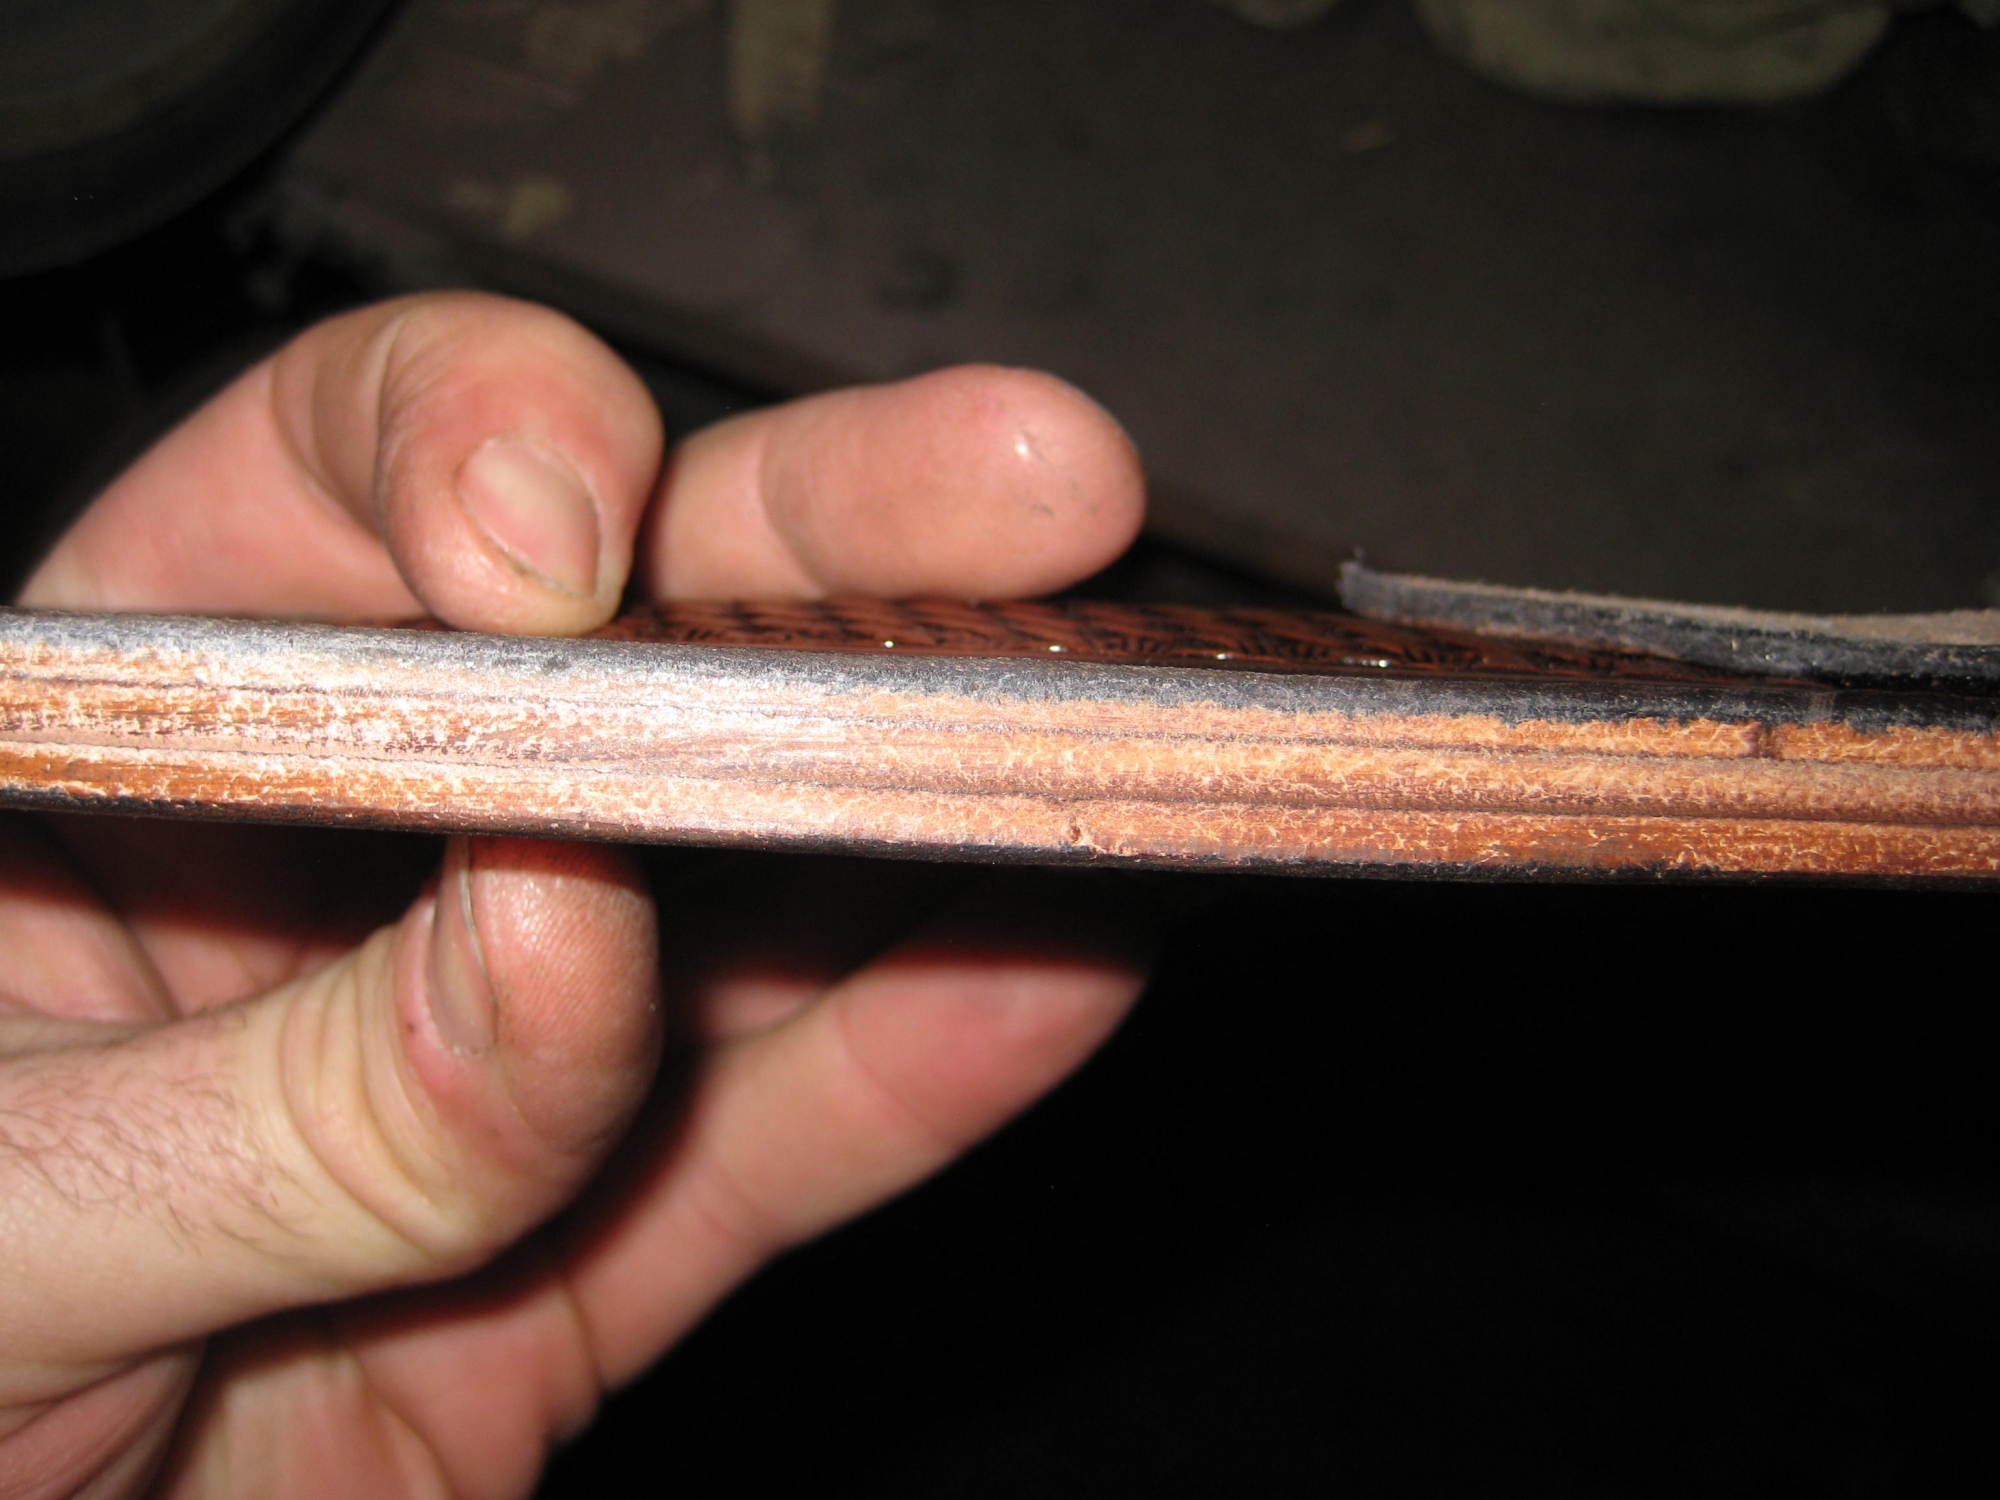
In this shot, the edges are uneven and not very nice looking. I am going to sand it up and make it look good.
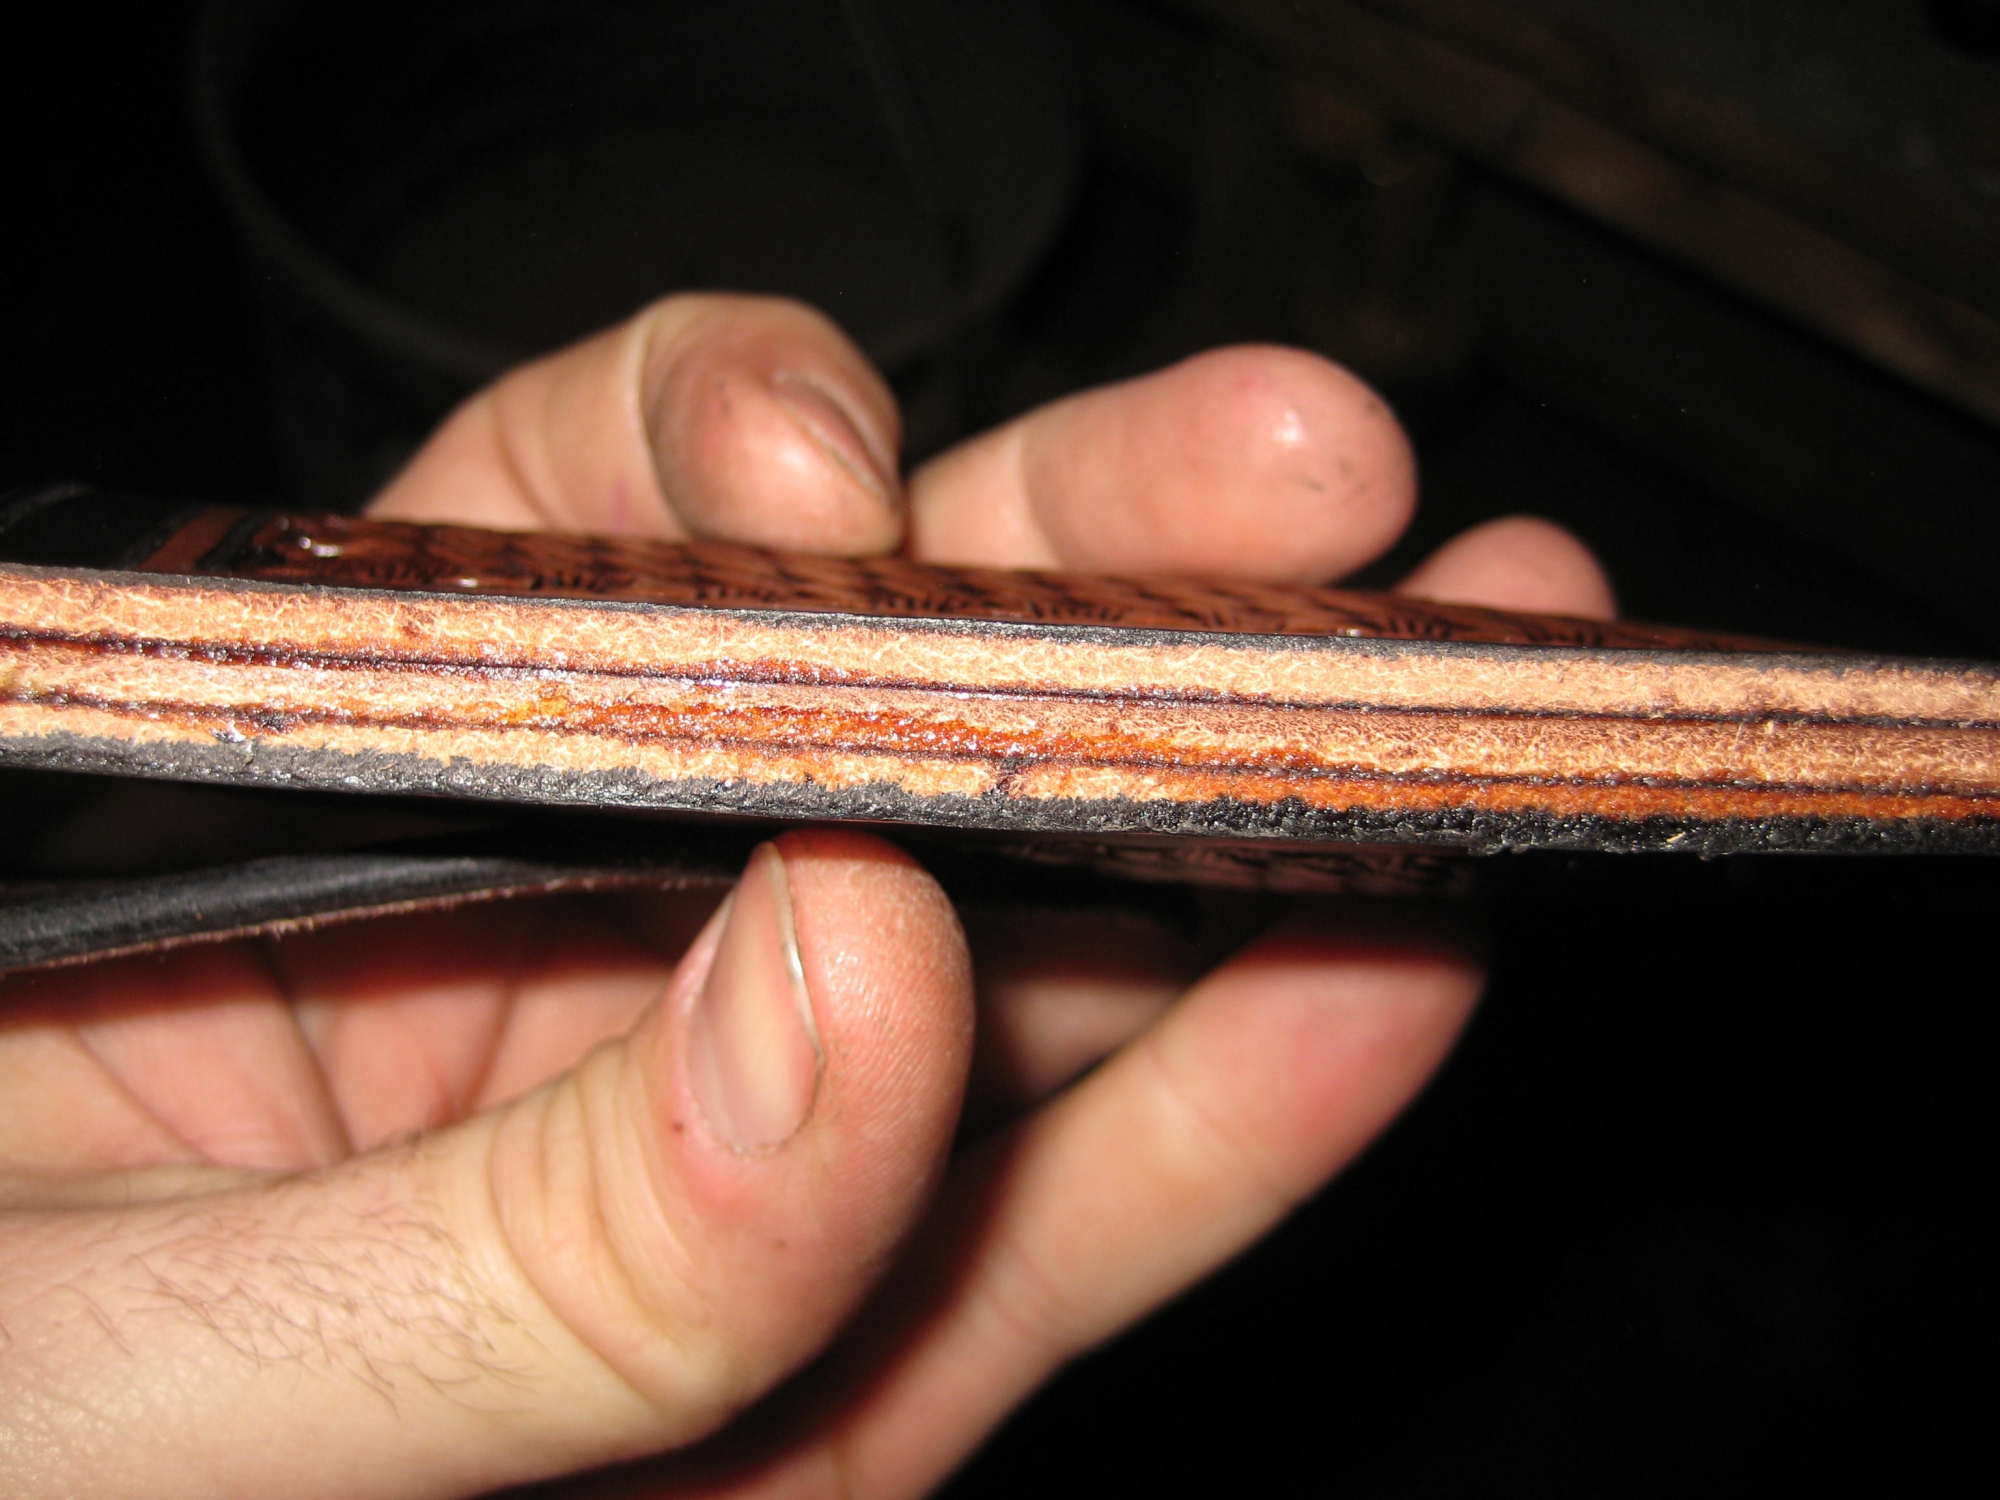
This is me sanding it on a high grit belt. I have already sanded it on a 80 grit belt to even things up, this step just burnishes the edge.
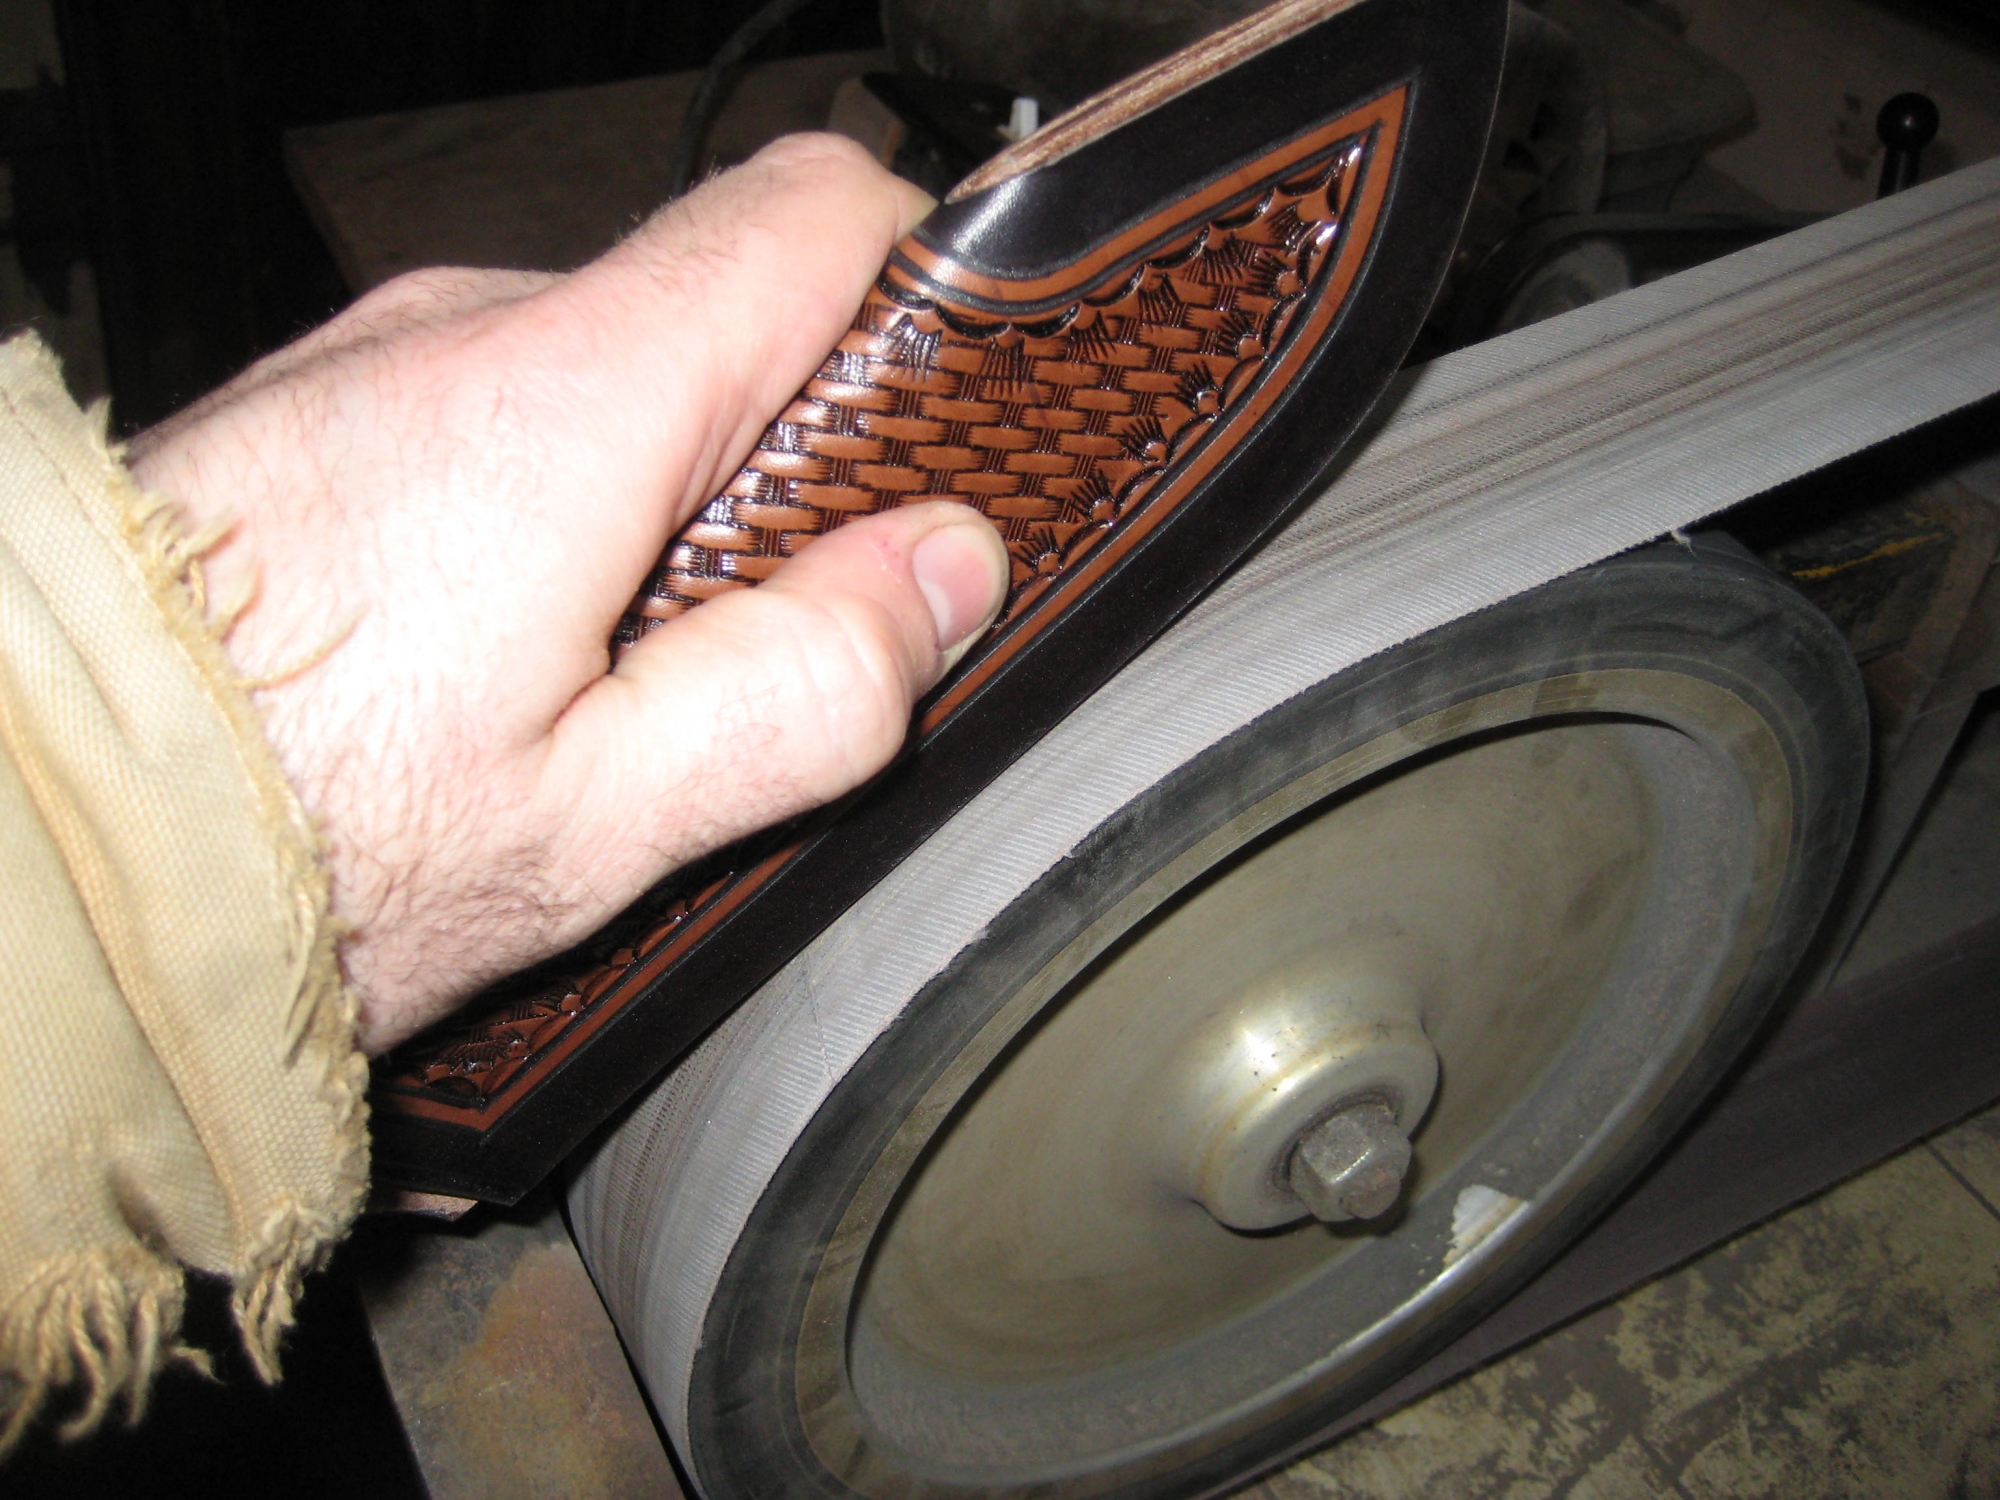
All cleaned up. You might not be able to tell a difference in the picture, but if you were holding it you would easily be able to tell the difference.
Stitching again. Have I mentioned how much I love this machine? Here it is whipping through the three layers of leather, both sides of the sheath and the welt. This sewing machine is great, really great.
Now it is all fit up. The knife fits really well. Sometimes the sheath is too tight and I have to loosen it up. Sometimes it is too loose (not normally, I really try to avoid this. I would rather err on the side of too tight, I can stretch the sheath). This one is just right. If I were teaching others how to do this, this is the sheath I would want to make to demonstrate how to make it all fit.
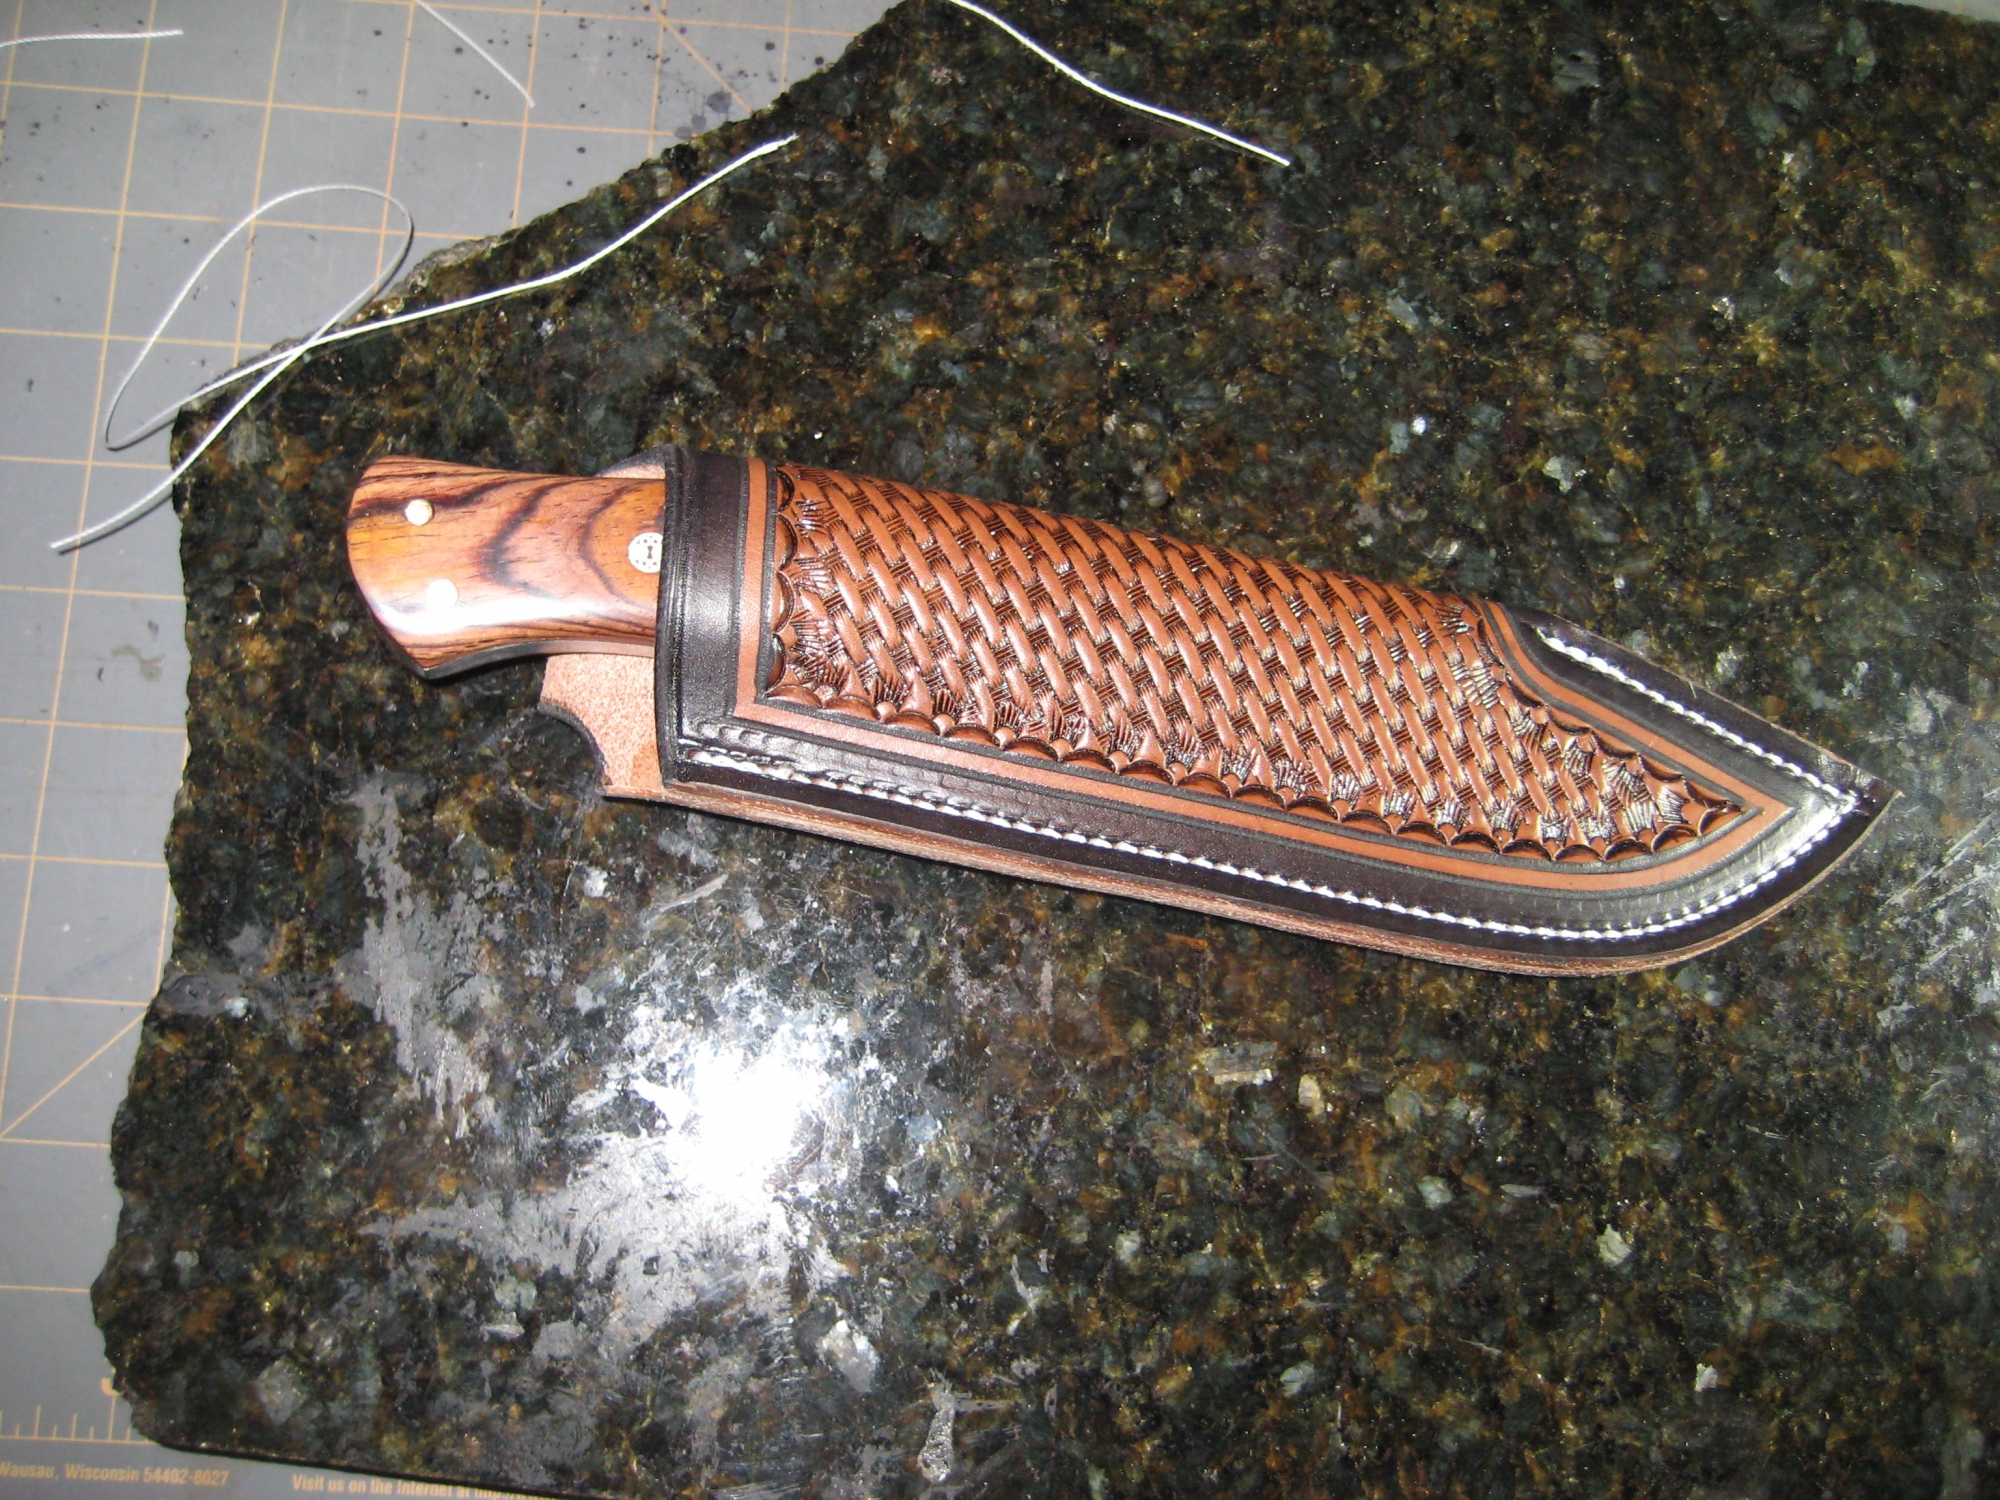
Here I have dyed the edge. It may not look like it because burnished egdes don't absorb the dye very well, but in person, it looks pretty black.
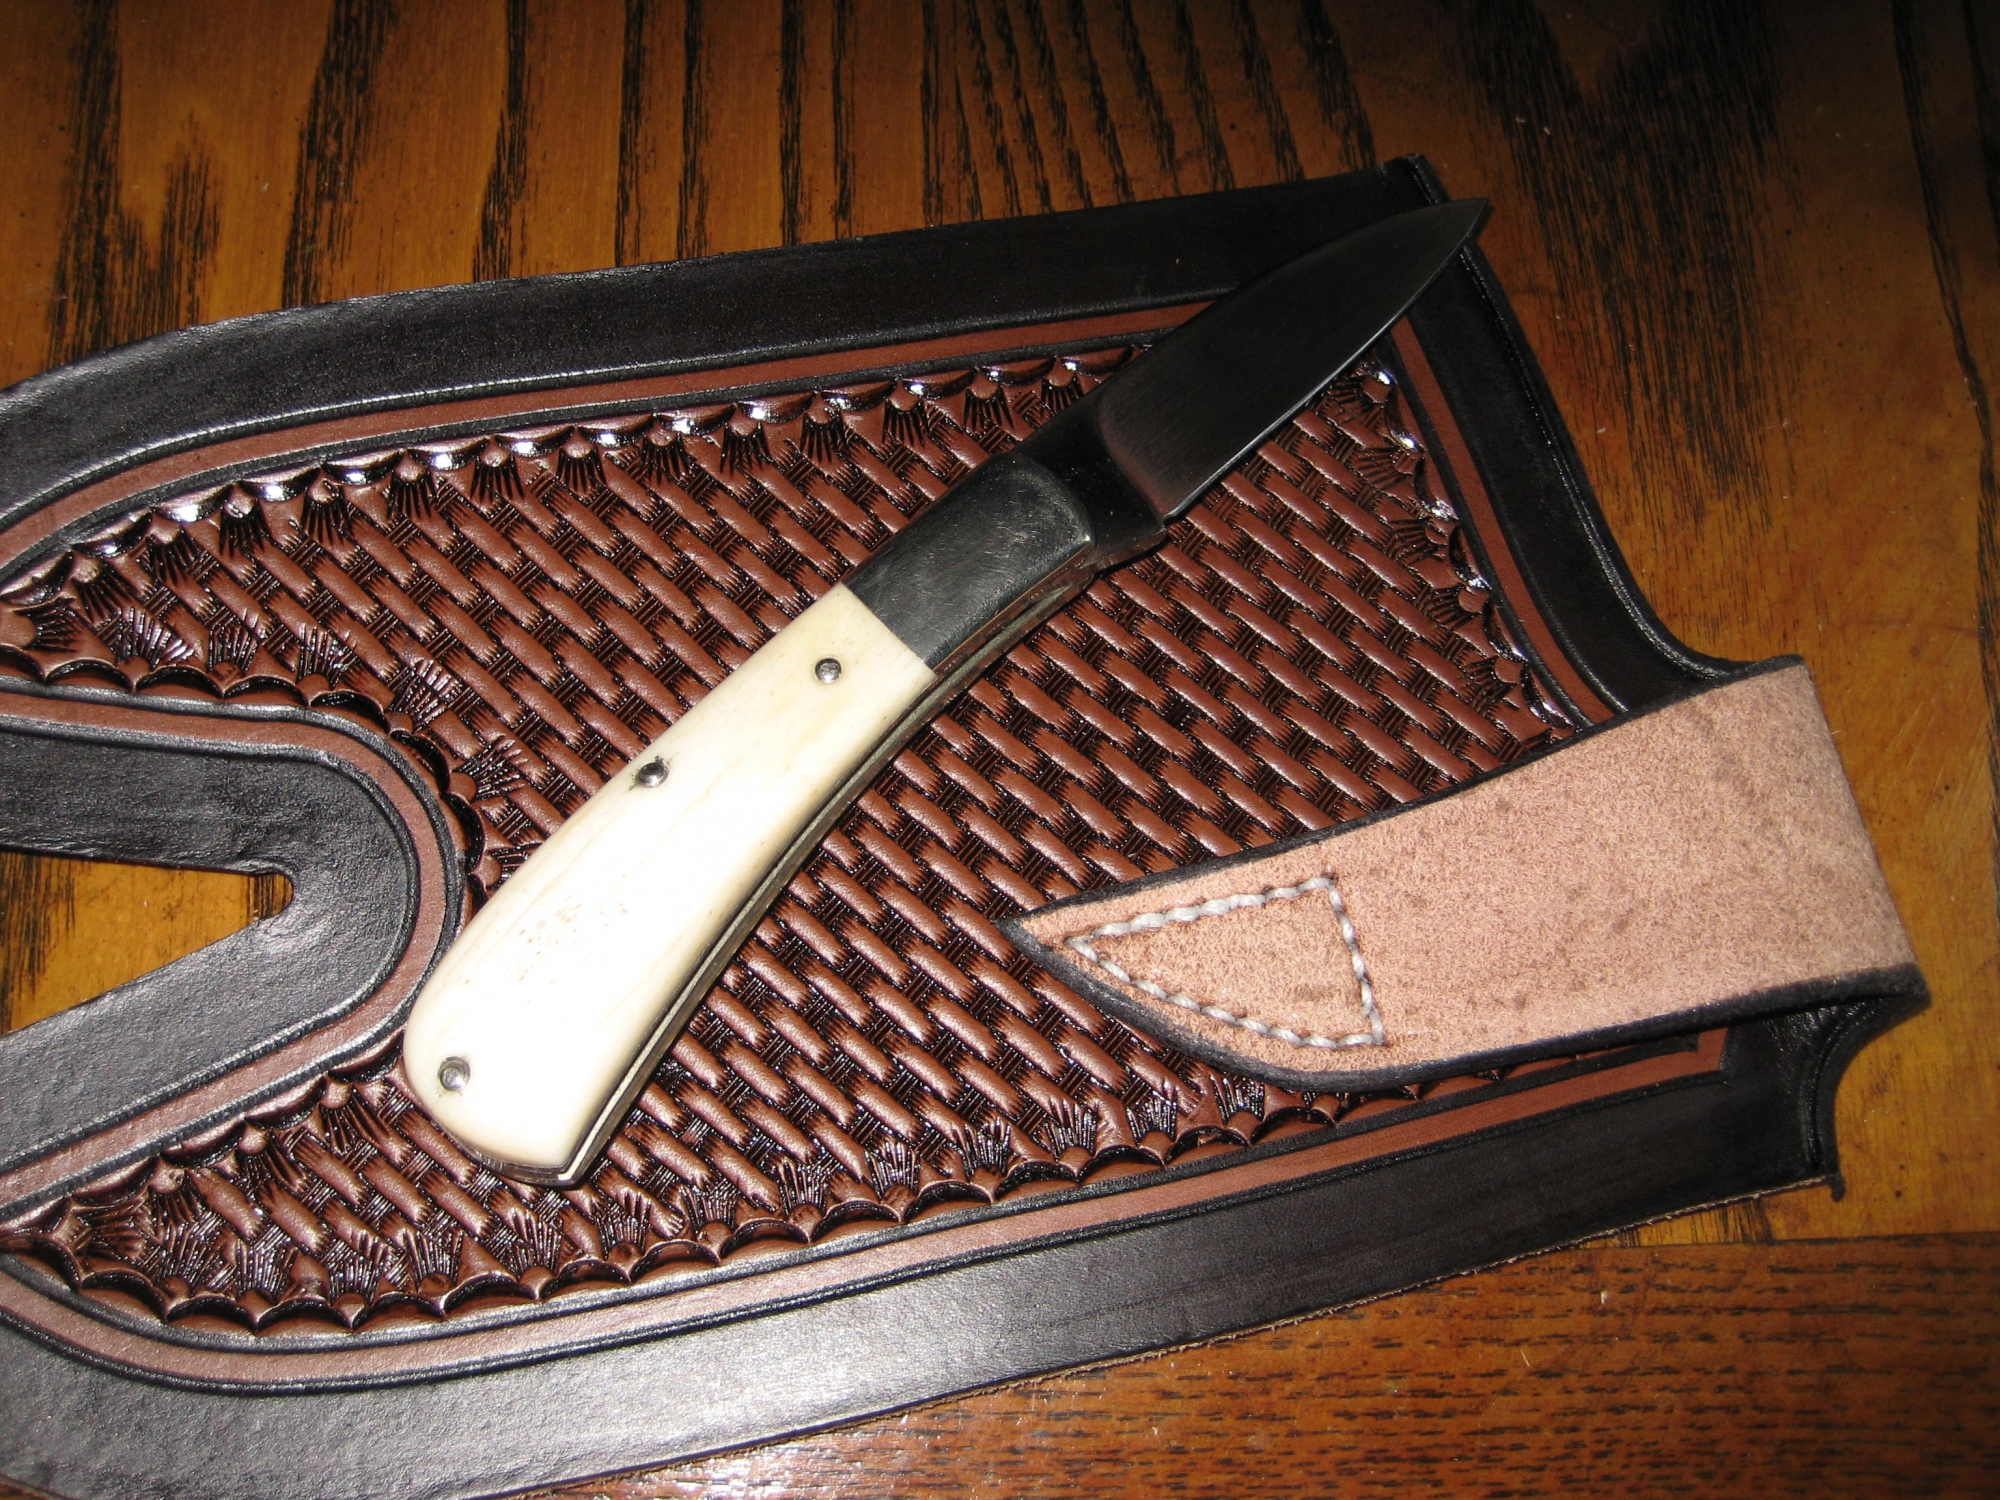
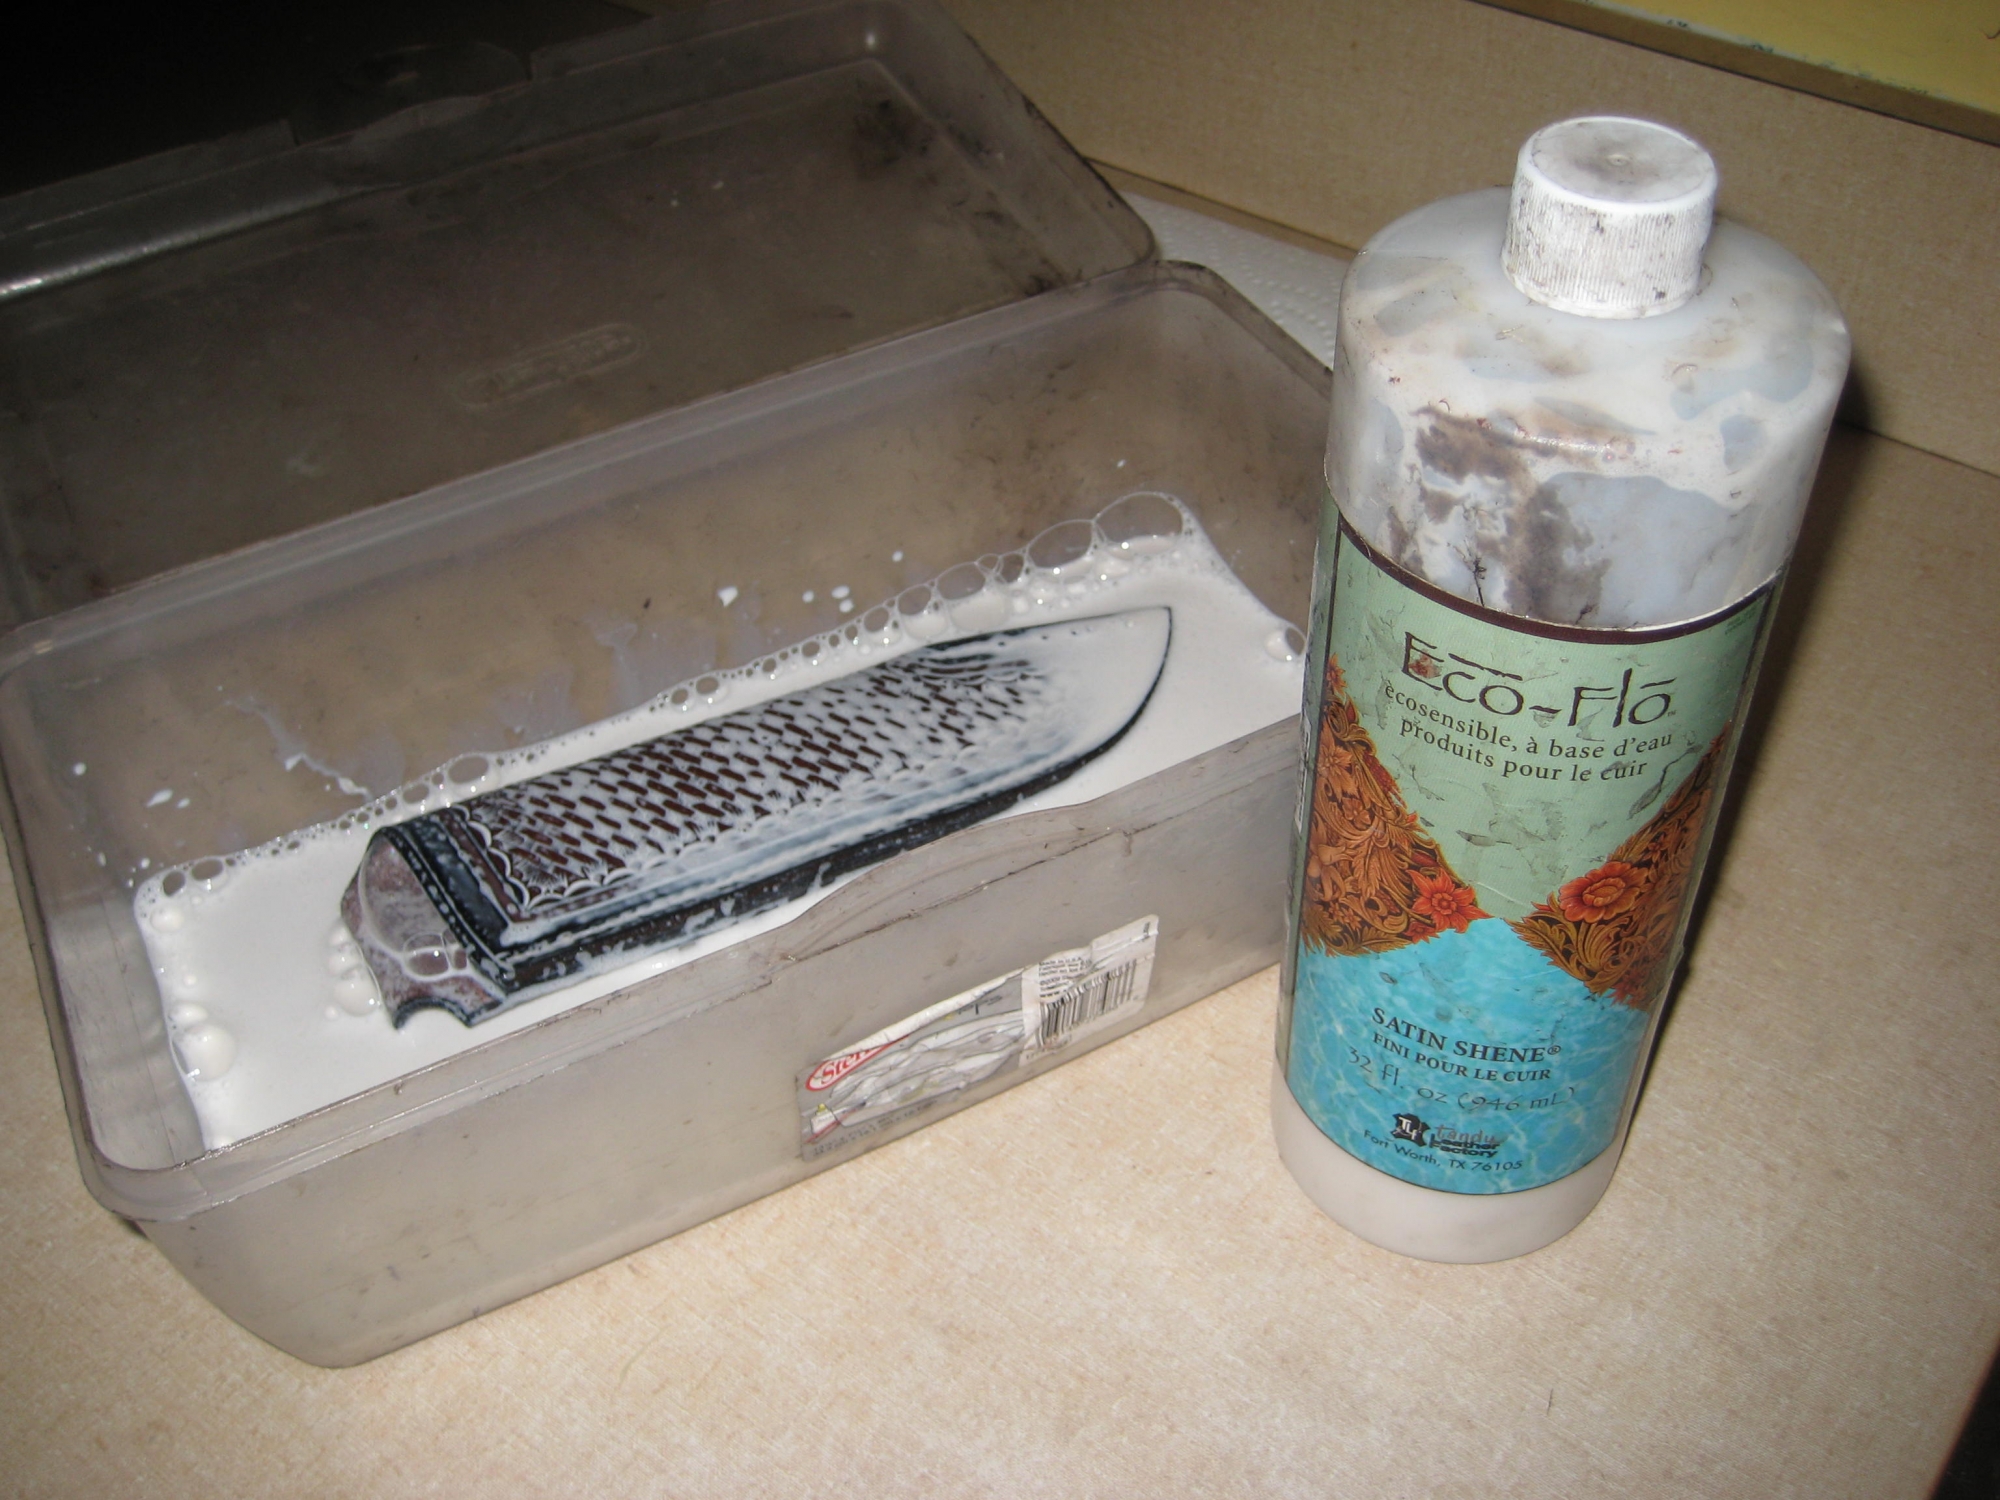
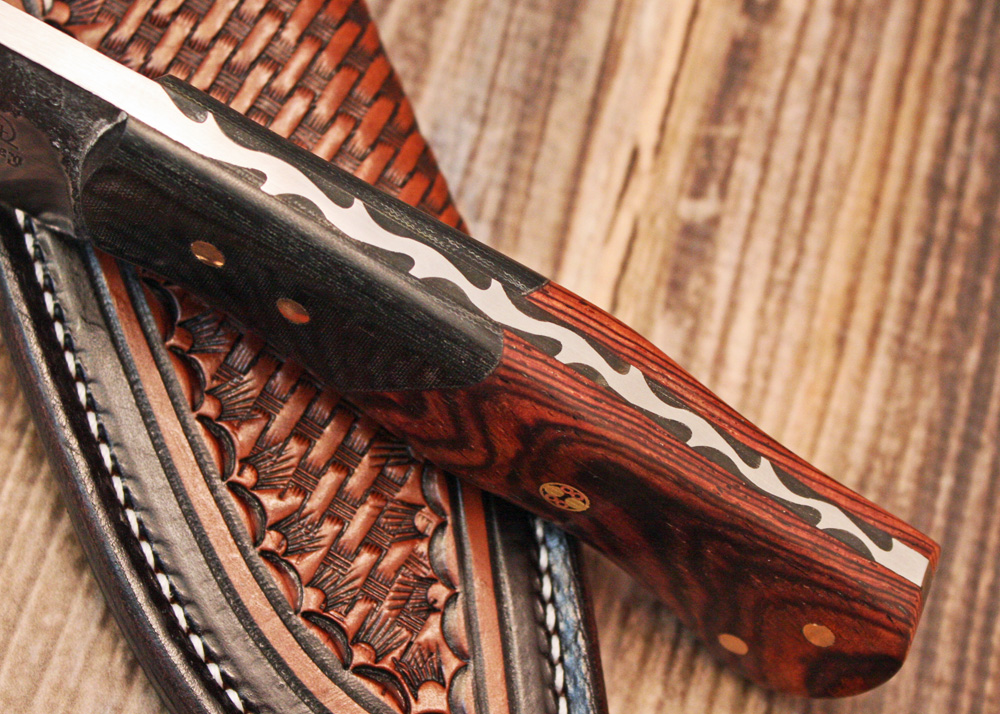
This is pretty much it. I treat the sheath, let it dry and then put the finished knife inside it. I still have to put the final edge on the blade, but nearly everything else is done. I will take some good quality pictures of it in a bit. I hope this whole tutorial has been informative. The whole process took me somewhere in the area of 8-12 hours. I hope it sells for enough at the auction to make some decent money for Sydney. My knives usually sell for somewhere in the area of $200-350, and I hope this goes for more than that. Sydney is a great kid and a great student, she deserves more than I can give. Please pray for Syd and her family.
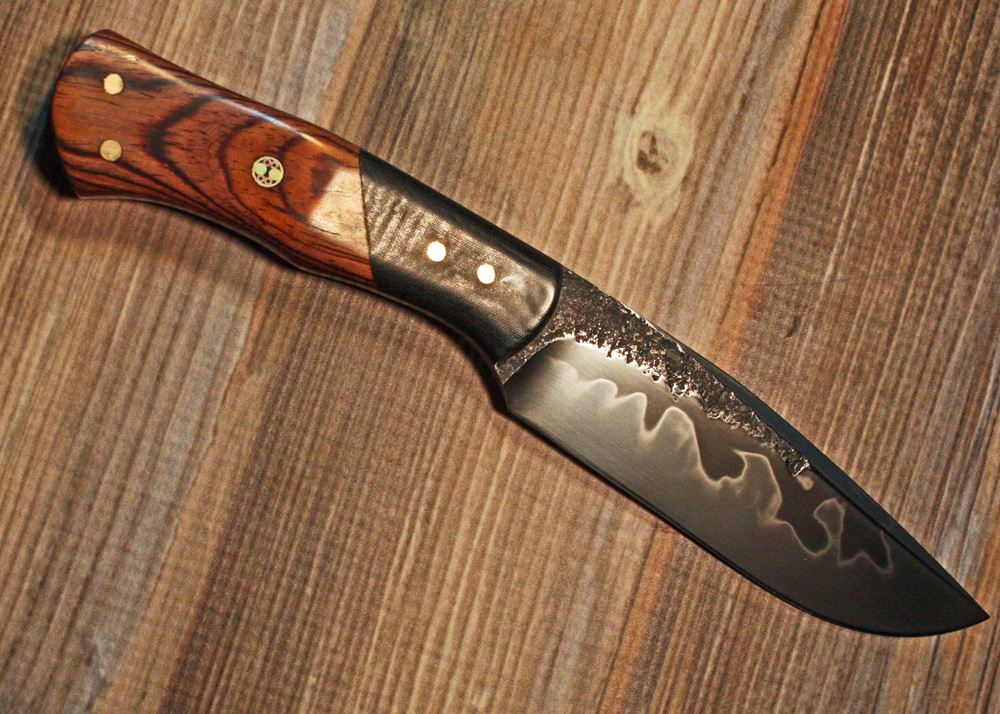
Final shots. I have used my wife's camera (much better than mine, and not likely to spend any time in my dusty shop)
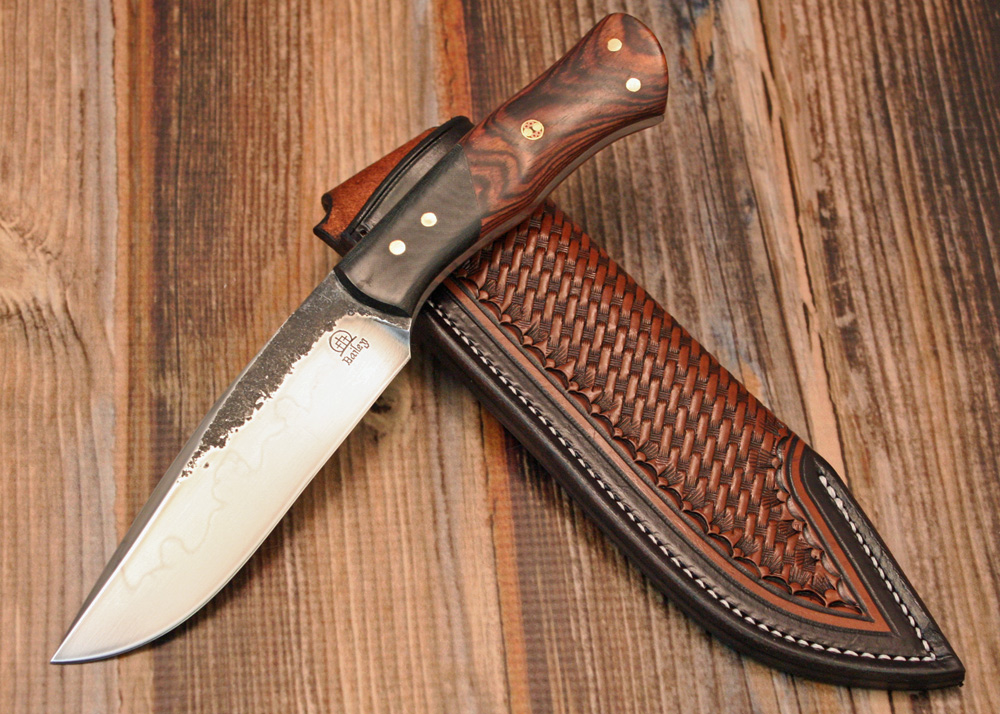
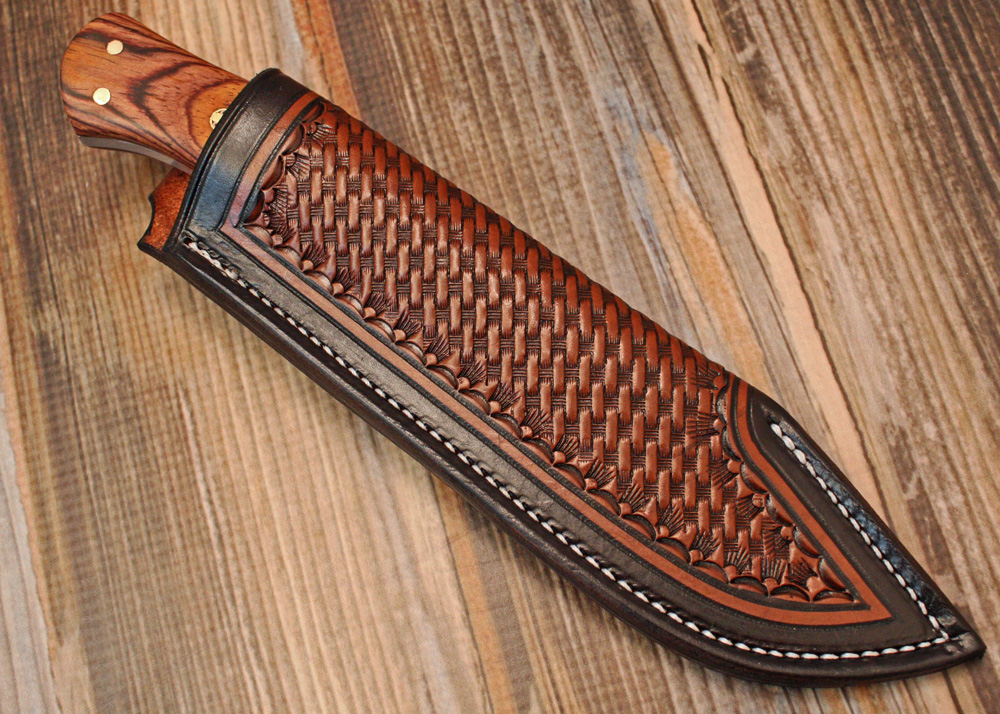
More shots. There will be about 5 more. Hope you like them.
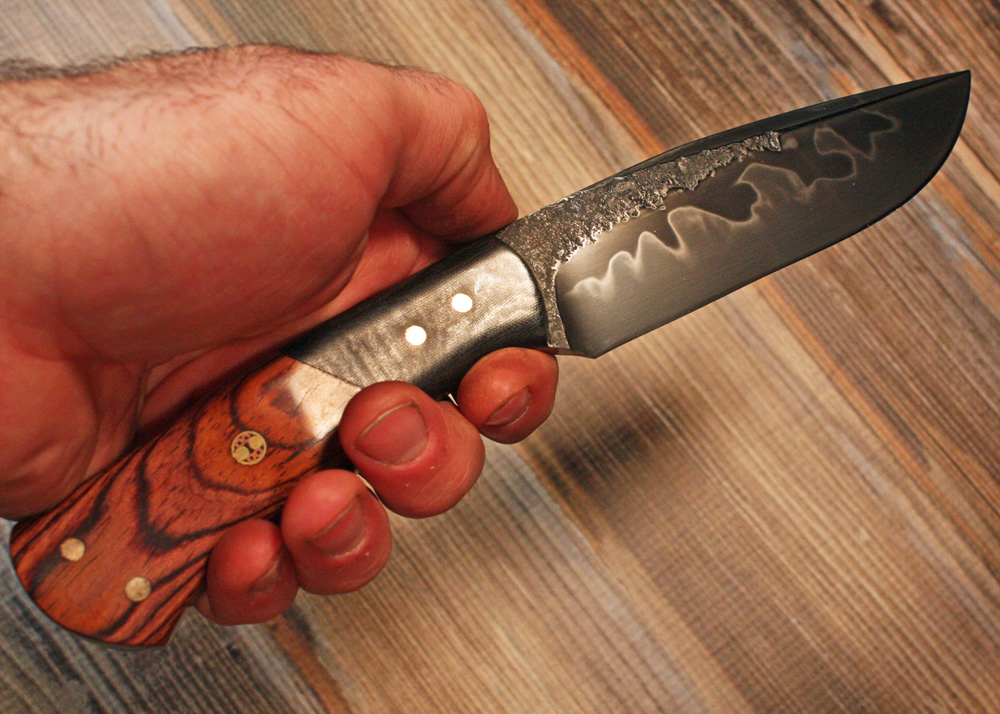
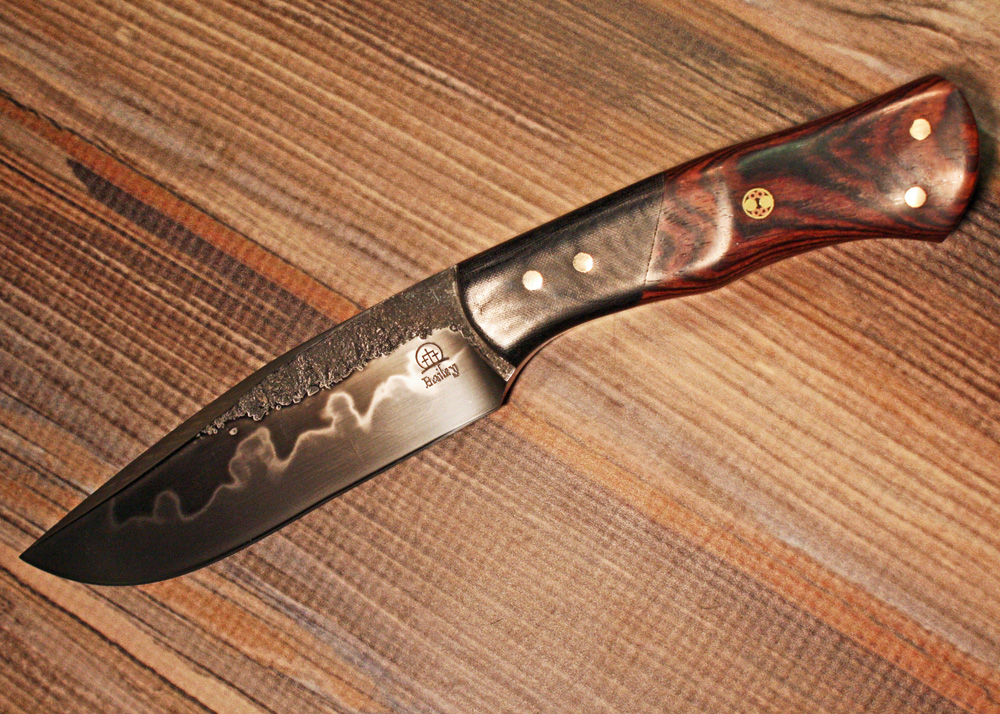
Different lighting for the hamon. The hamon is notoriously difficult to photograph, because it changes in different light conditions. This is about as decent a photograph as I can take.
In the hand shot. Hope it looks good.