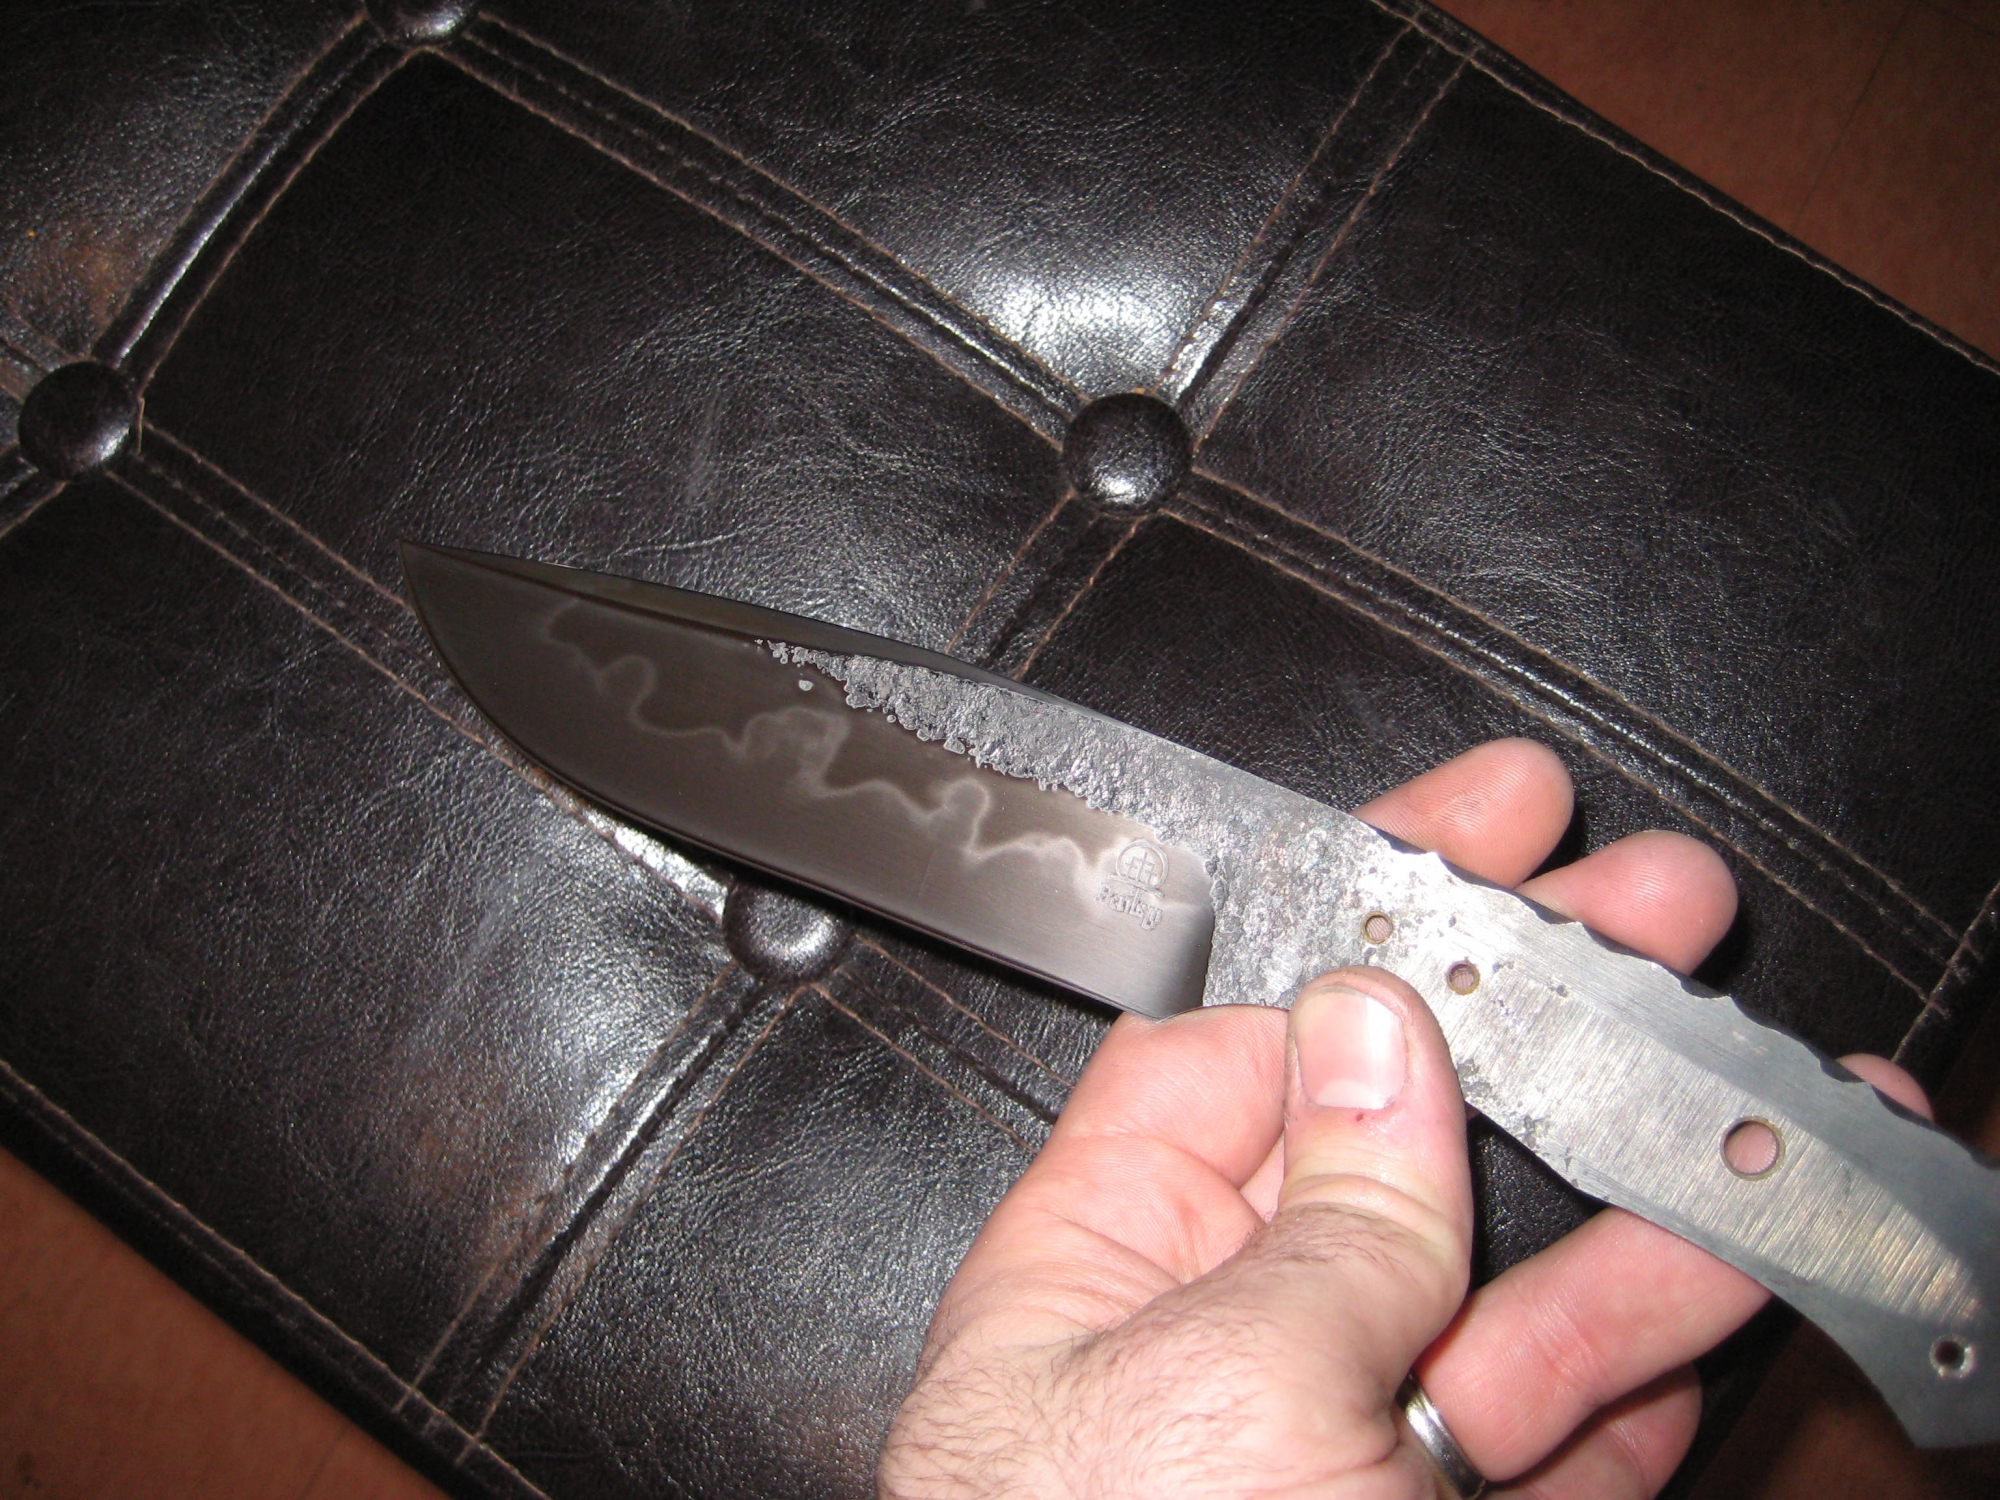
In order to keep the knife from warping in the quench, I have to leave some thickness on the edge. As I have been doing this longer and have been more careful in my pre heat treating preparation, I have tended to grind the edges thinner and thinner before the heat treat. This one is around a dime's thickness on the edge. It has been heat treated at this point, but I have not ground the edge any thinner yet. The shot is kind of blurry, but you can see the edge.

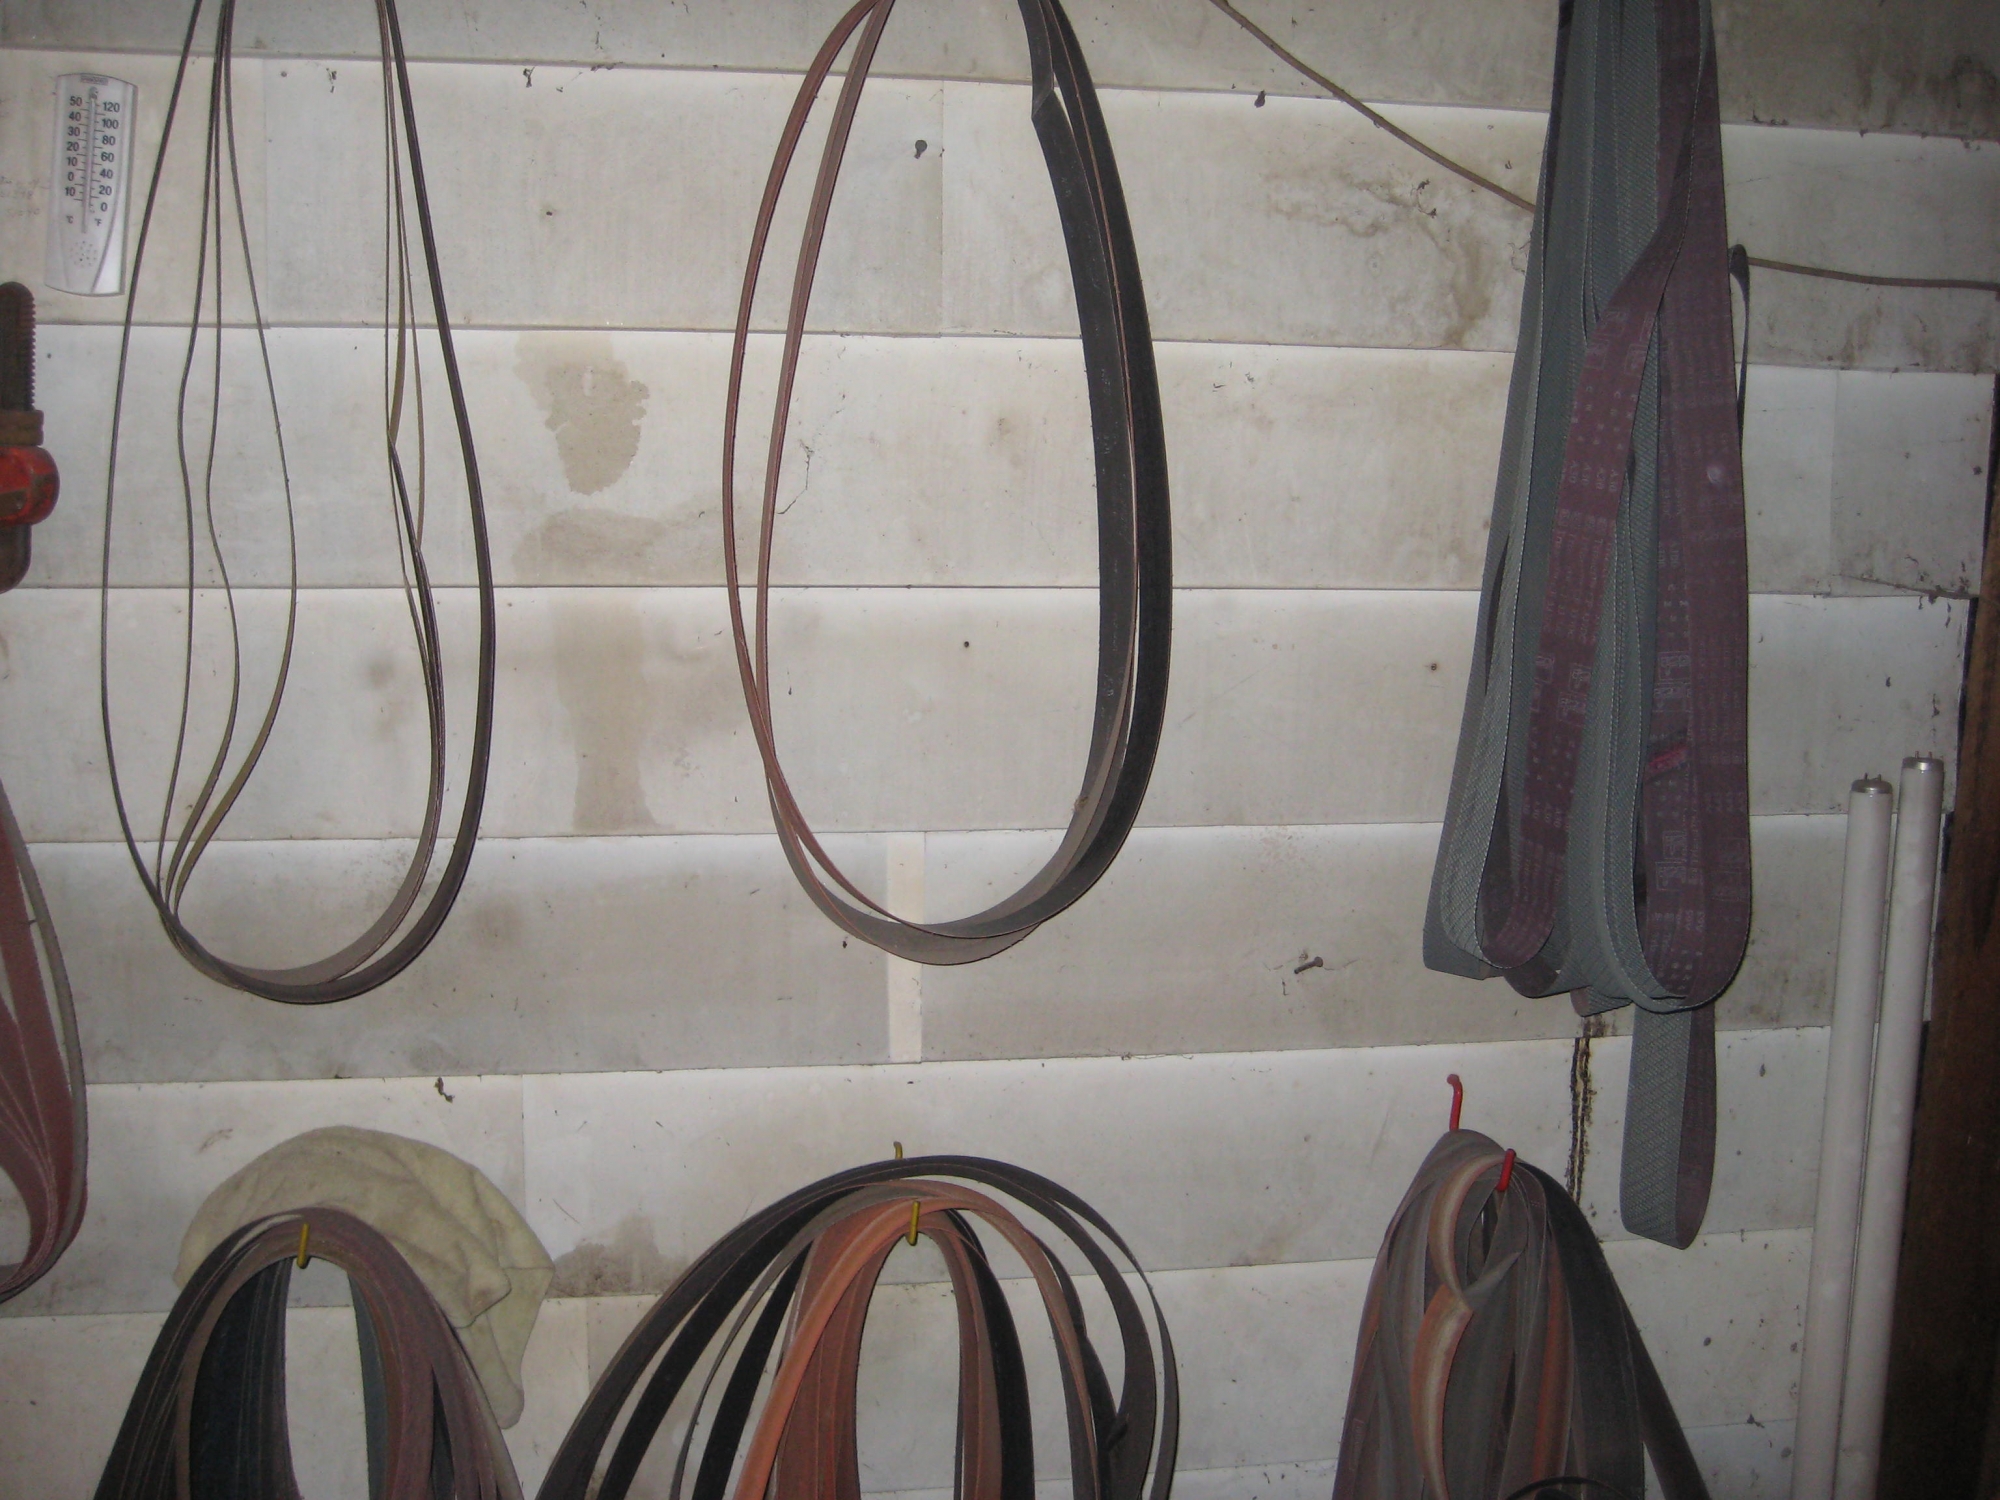
Here is my belt wall. It kind of shows the progression of belts. On there are 36 grit, 60 grit, 80 grit, then a whole host of Gator belts that I will use to put a final polish on it before hand sanding. There will be a better shot of a Gator belt later.
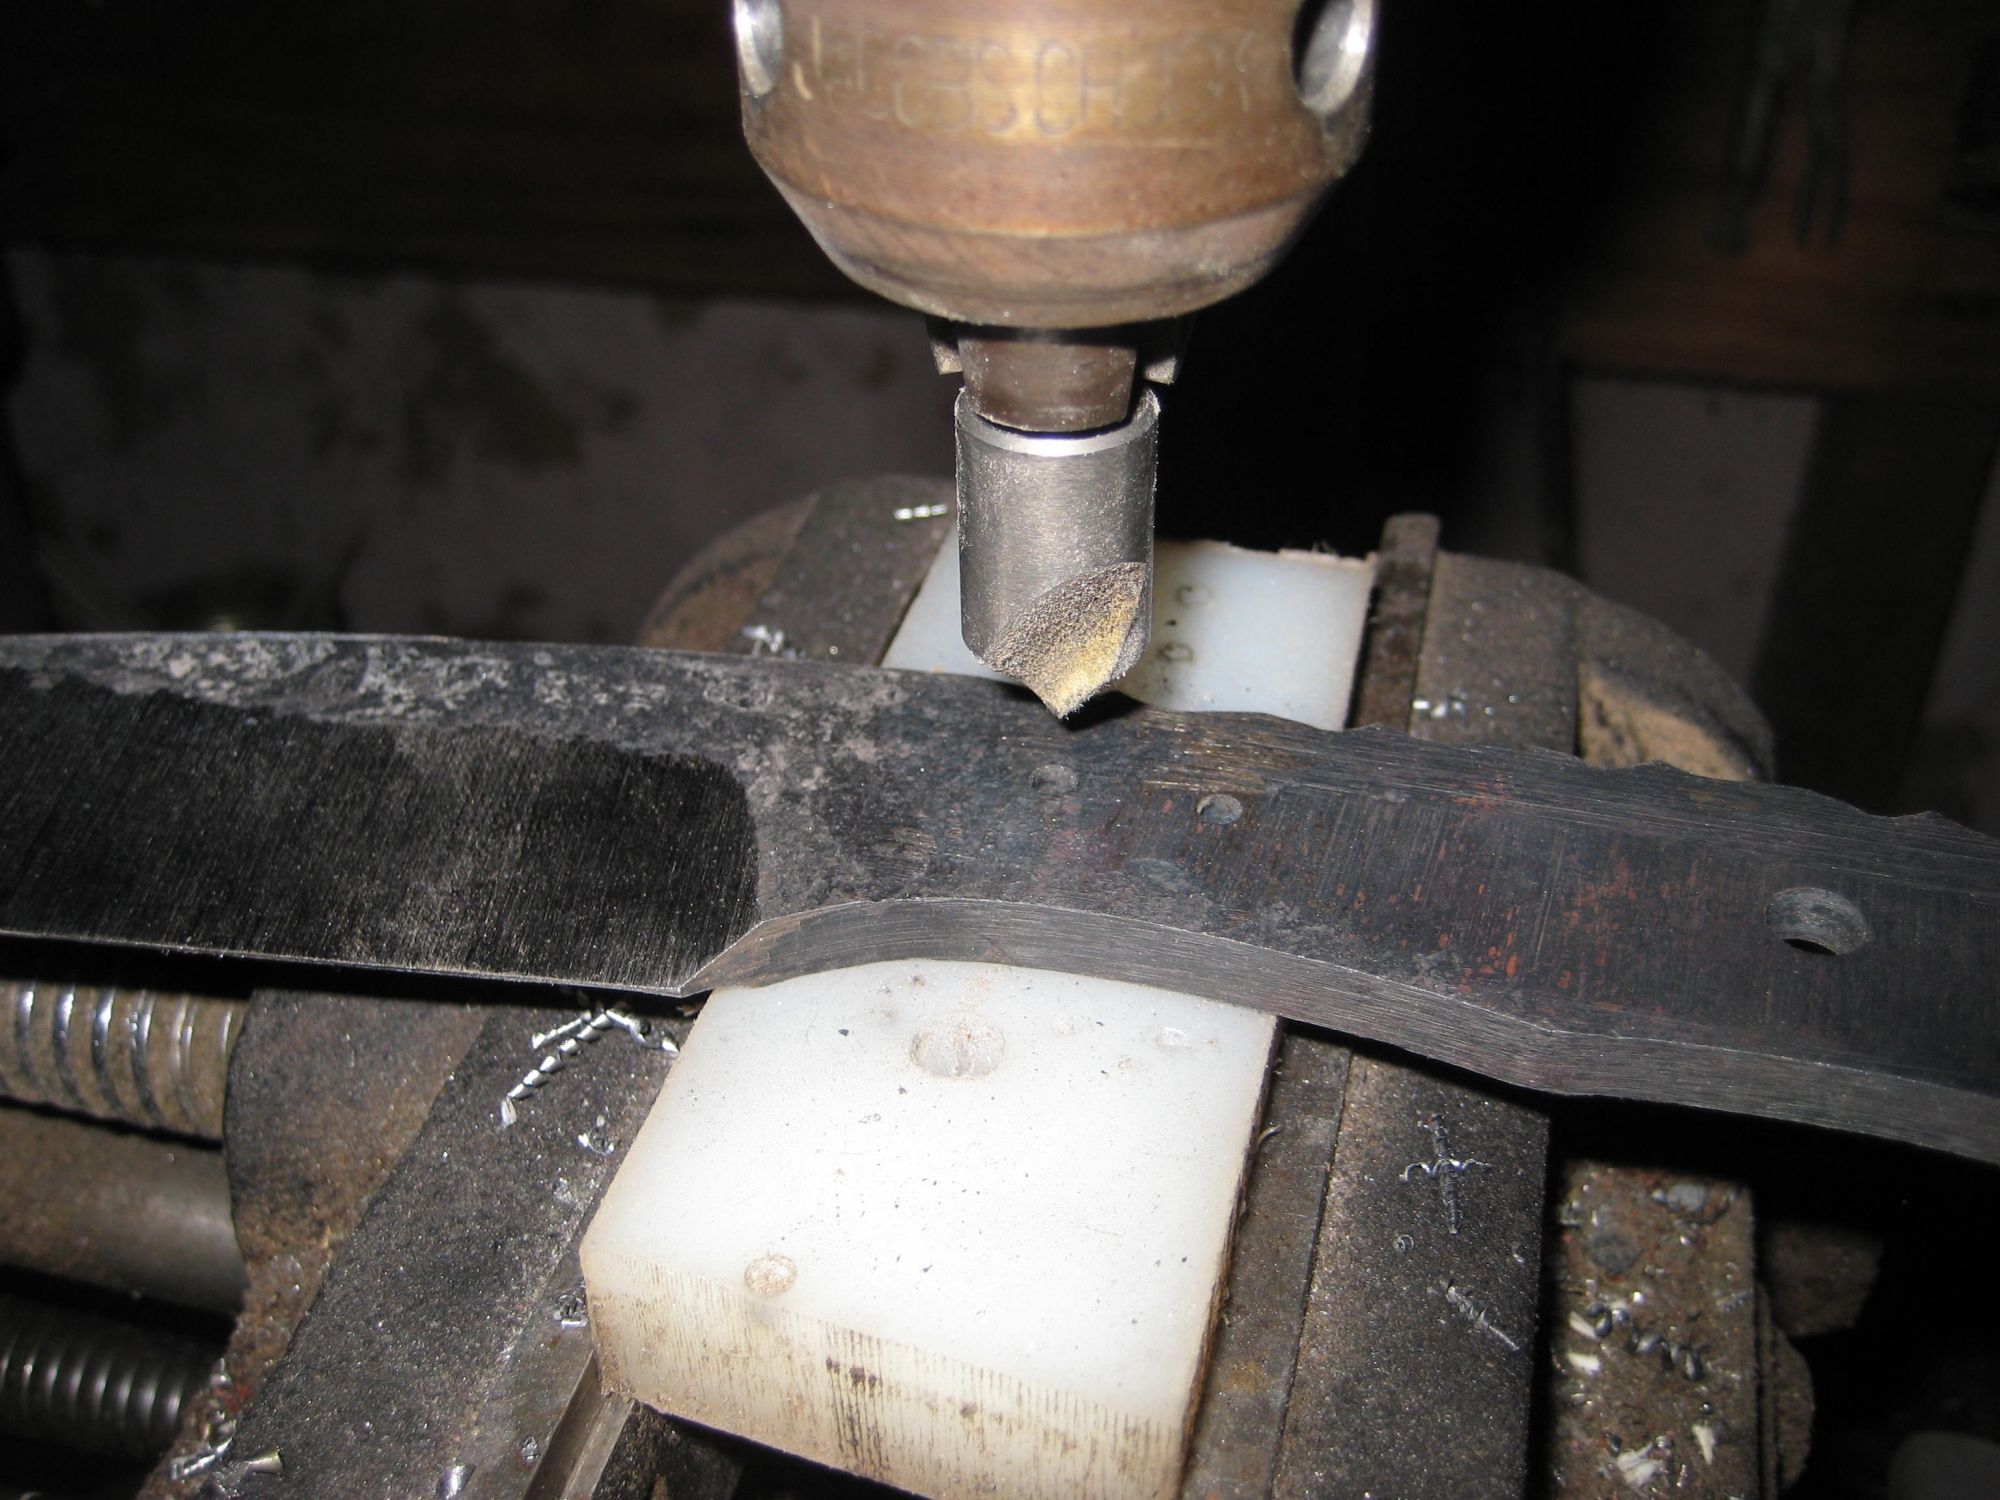
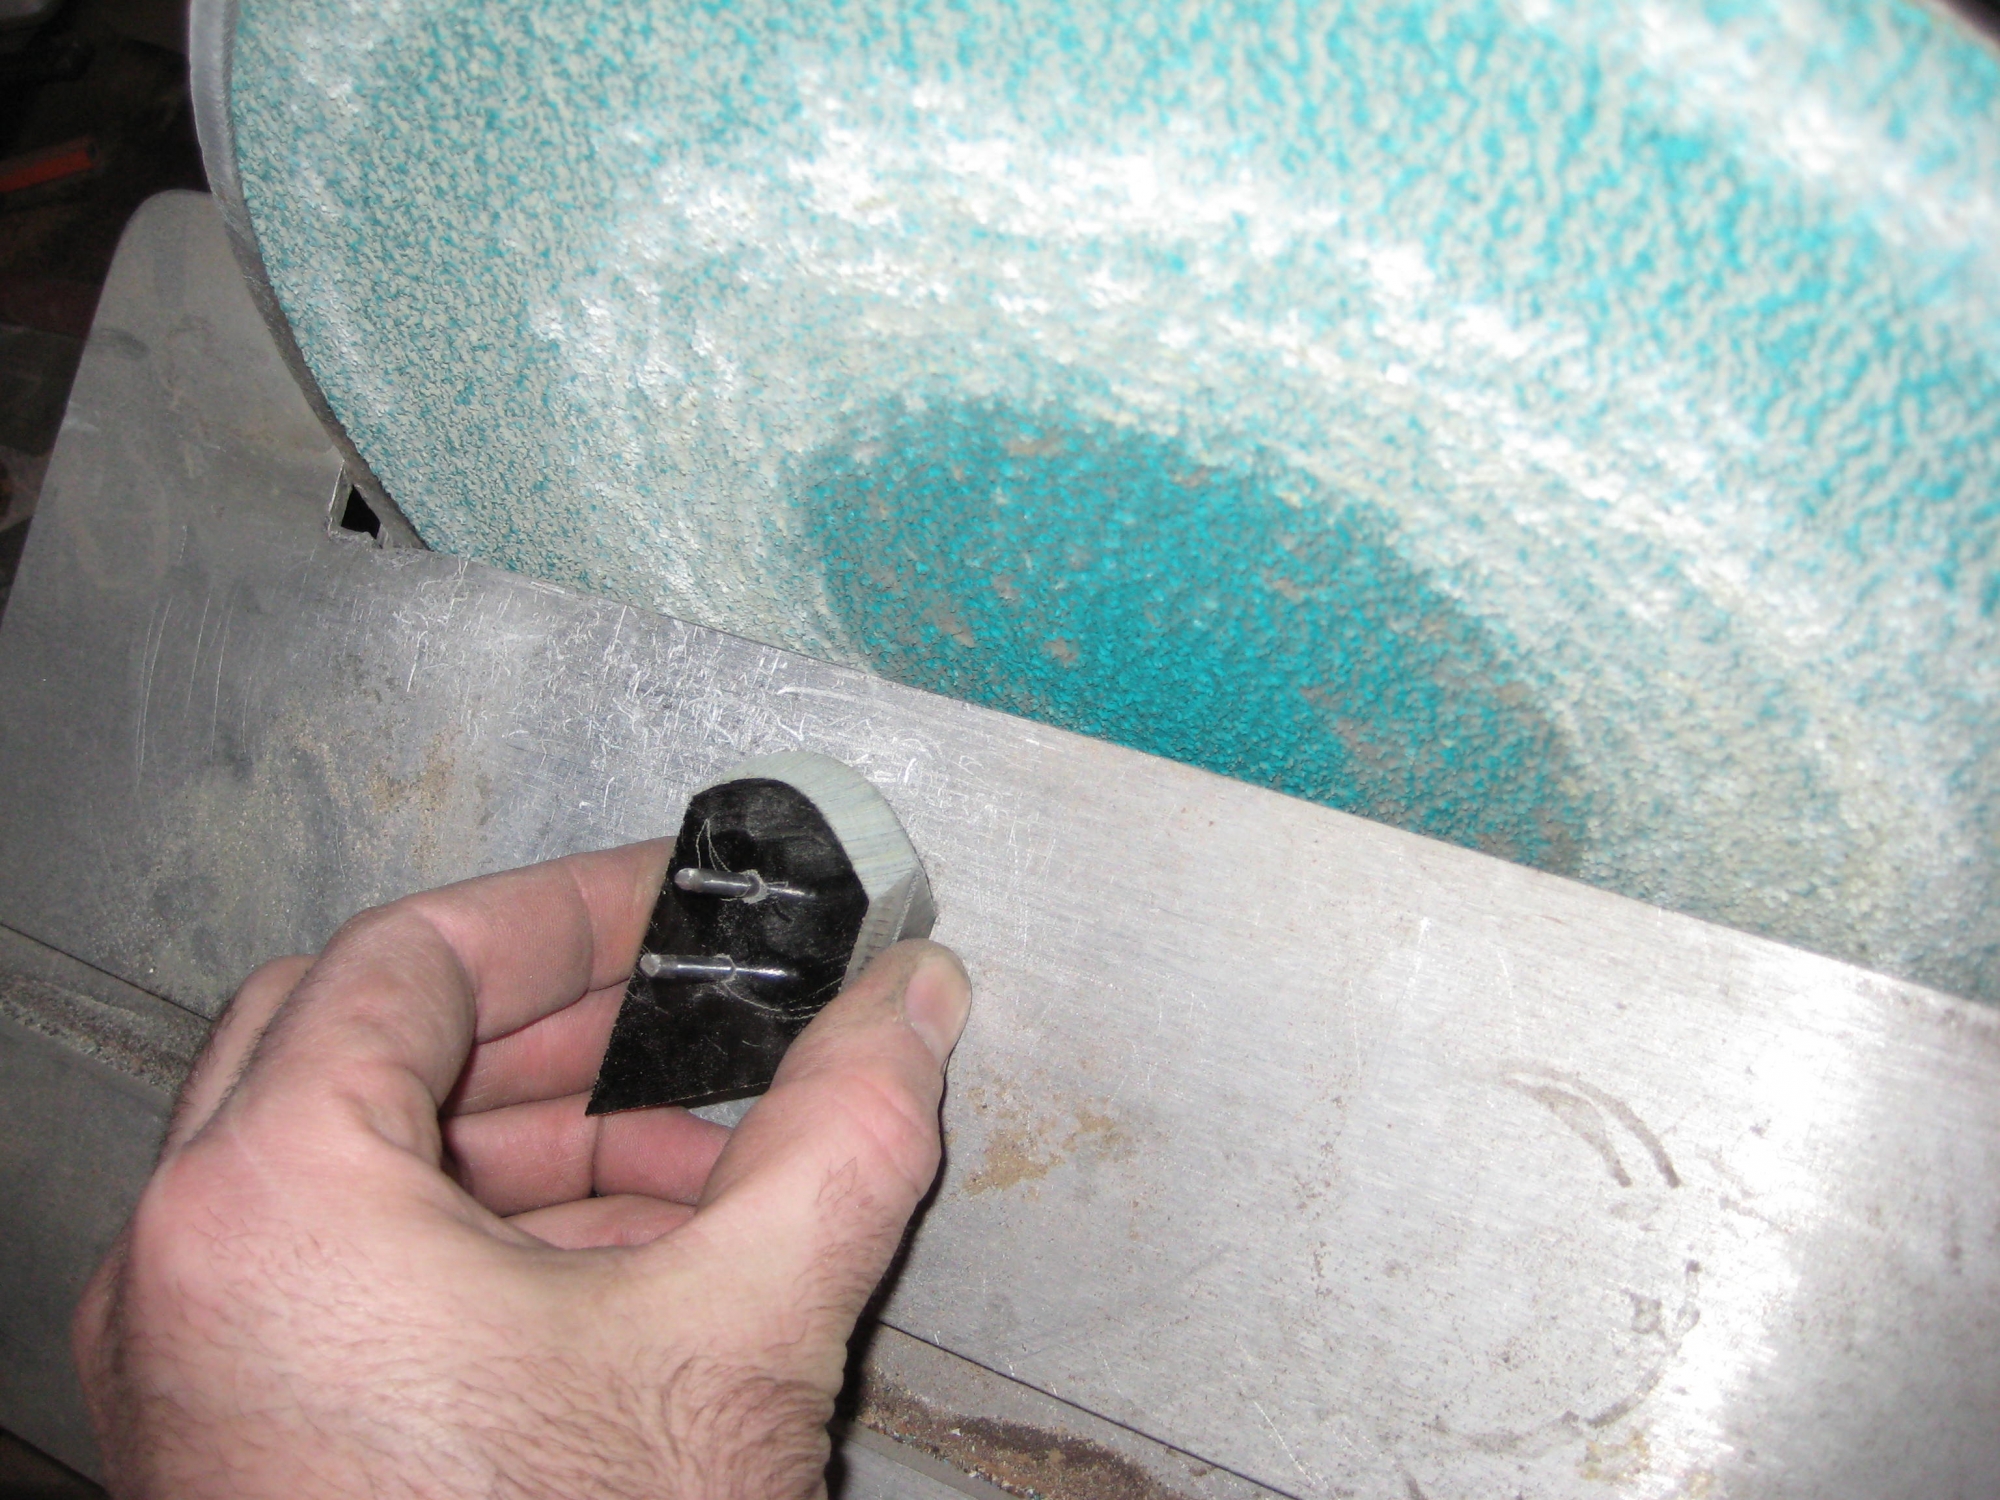
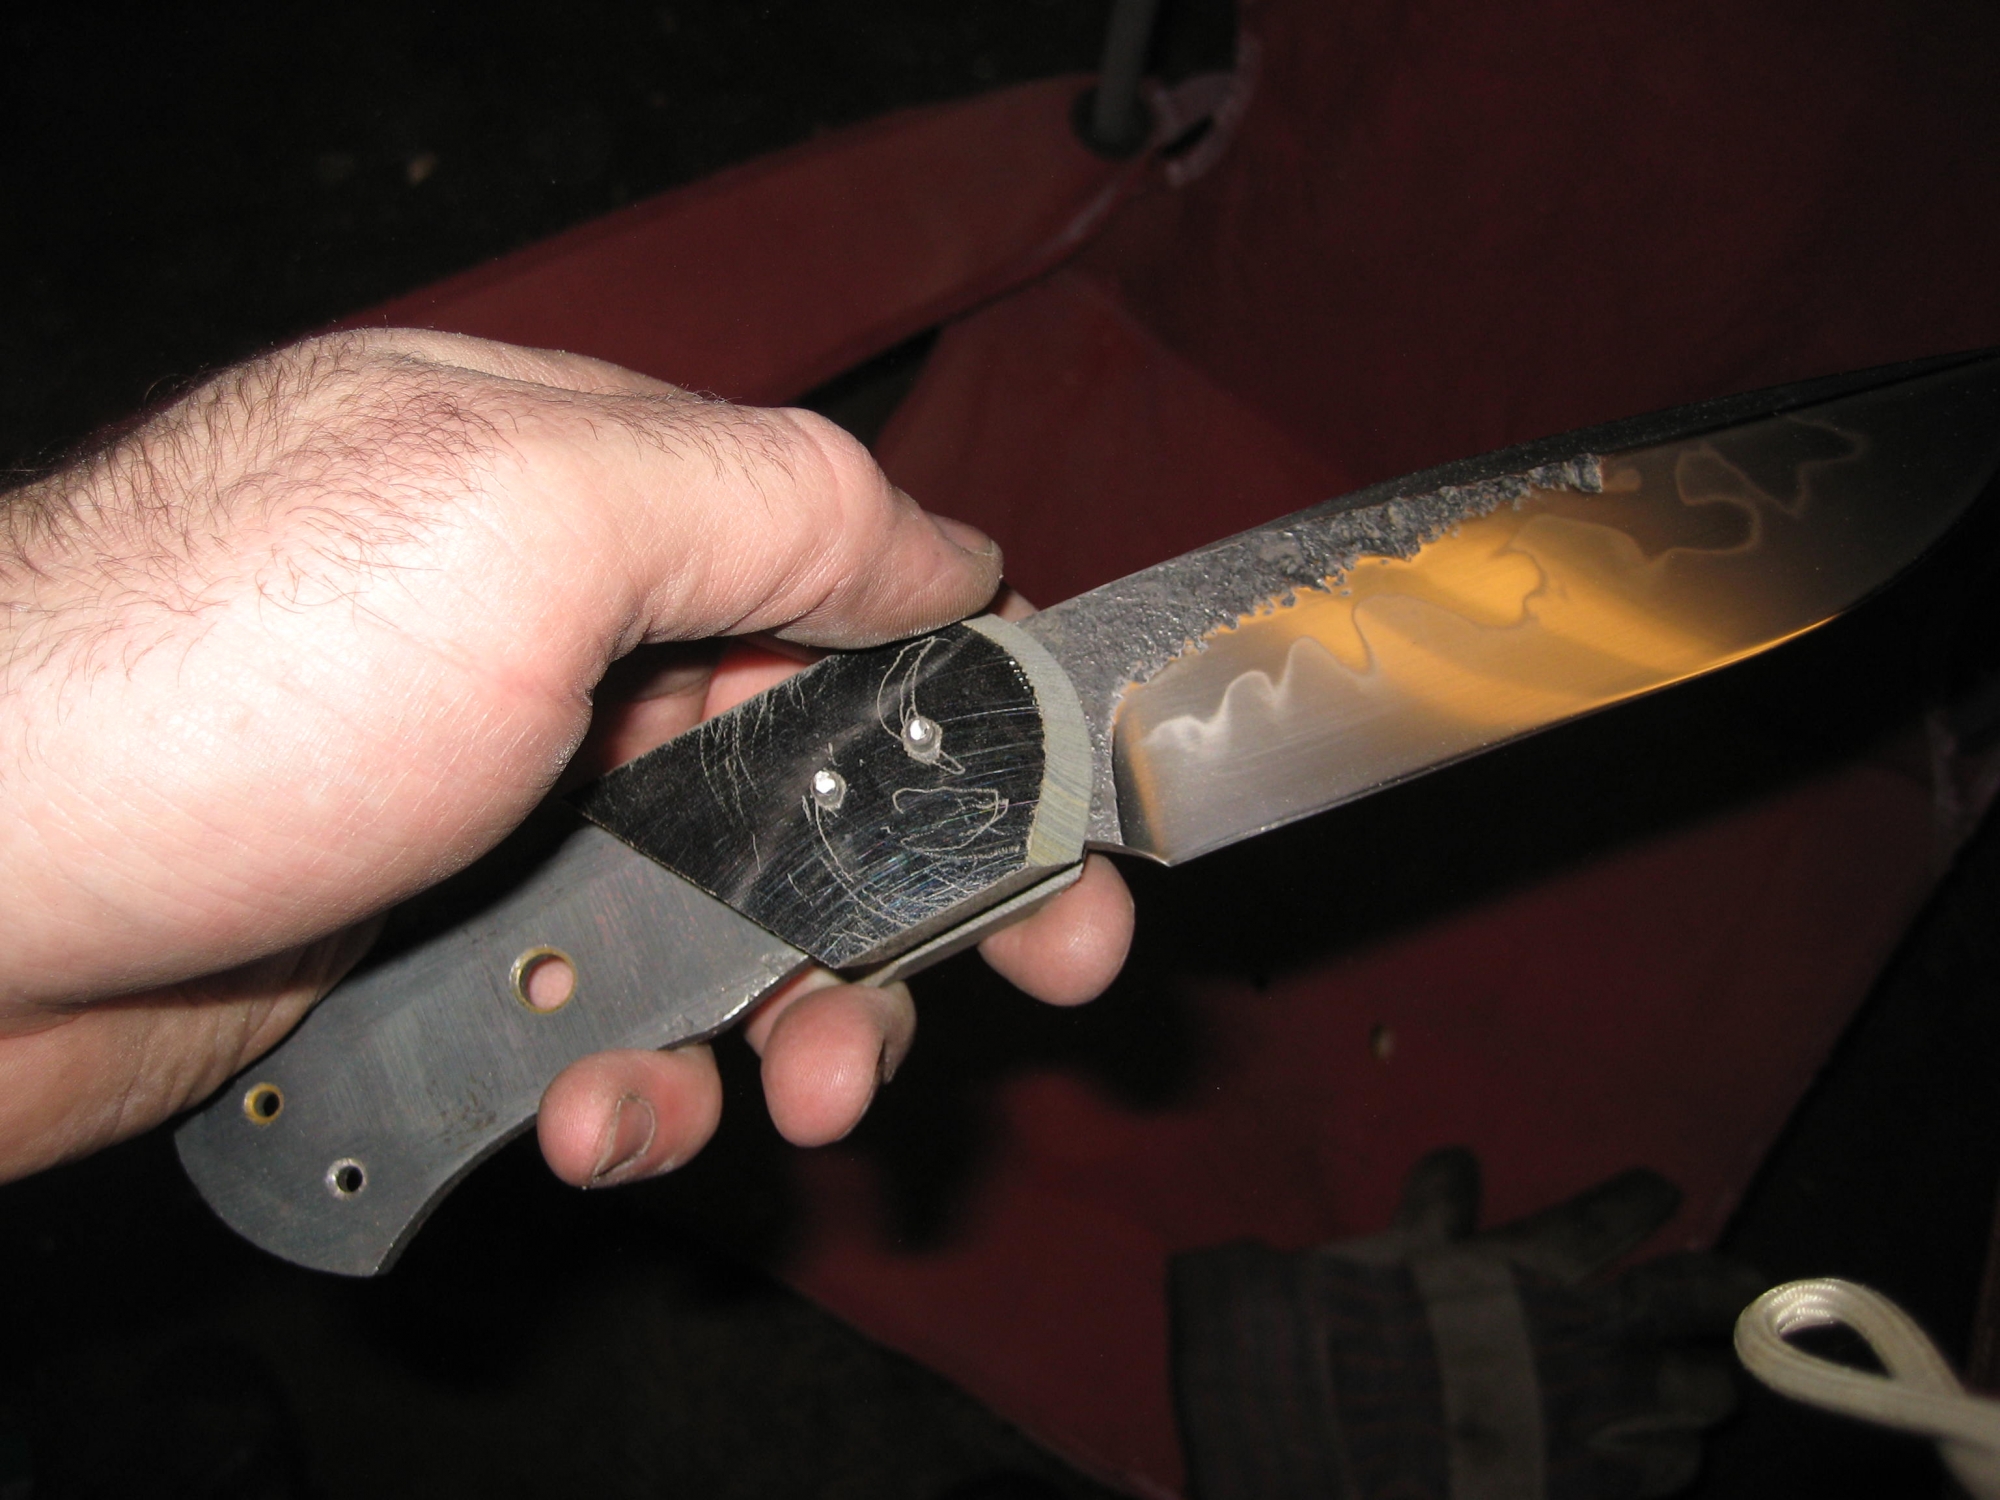
I usually chamfer the holes before heat treating, but I forgot. It is not a big deal, because I left the handle unhardened. I use a countersink to recess the edges of the drill holes. I do this for a couple reasons, first of all, it cleans off any burrs. Also, it creates a washer of sorts with the epoxy that helps hold it all together.
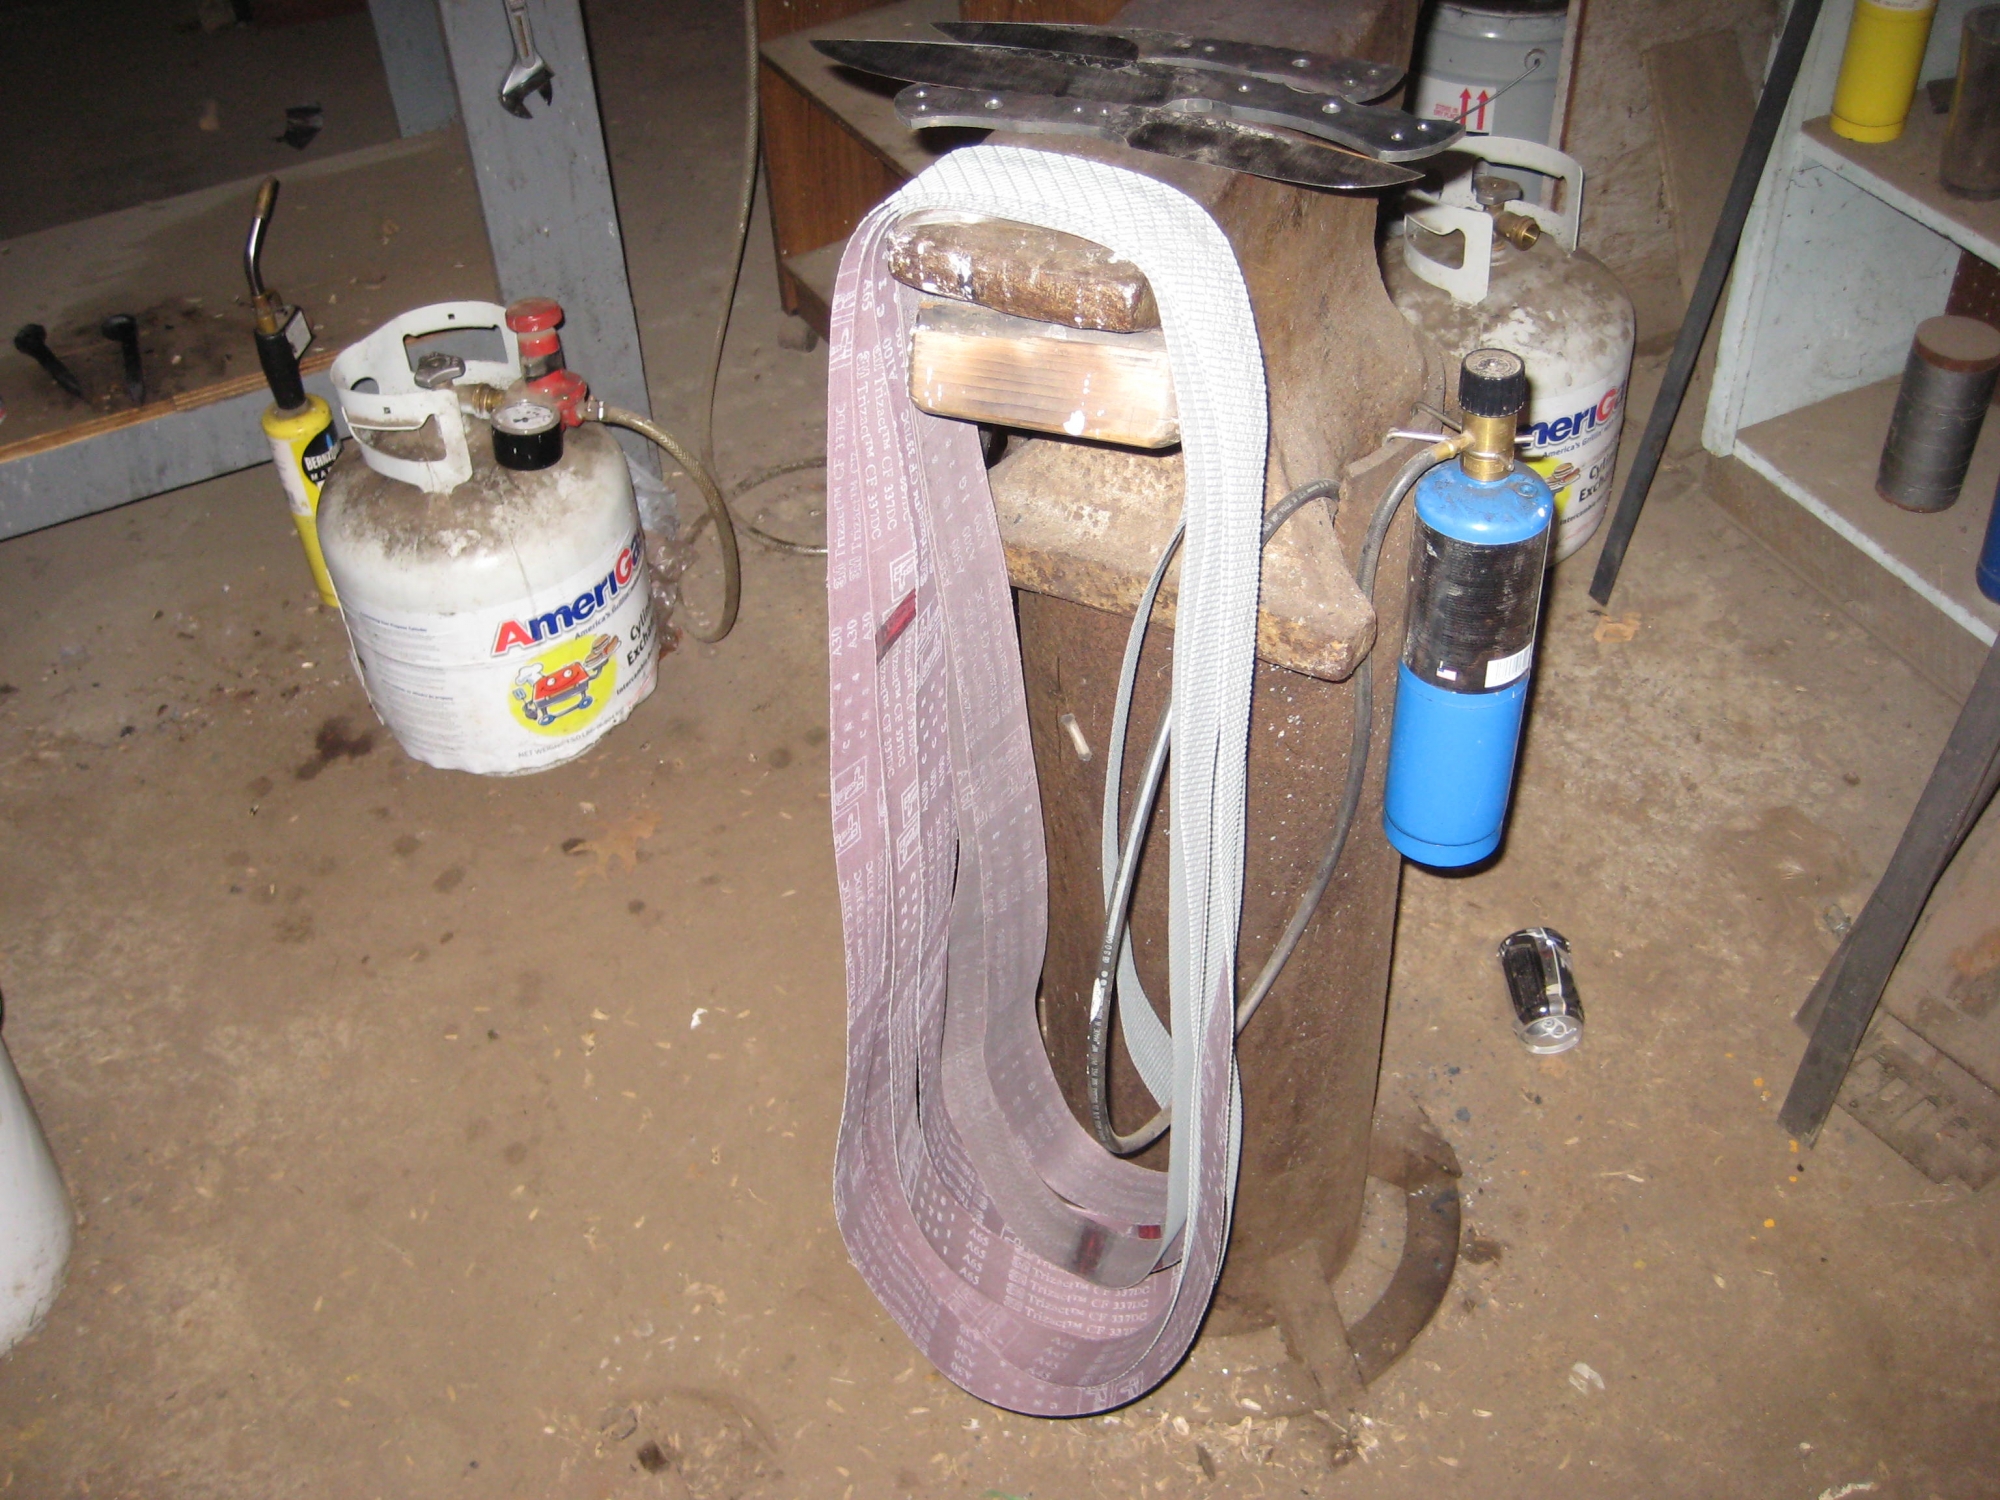
These are the gator belts. They are a structured abrasive. The abrasive is built up in little bricks and these things really last a long time. I have between 80 grit and up to 600 grit, although they are given designations such as A30 or A300. I grind the blade nice and thin with the regular ceramic belts, then set up the gators by drooping them over the end of my anvil. I run through the bunch of them from the bottom out and replace them the same way on the hook on the wall.
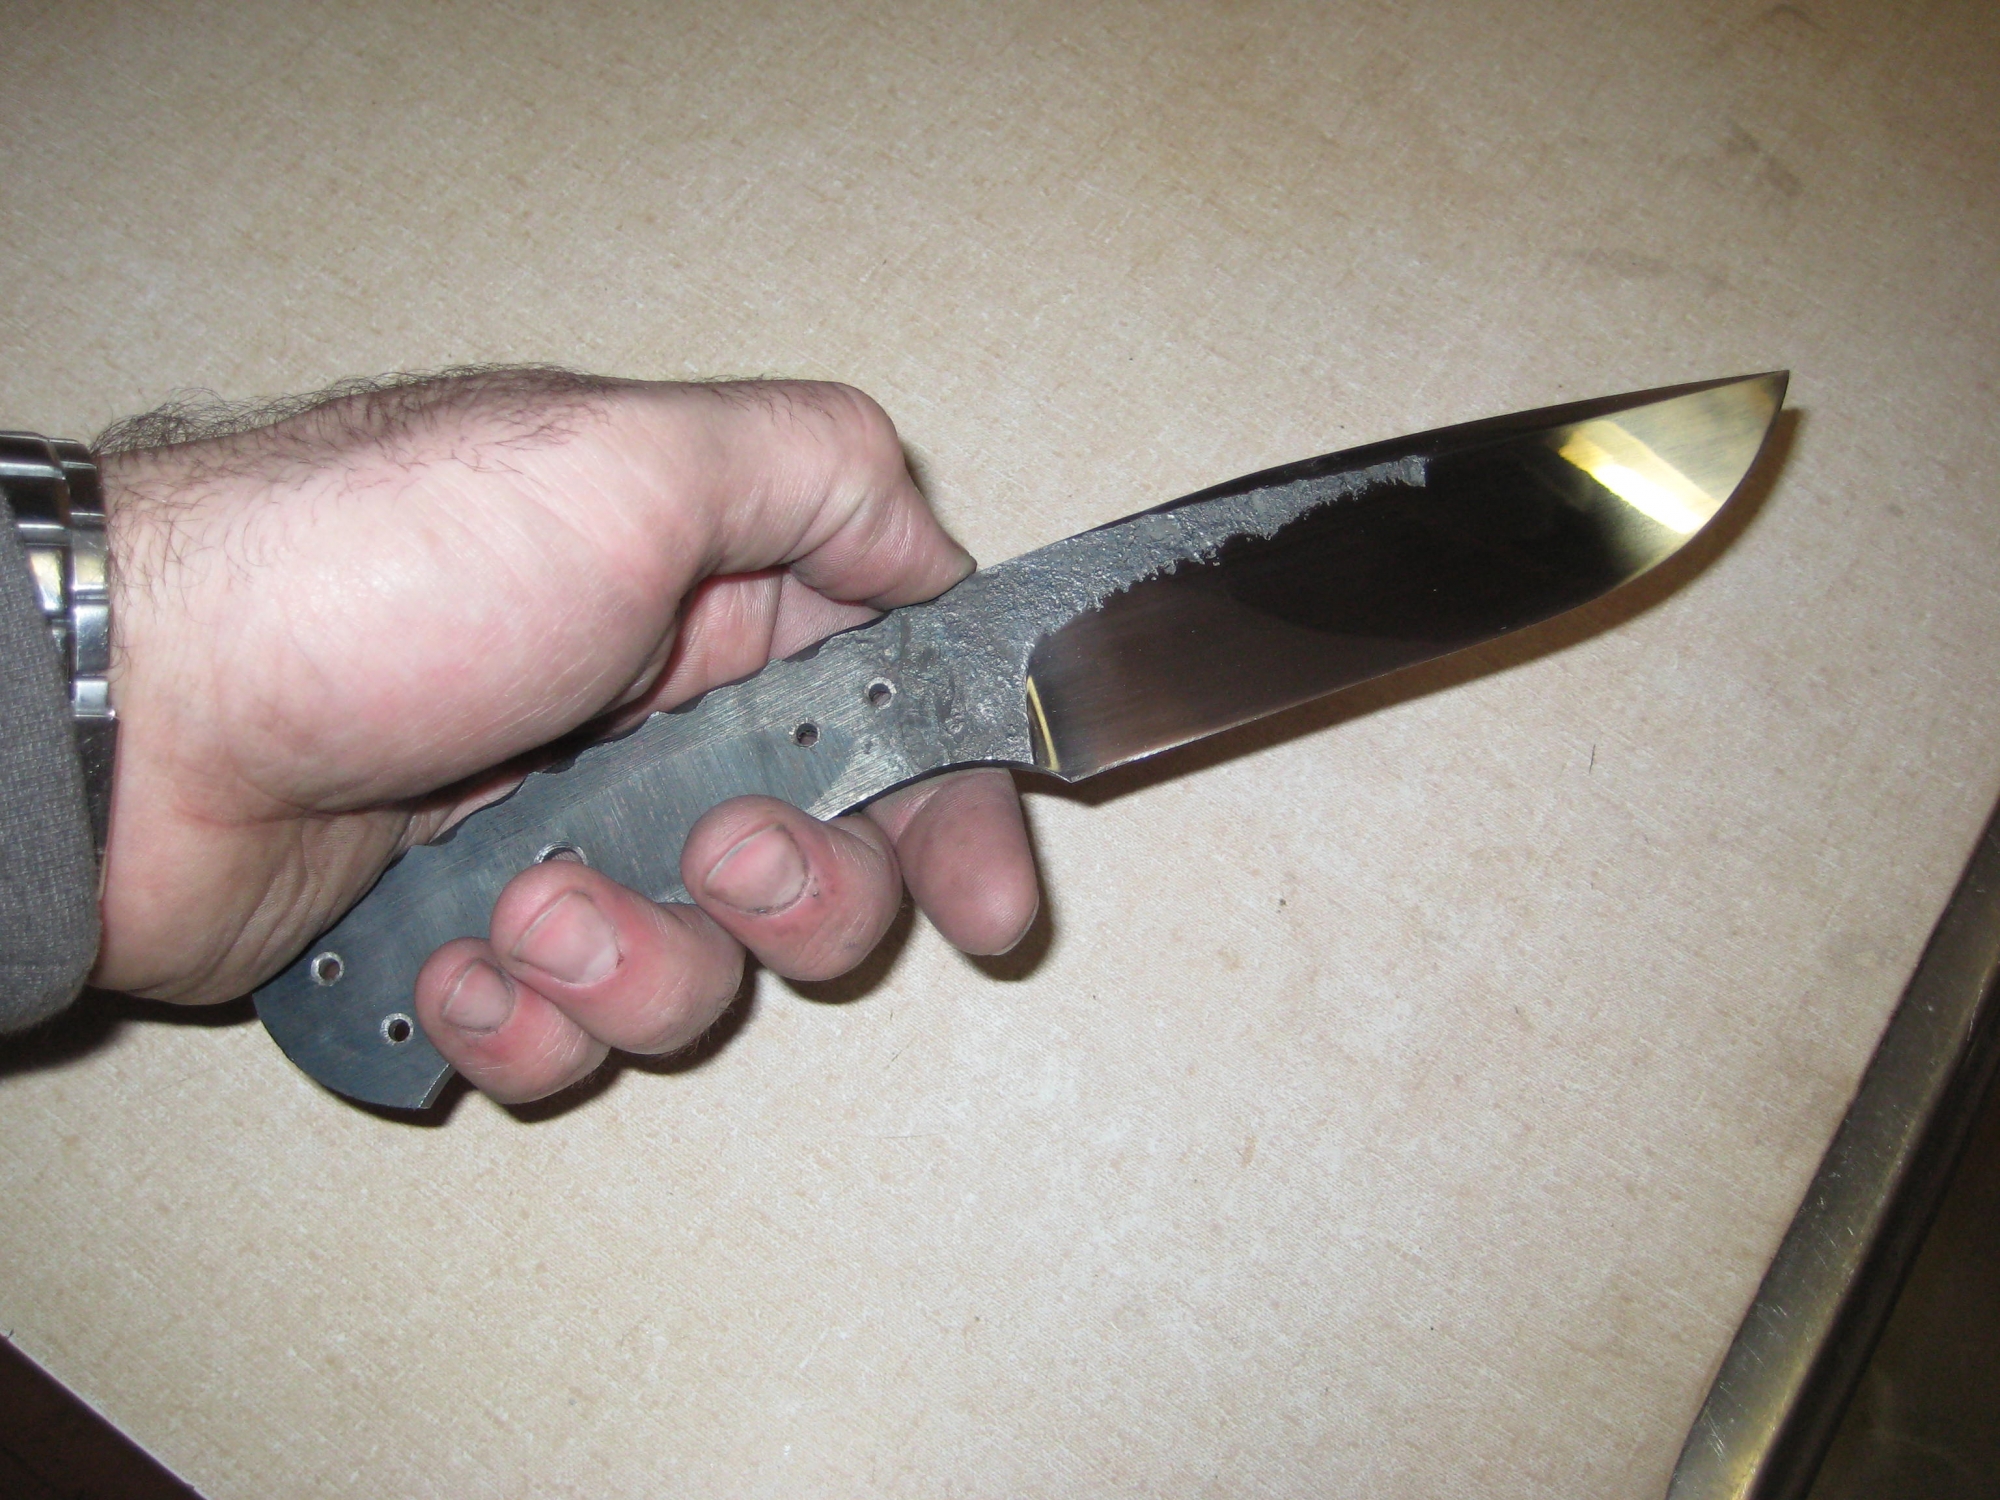
Here is the knife after it has been run through the gamut of belts. It looks pretty clean at this point, and many people put handles during this phase. There is nothing wrong with that, many people like machine finishes and they look great on a lot of knives. I really like the look of a hand sanded finish so that is what I normally do. By normally, I mean that I have never been able to leave a knife at a machine finish.
This is just a shot of my KMG. It is a grinder actually designed for knifemakers. I purchased it from Beaumont Metal Works, and it is one of the best purchases I have made. If anyone is considering getting into knifemaking, I would highly suggest looking into this grinder. It also gives a good picture of the gator belt. You can see the little bricks of abrasives.

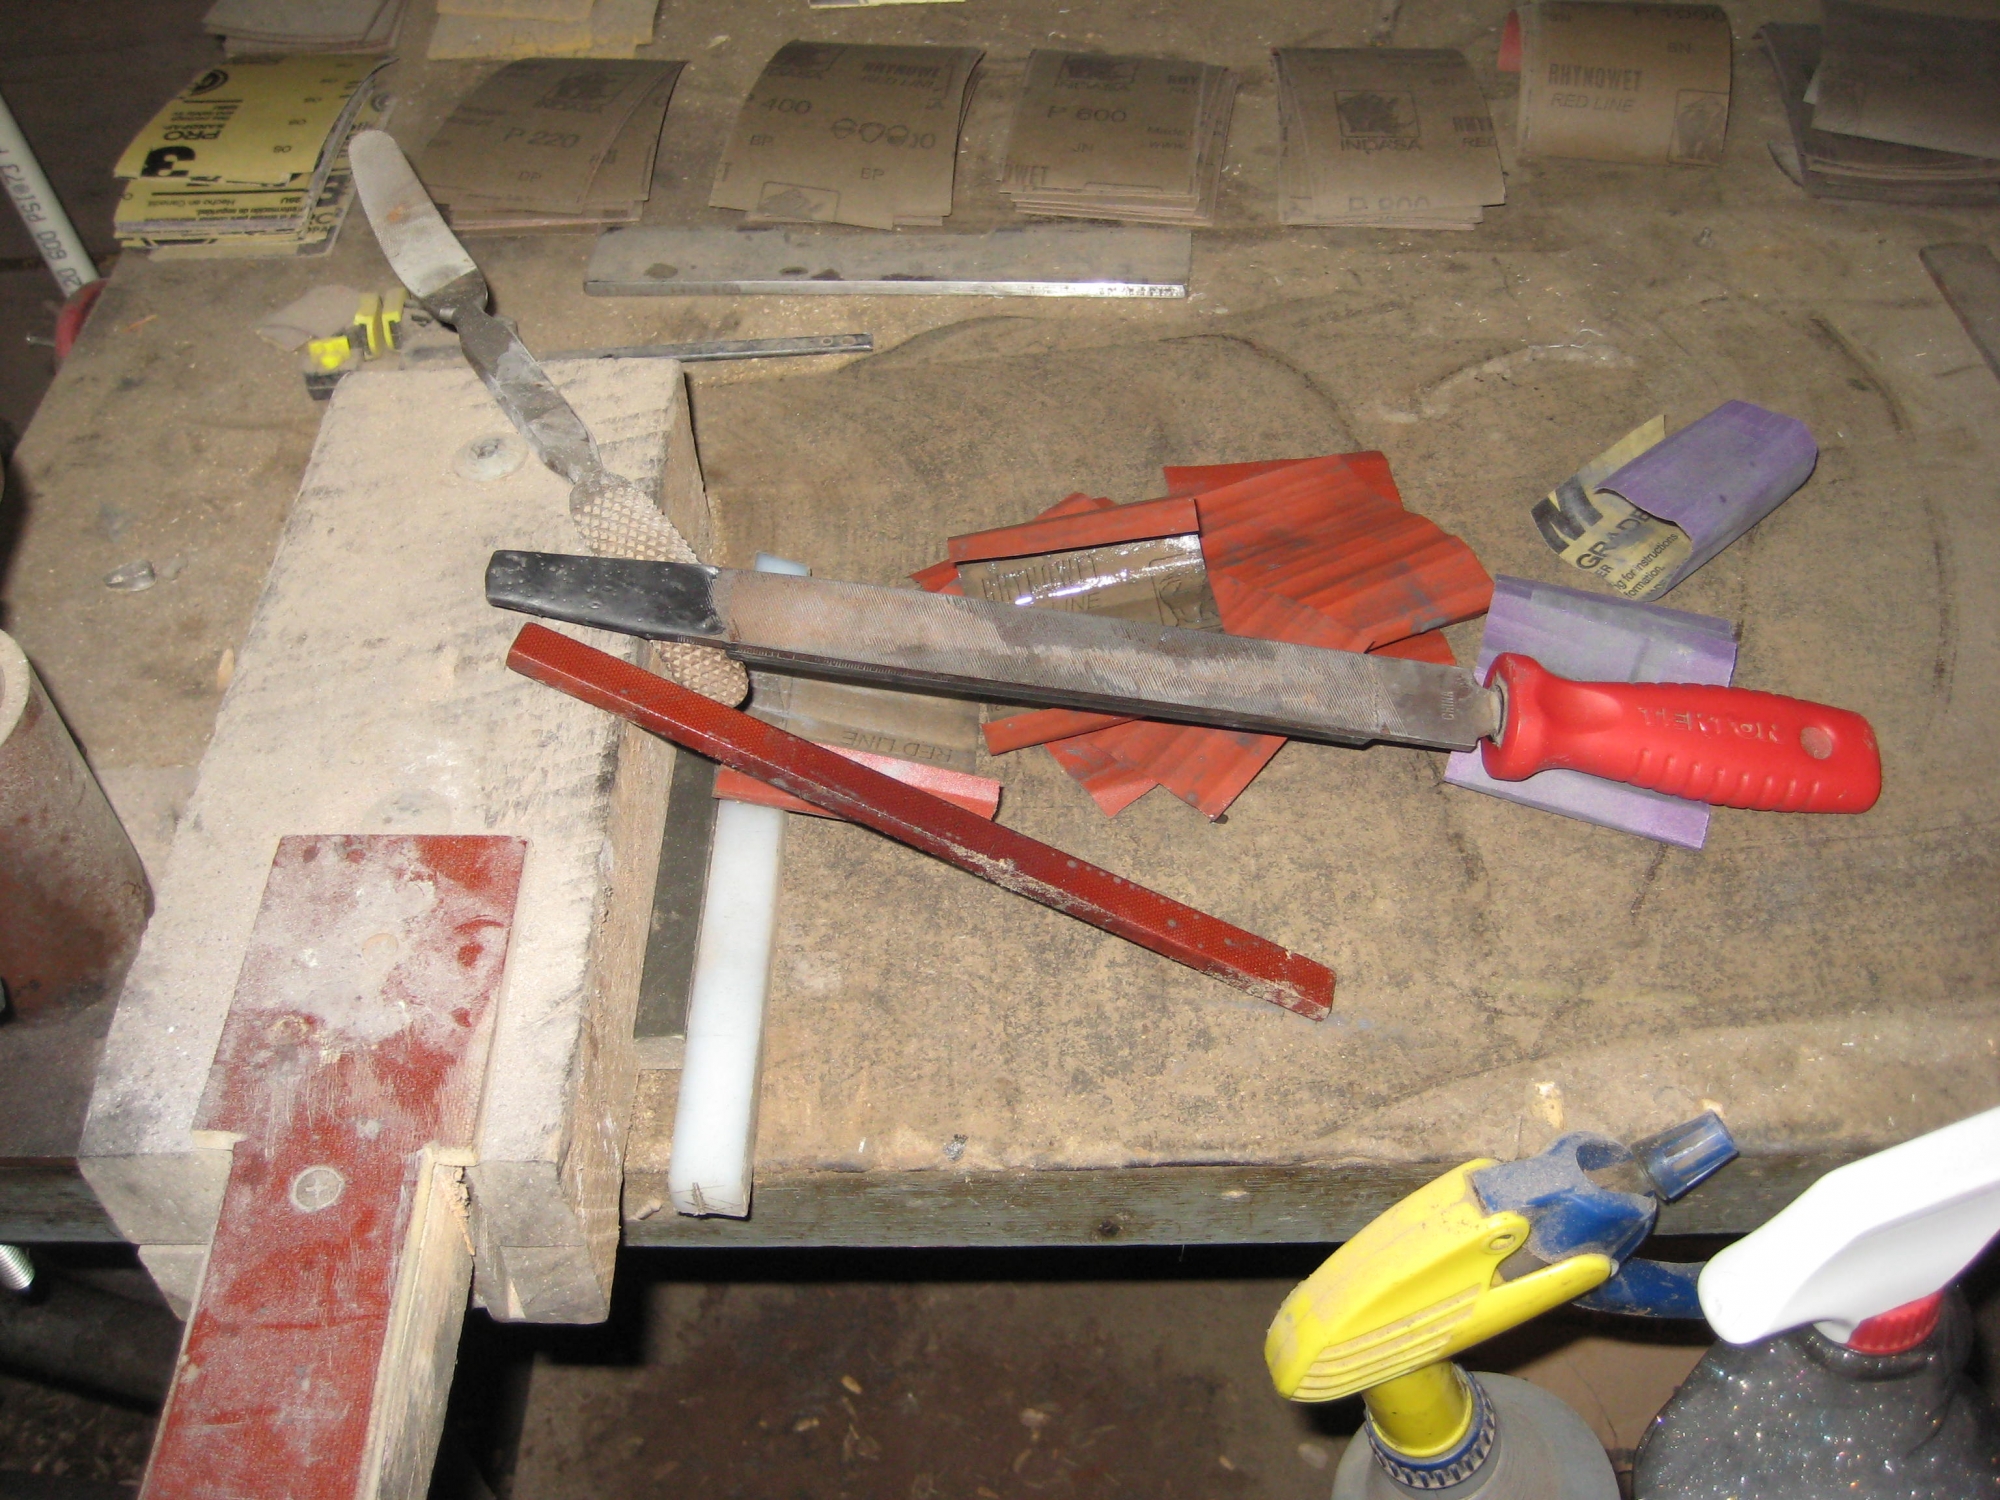
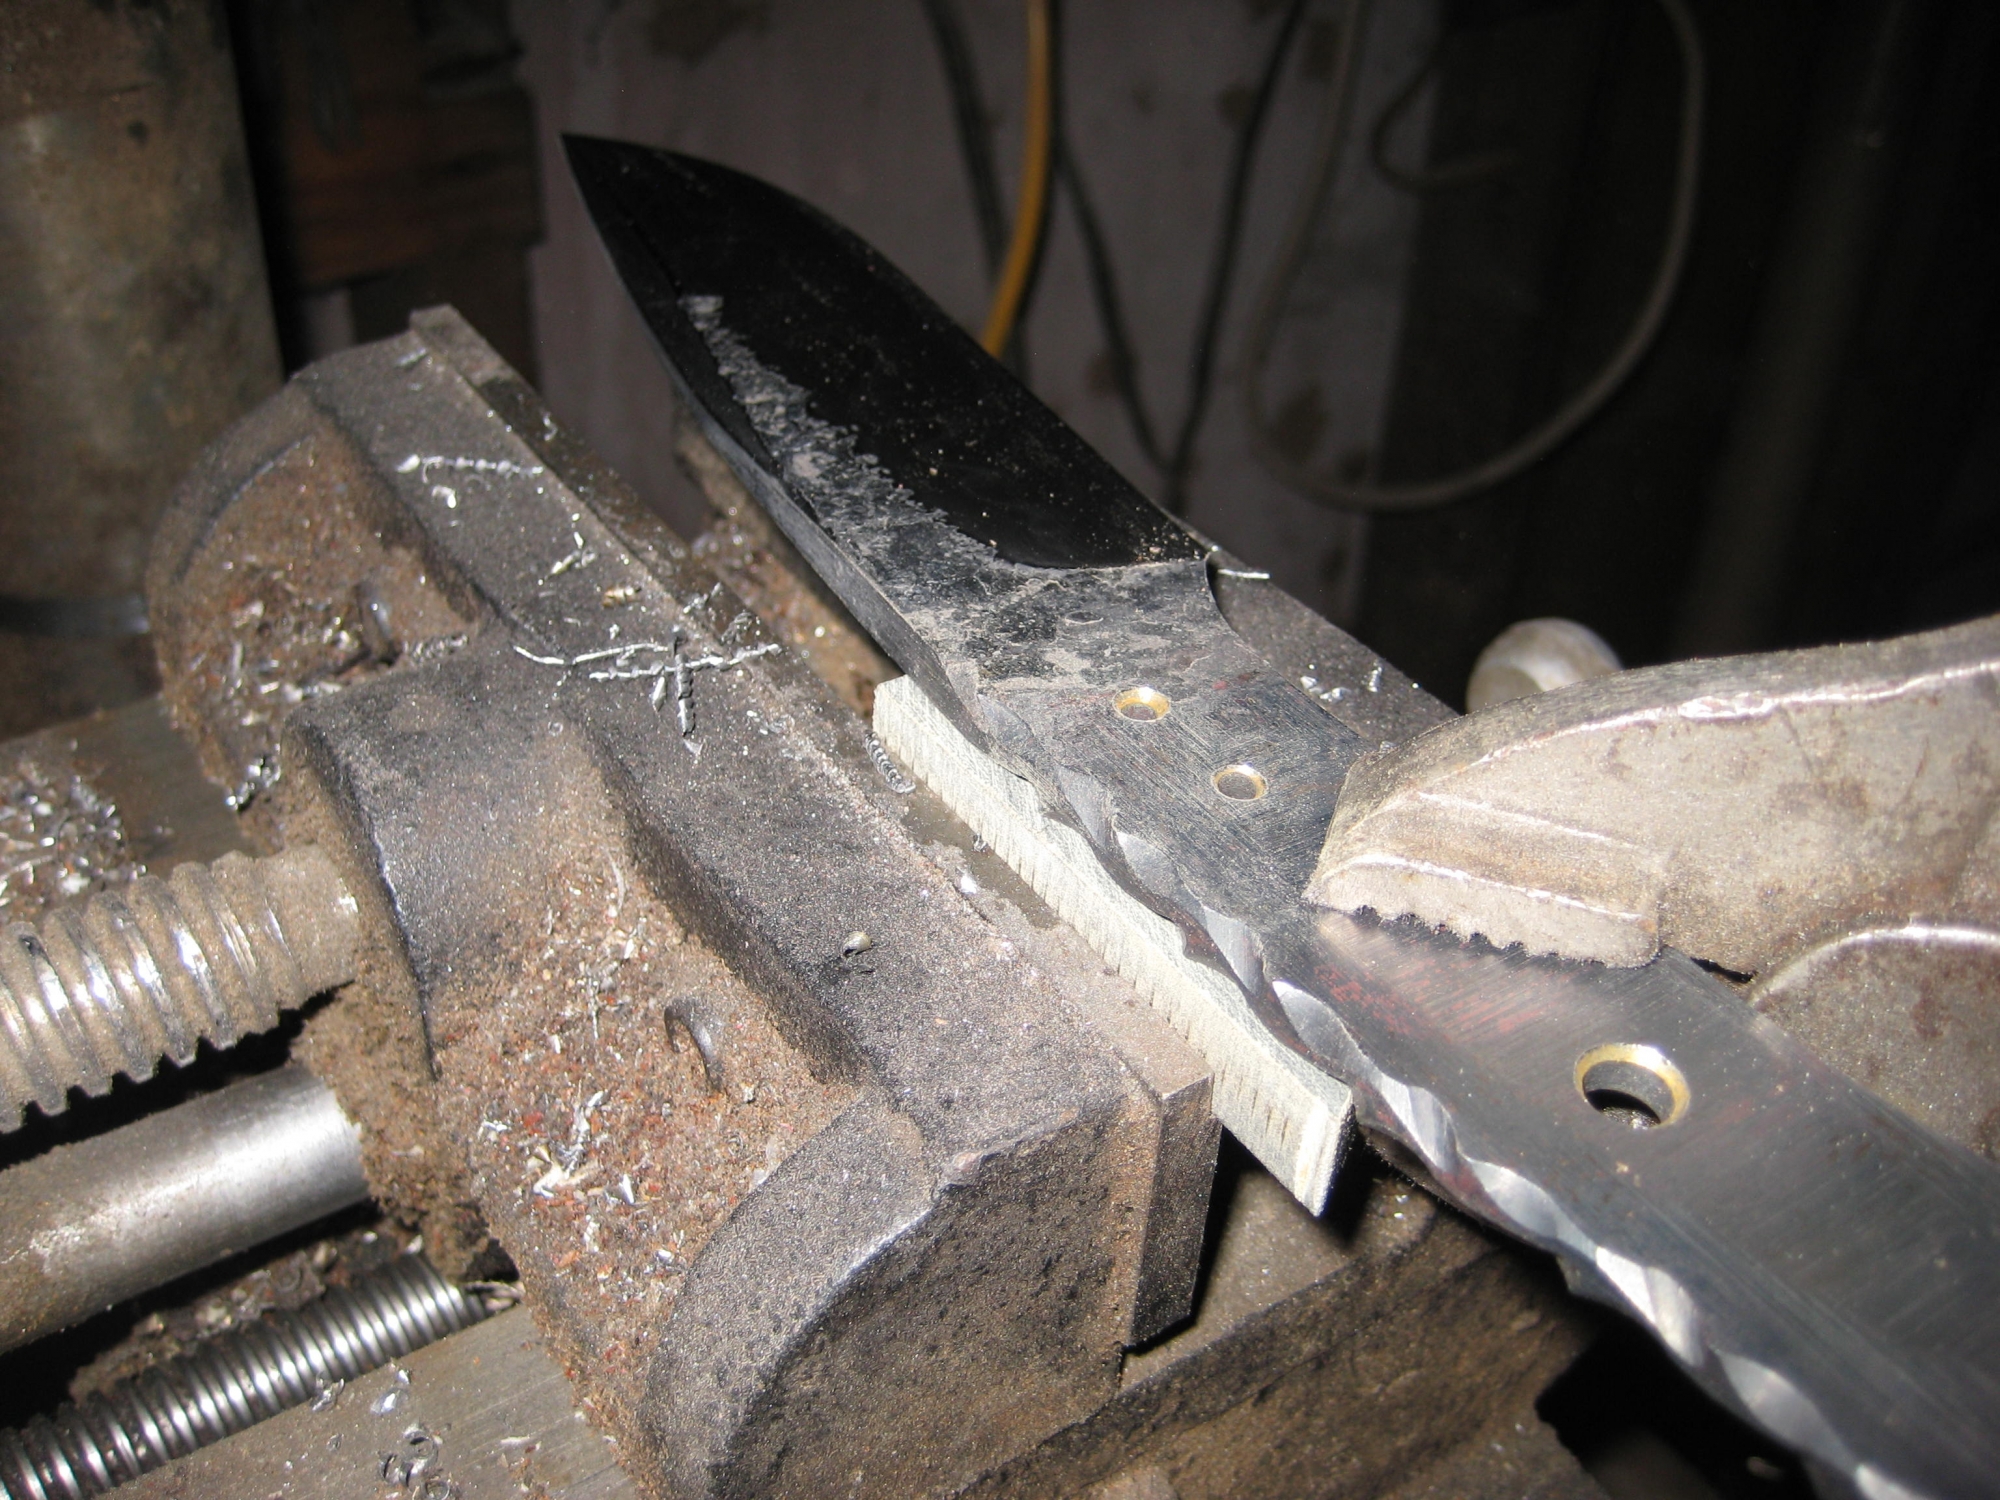
I am getting ready to hand sand the blade here. I actually made my little rotating vice thing here. I saw one and it was about $150 so I figured I could make one out of some pipe for much less than that. This process usually takes me about 45 minutes to a little more than an hour. It is worth it in the long run (in my opinion) because I like how it looks. Also, it is the preparation that I need in order to etch it and bring out that hamon.
Time to start hand sanding. I actually ran it through the first grit at this point, and remembered to do some test cutting. Here it is at 180 grit. I put an edge on it and started hacking at one of the cardboard tubes I get steel delivered in.
Chopping at a 2x4.
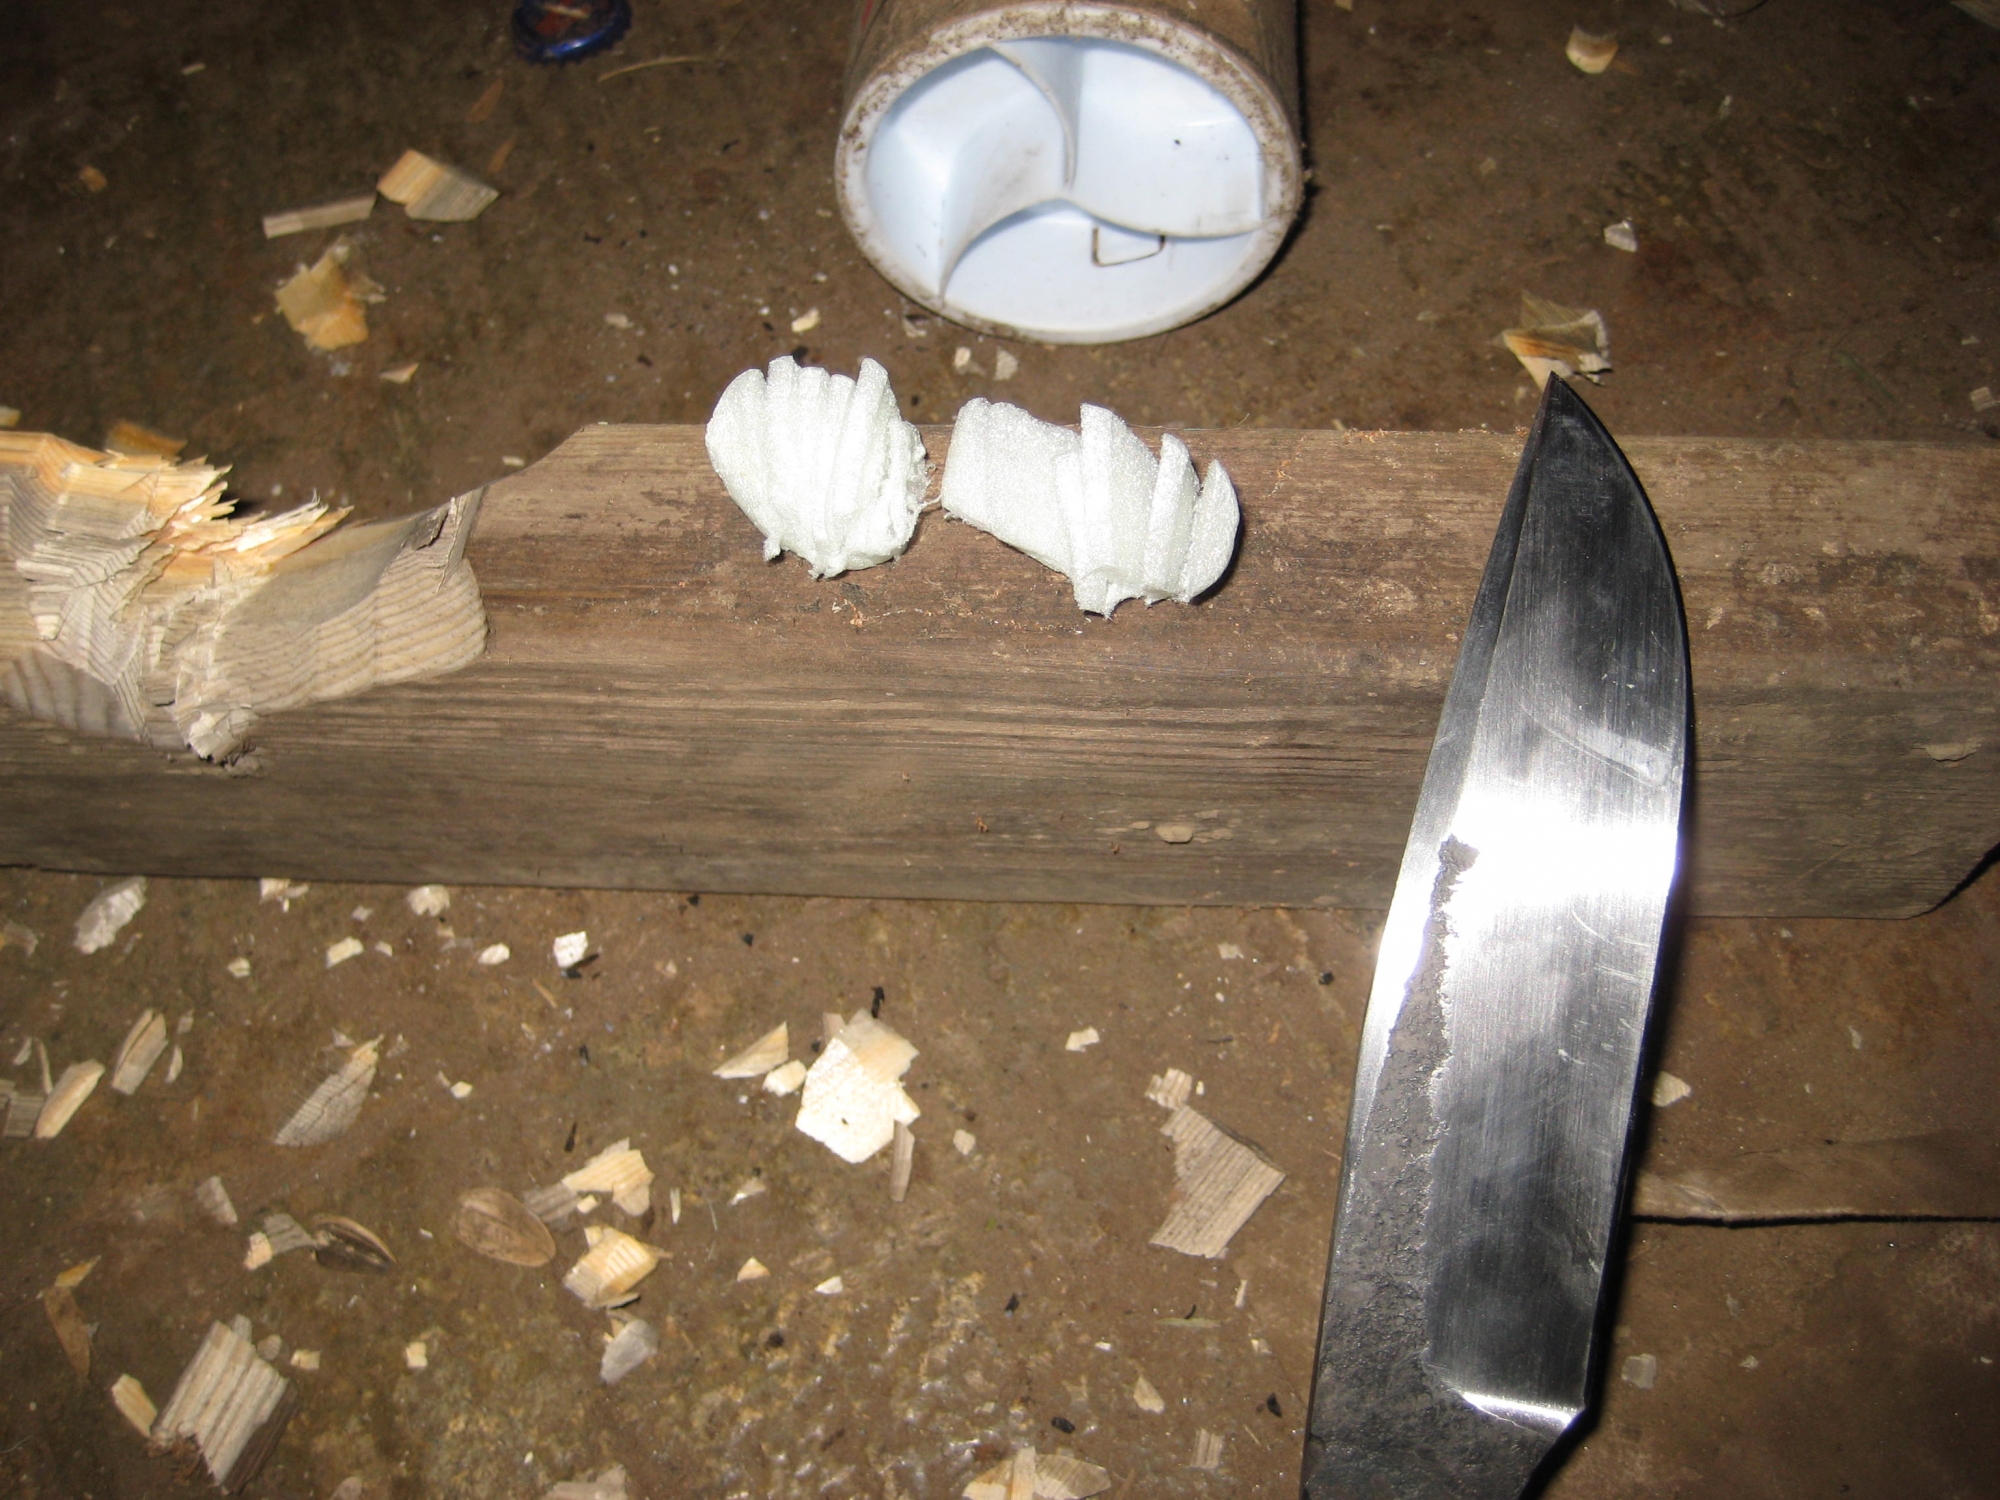
Slicing up a styrofoam packing peanut.
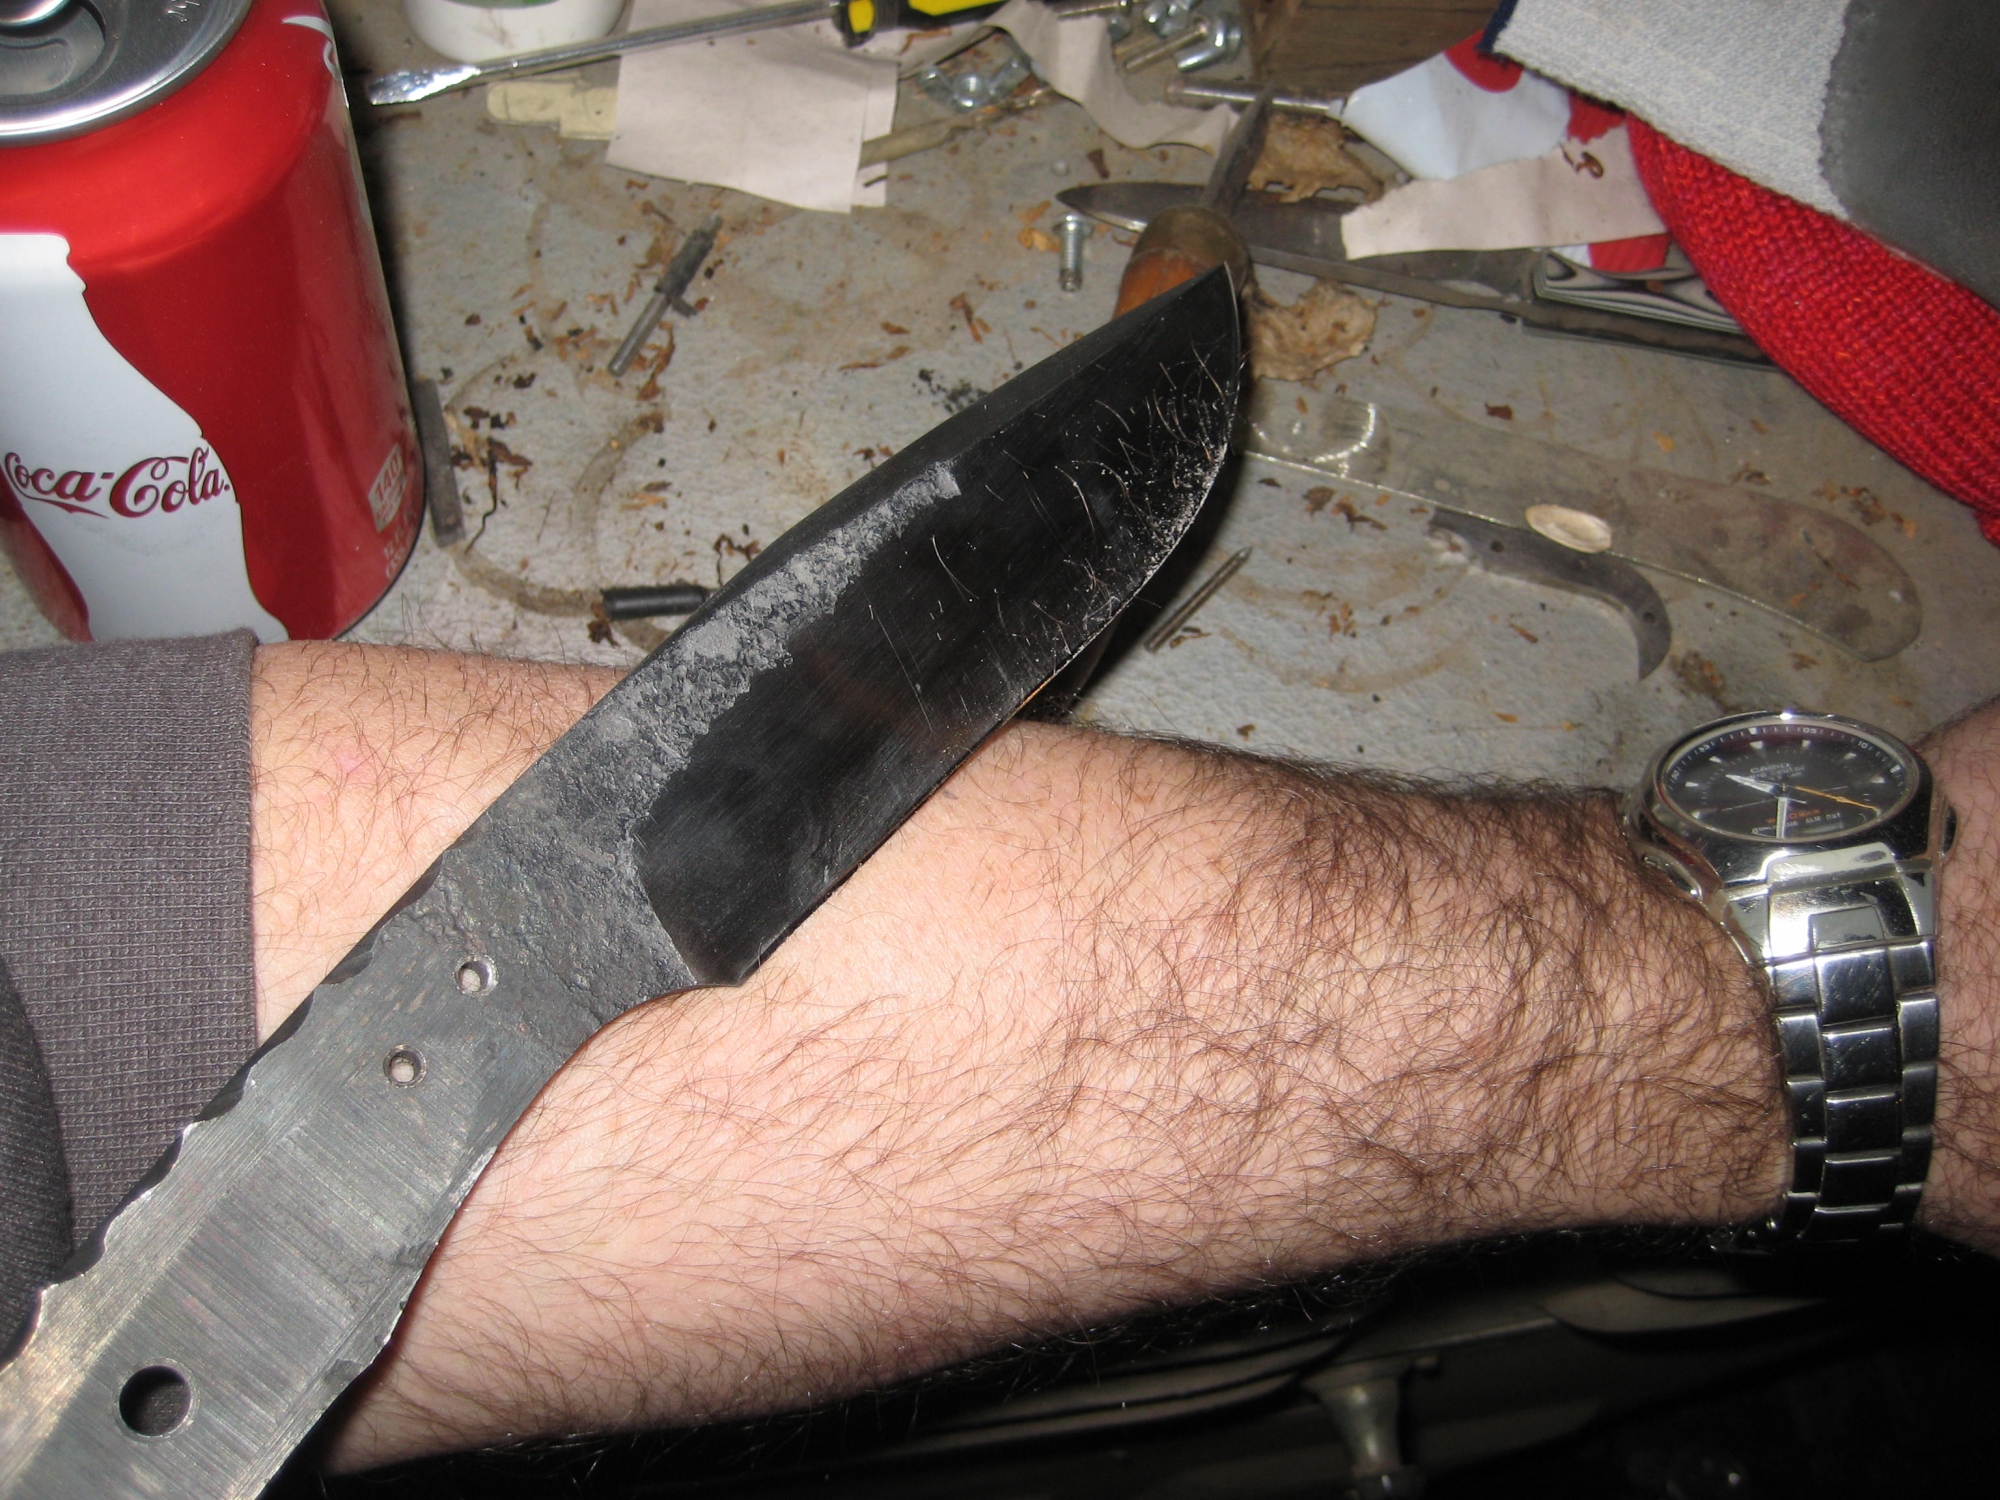
Still able to shave the hair off my arm. I seldom wear short sleeve shirts to work, but when I do my students always ask why I have a bald arm.
I am ready to progress up through the rest of the grits now. I will go up to 2000 before etching. This will make the finish nice and clean, and hopefully the hamon will really pop also. It usually takes me about an hour to go through all the steps to get to a nice 2000 finish.

Here is the mess that accumulates after hand sanding a blade. I think I had another grit or two to run through at this point.
Here it is sanded to 2000 grit. It looks good if you ask me, but I still want to etch it and try to bring out that hamon.
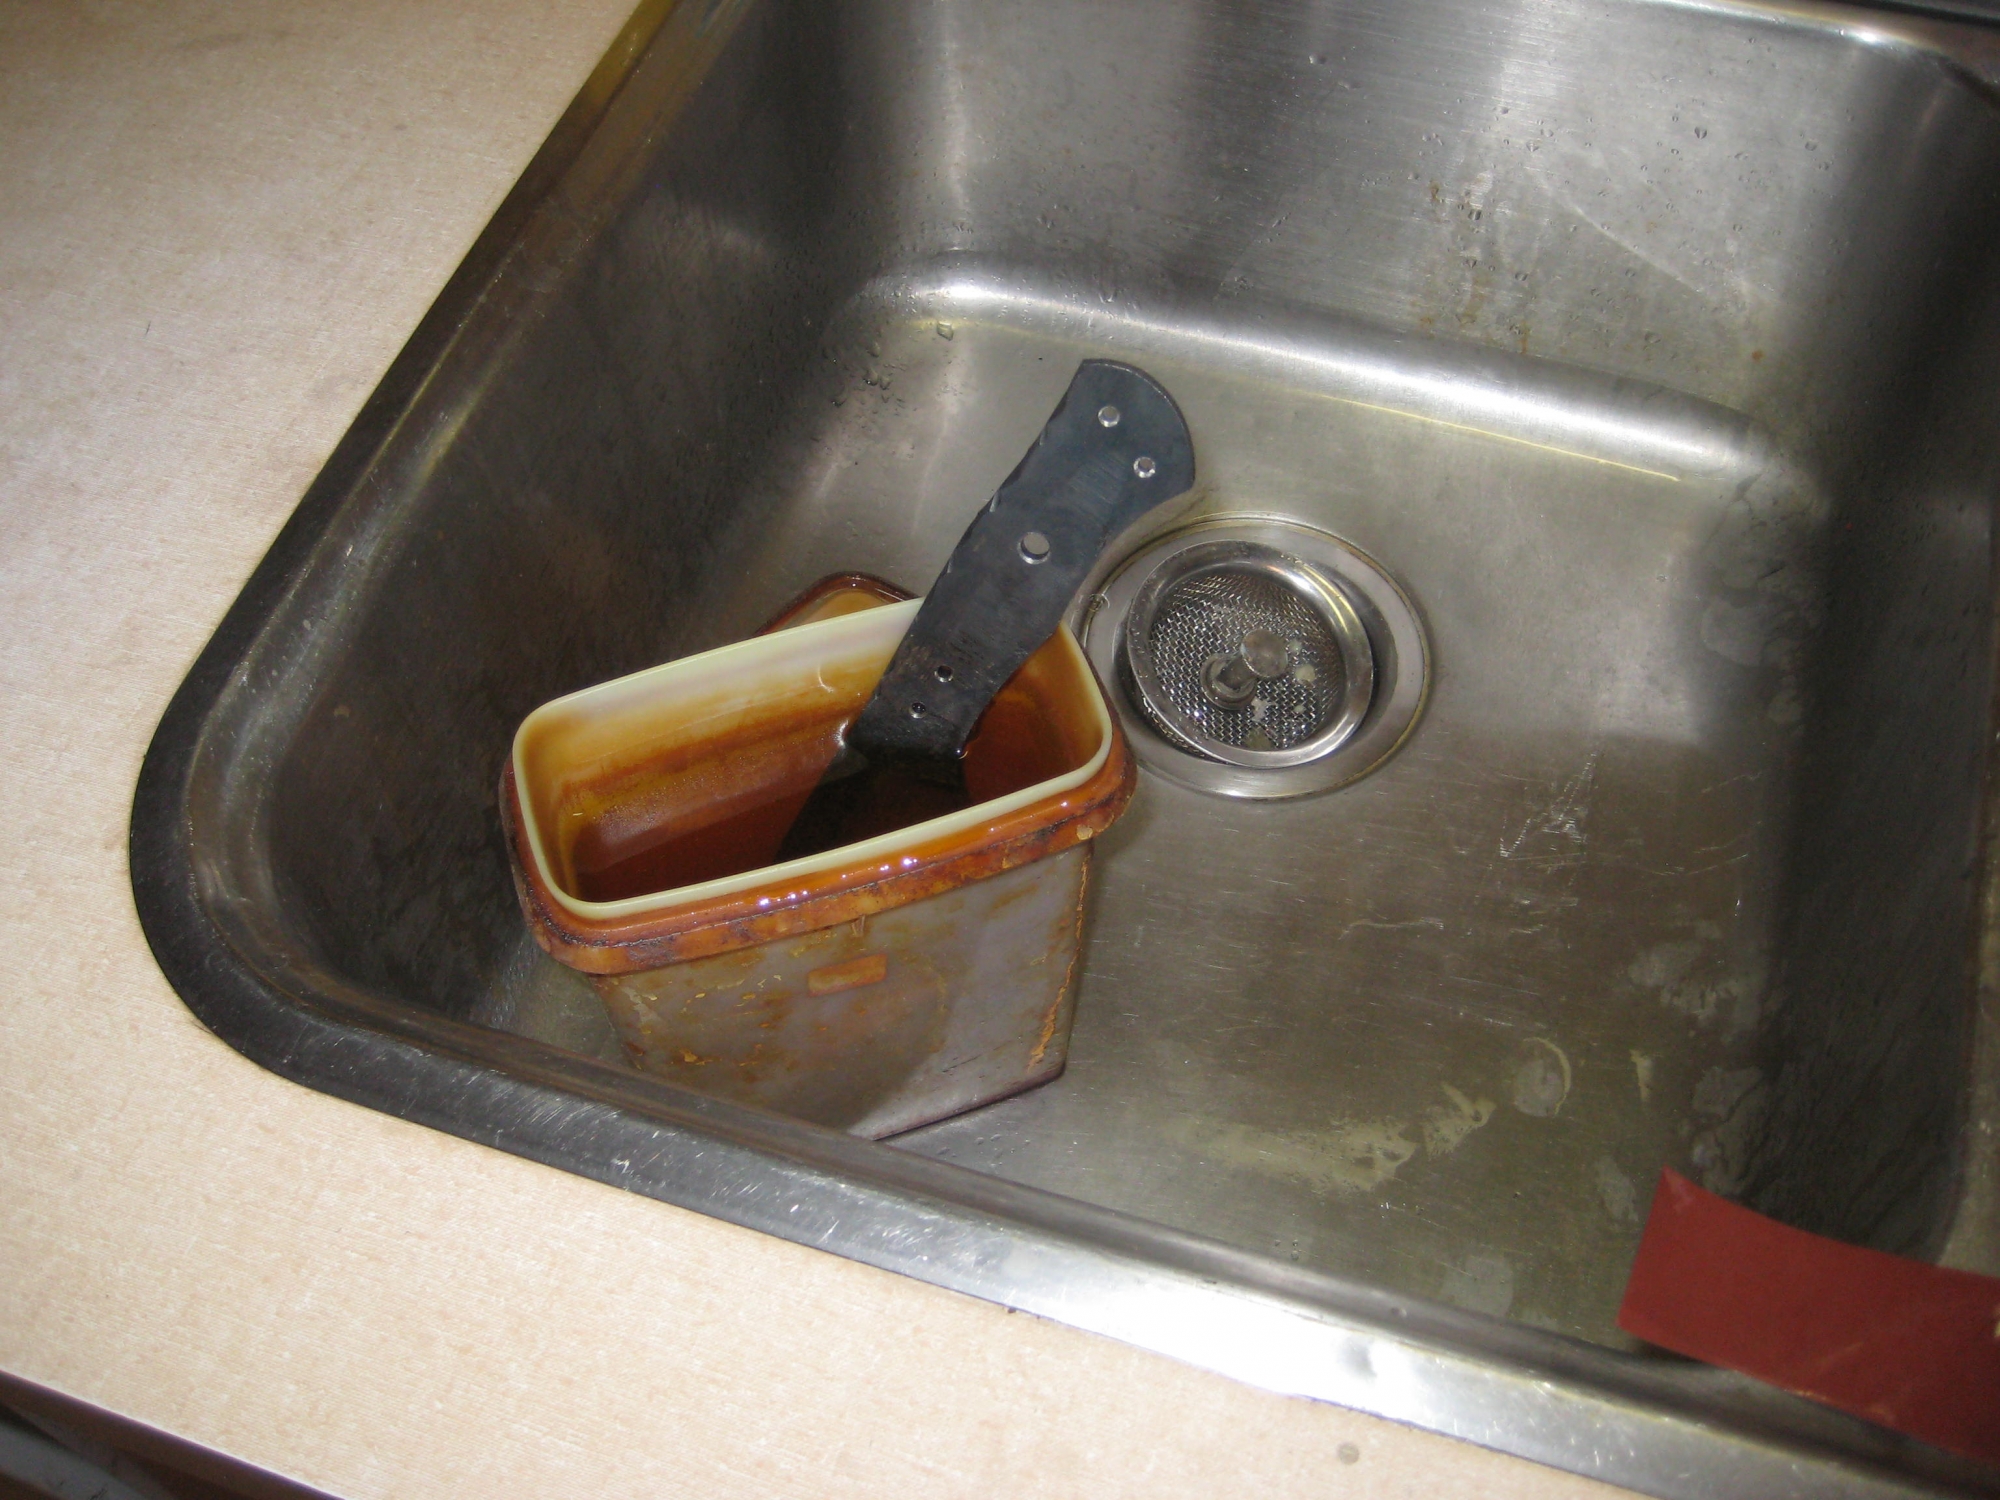
I use diluted ferric chloride to etch. It is not exactly an acid, but it does the same thing. The ferric will stain things, like my wife's countertop. I have to be careful not to drip any. The stainless sink cleans up pretty easily.
This is just a process of sanding, etching, sanding, and etching. This is the result. Keep in mind that this is just a snapshot. I will take better photographs of it after it is completed.
I give it a coat of car wax to protect it, and it is time to start getting a handle fit up. This one is going to have black linen bolsters and cocobolo handles. The first step is to dovetail the bolster and drill the holes.
I drill the pin holes, then dovetail the bolsters on my disk sander.
Here it is all fit up. I will now cut the cocobolo to match up on the back of the bolsters. I use the disk sander table set on the same angle.
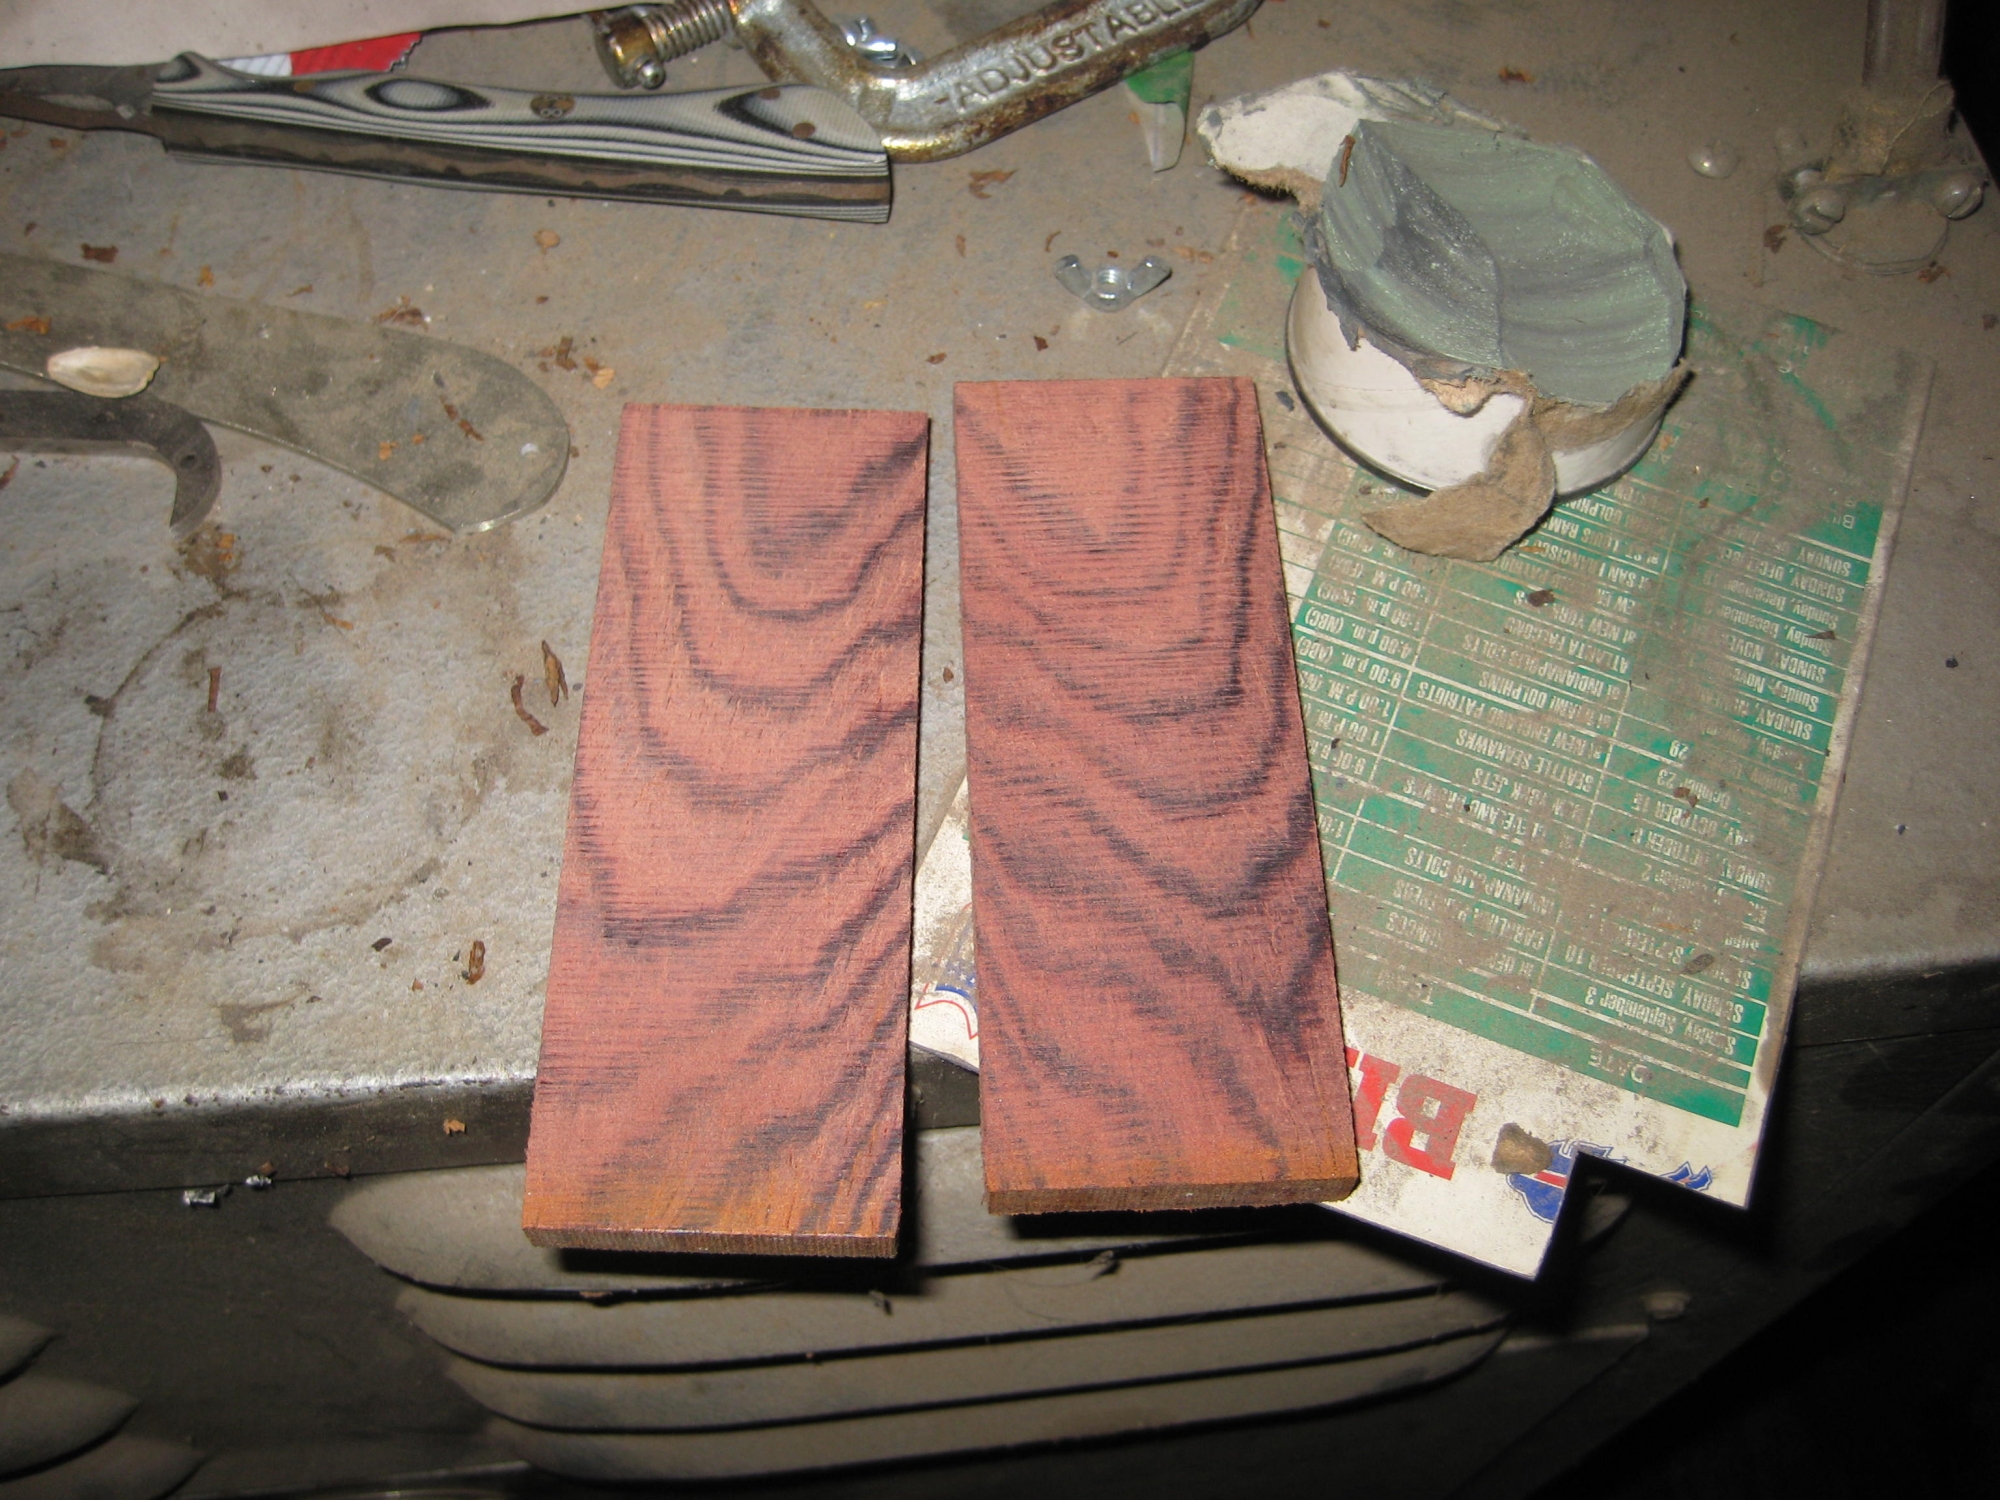
This is the cocobolo I selected for the handle.