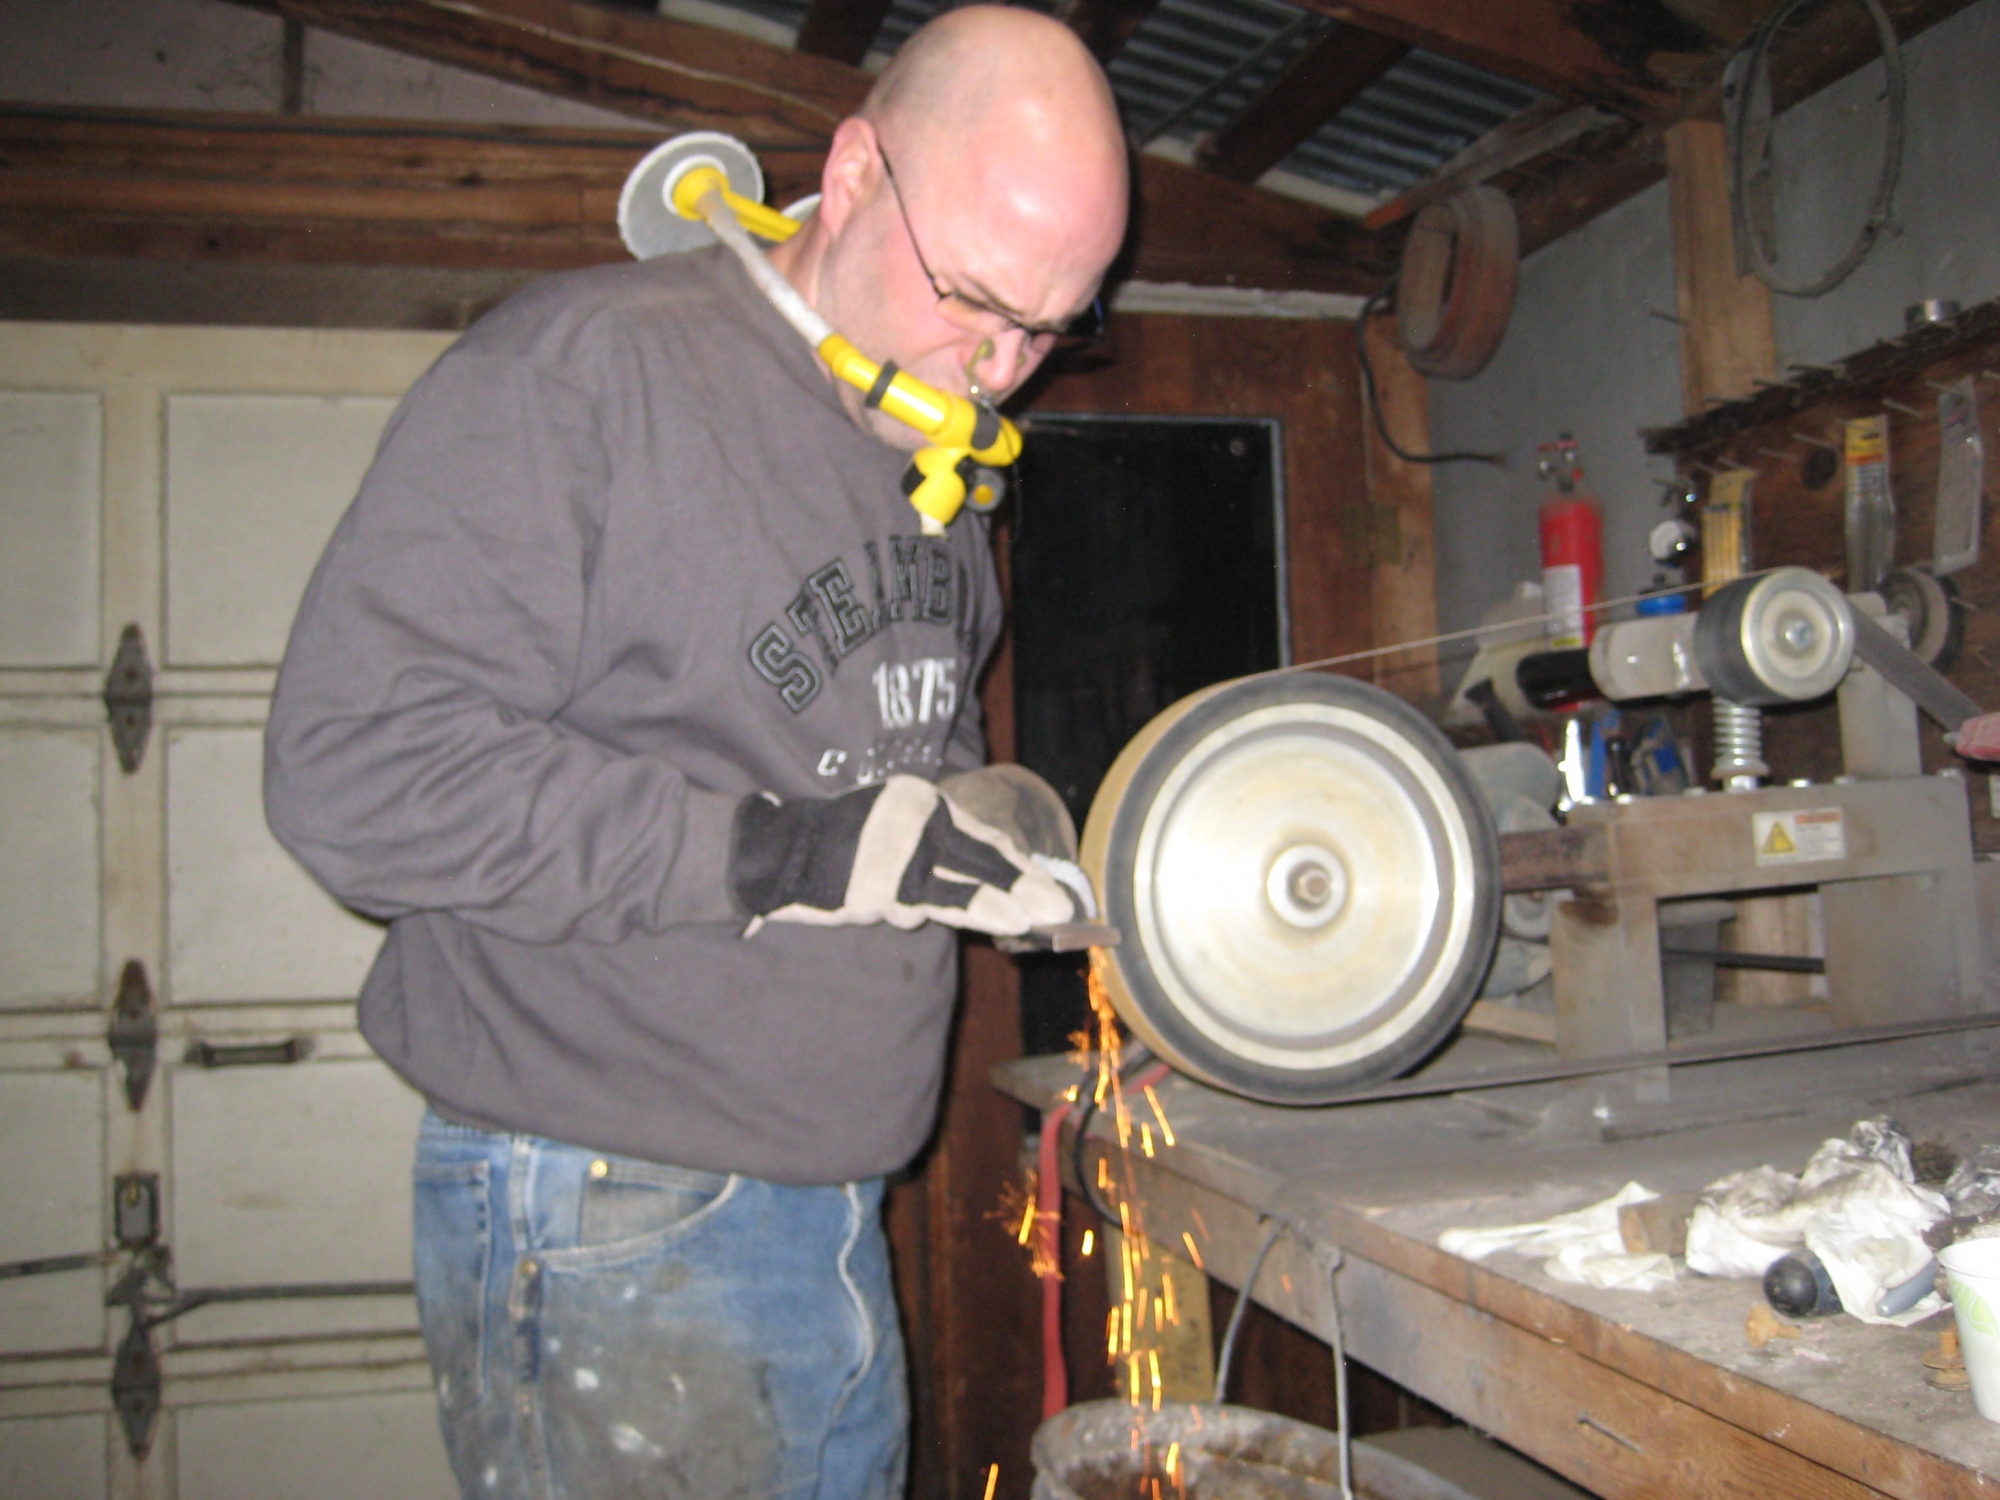
My shop photographer came out and snapped a few pictures of me grinding the knife, but then she got cold and went inside. I start with a wheel, because it takes off the material pretty quickly. I will switch to a flat platen and do a flat grind on this knife. I like the flat grind better, and I am much better at doing it than I am at hollow grinding.
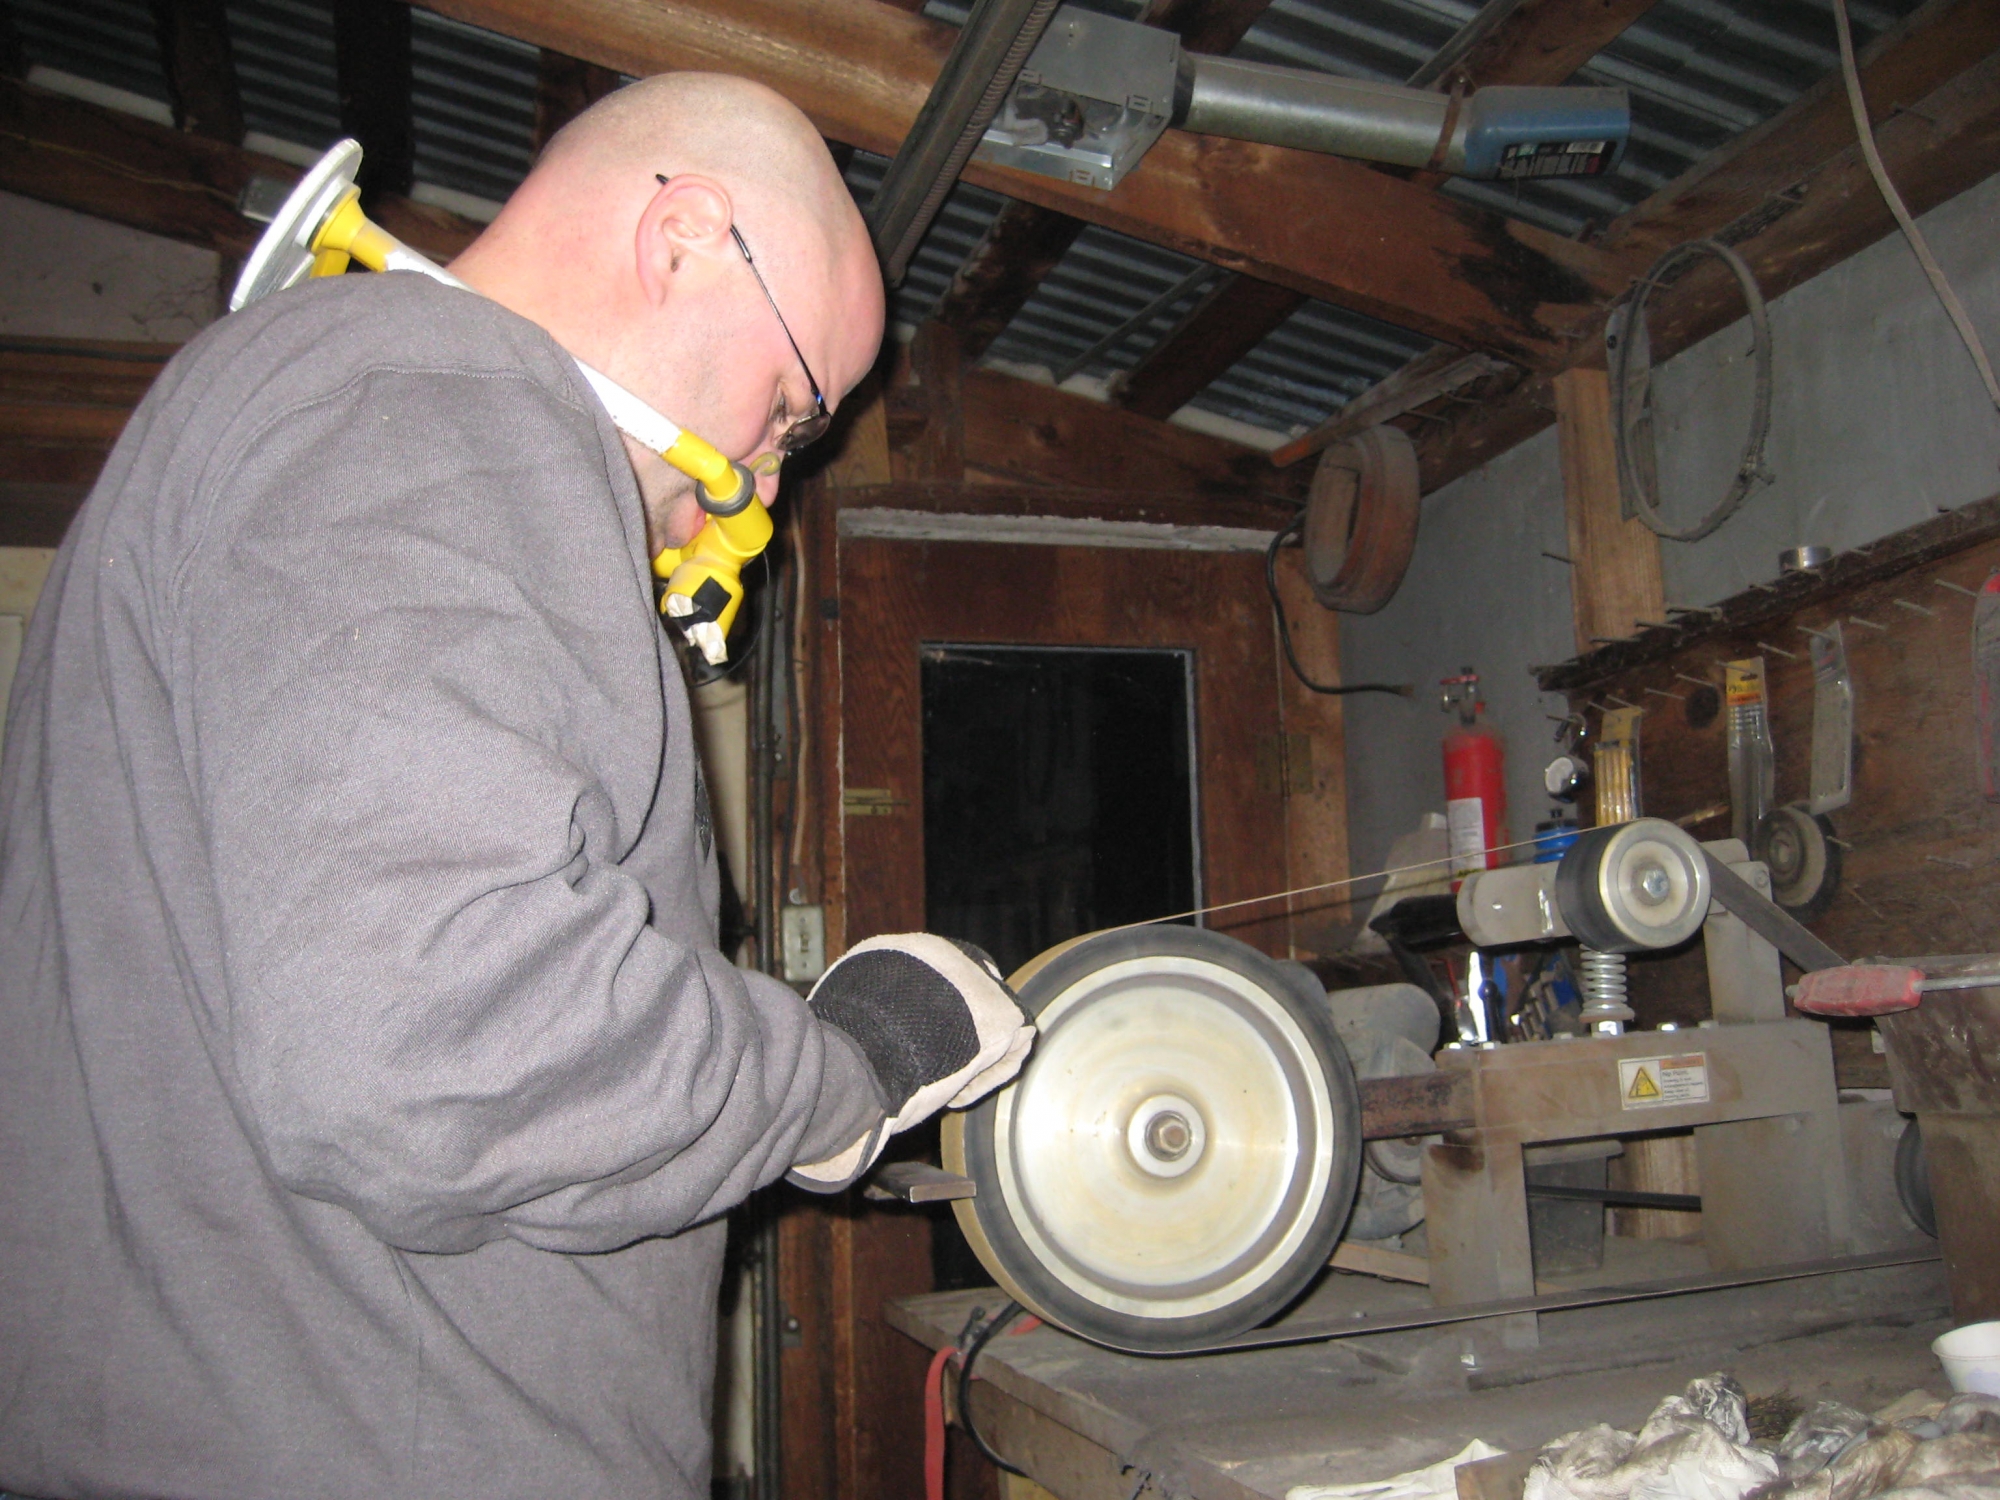
The yellow apparatus I am wearing looks a little goofy, but it is actually a filtration system. The steel dust that is made is not terrible for your lungs, but the ceramic dust from the grinding belts is really bad, it causes something called silicosis. I don't know much about it, but I don't want to get it. So I forego cool looks for decent health.
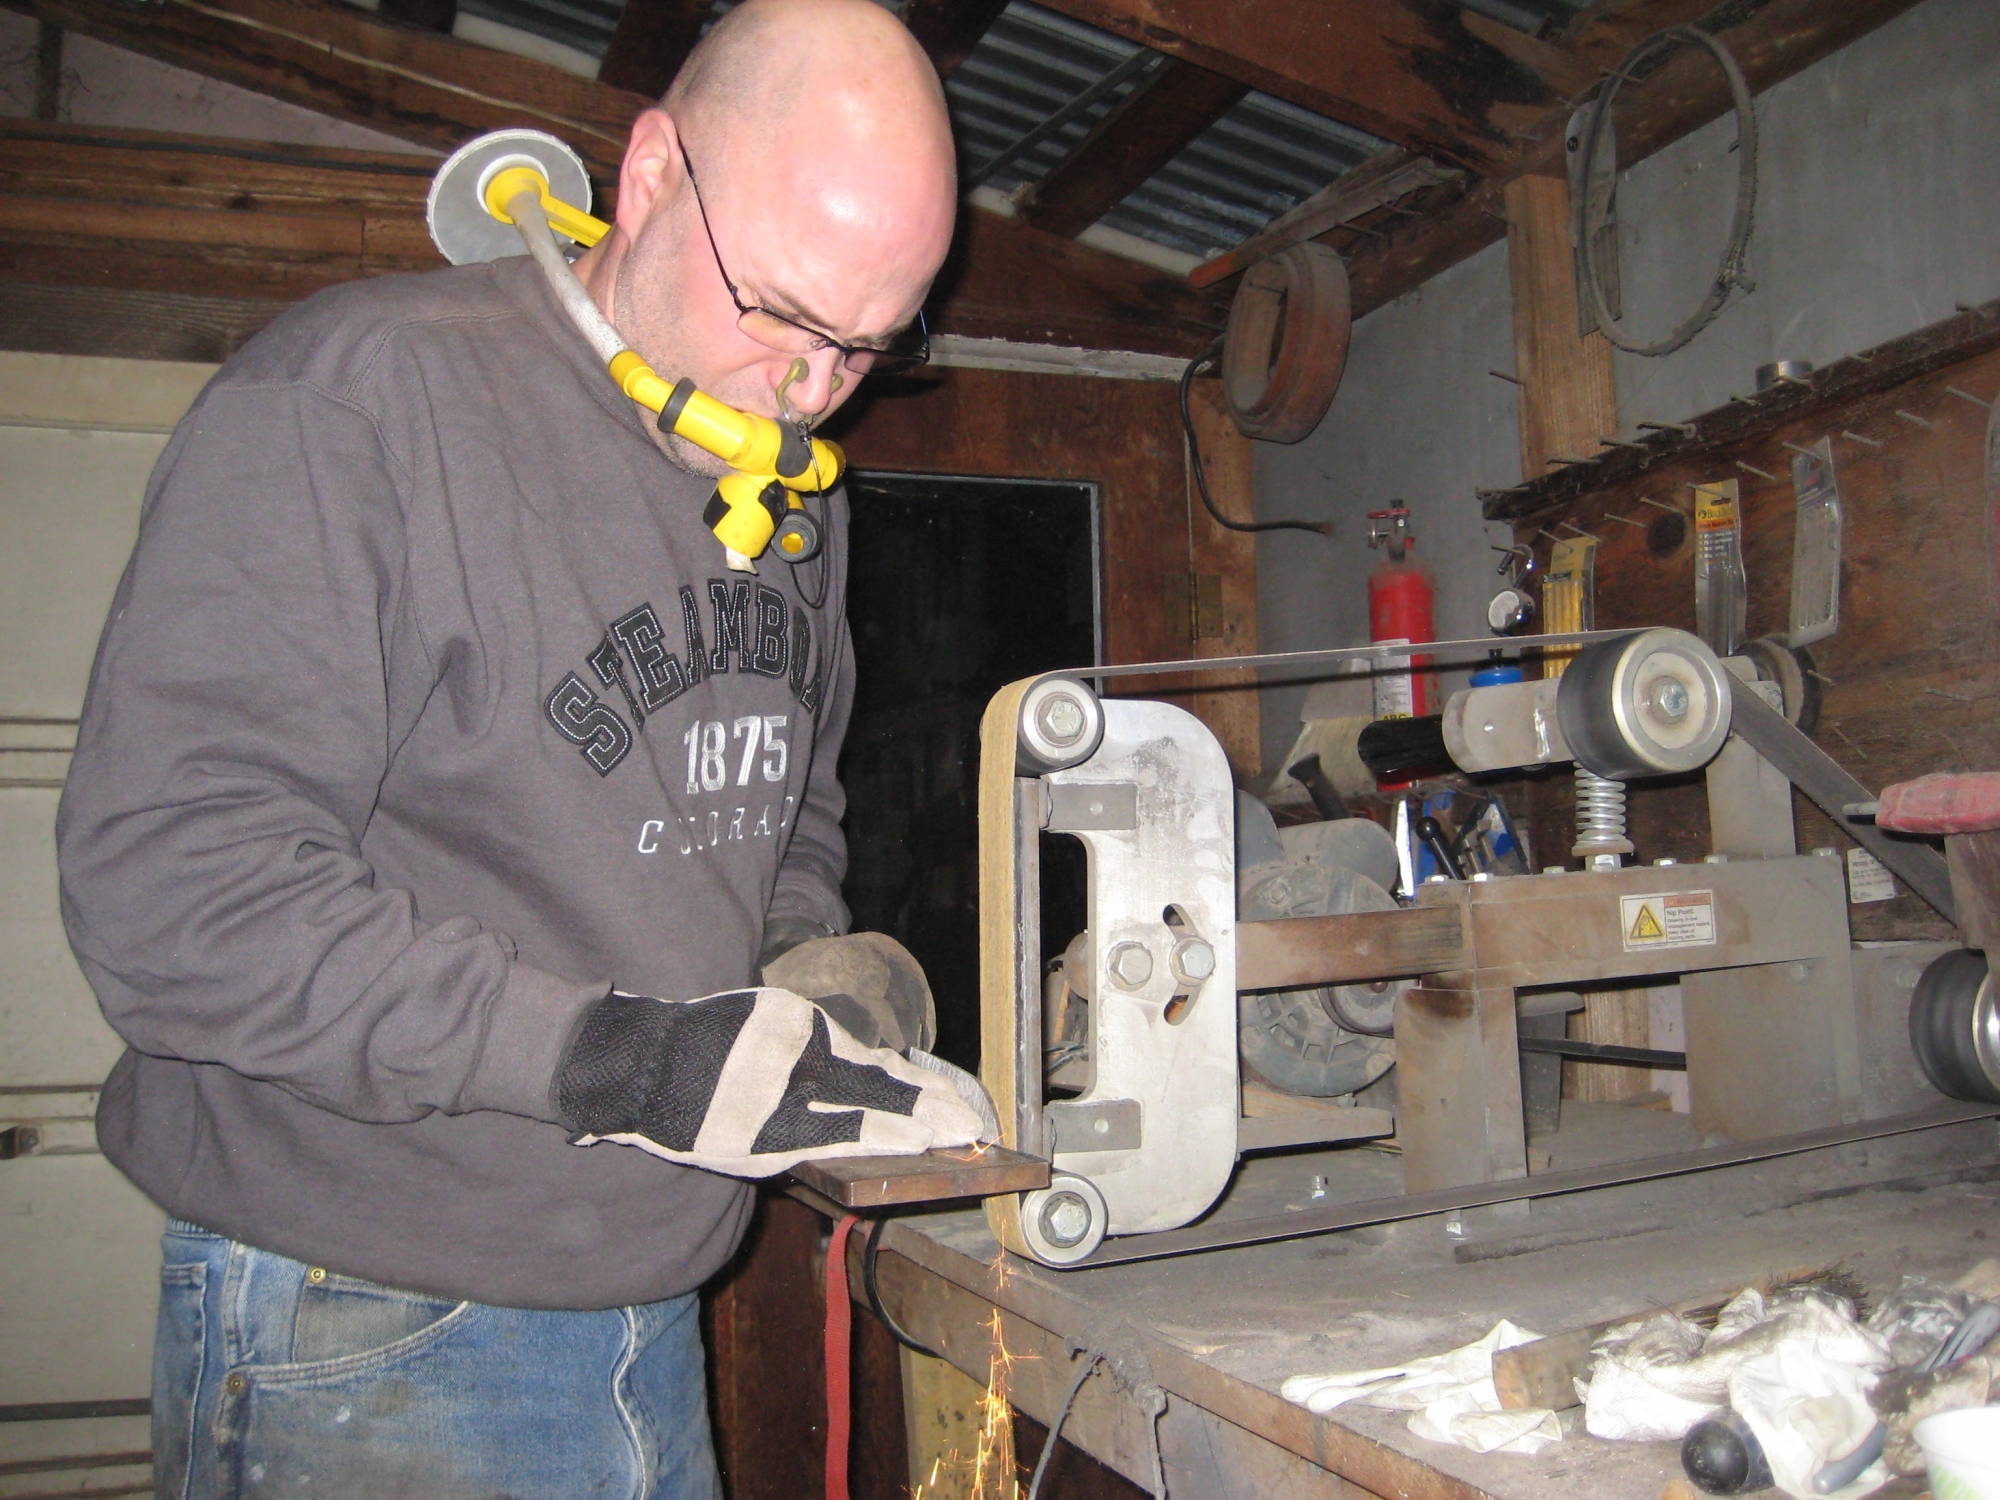
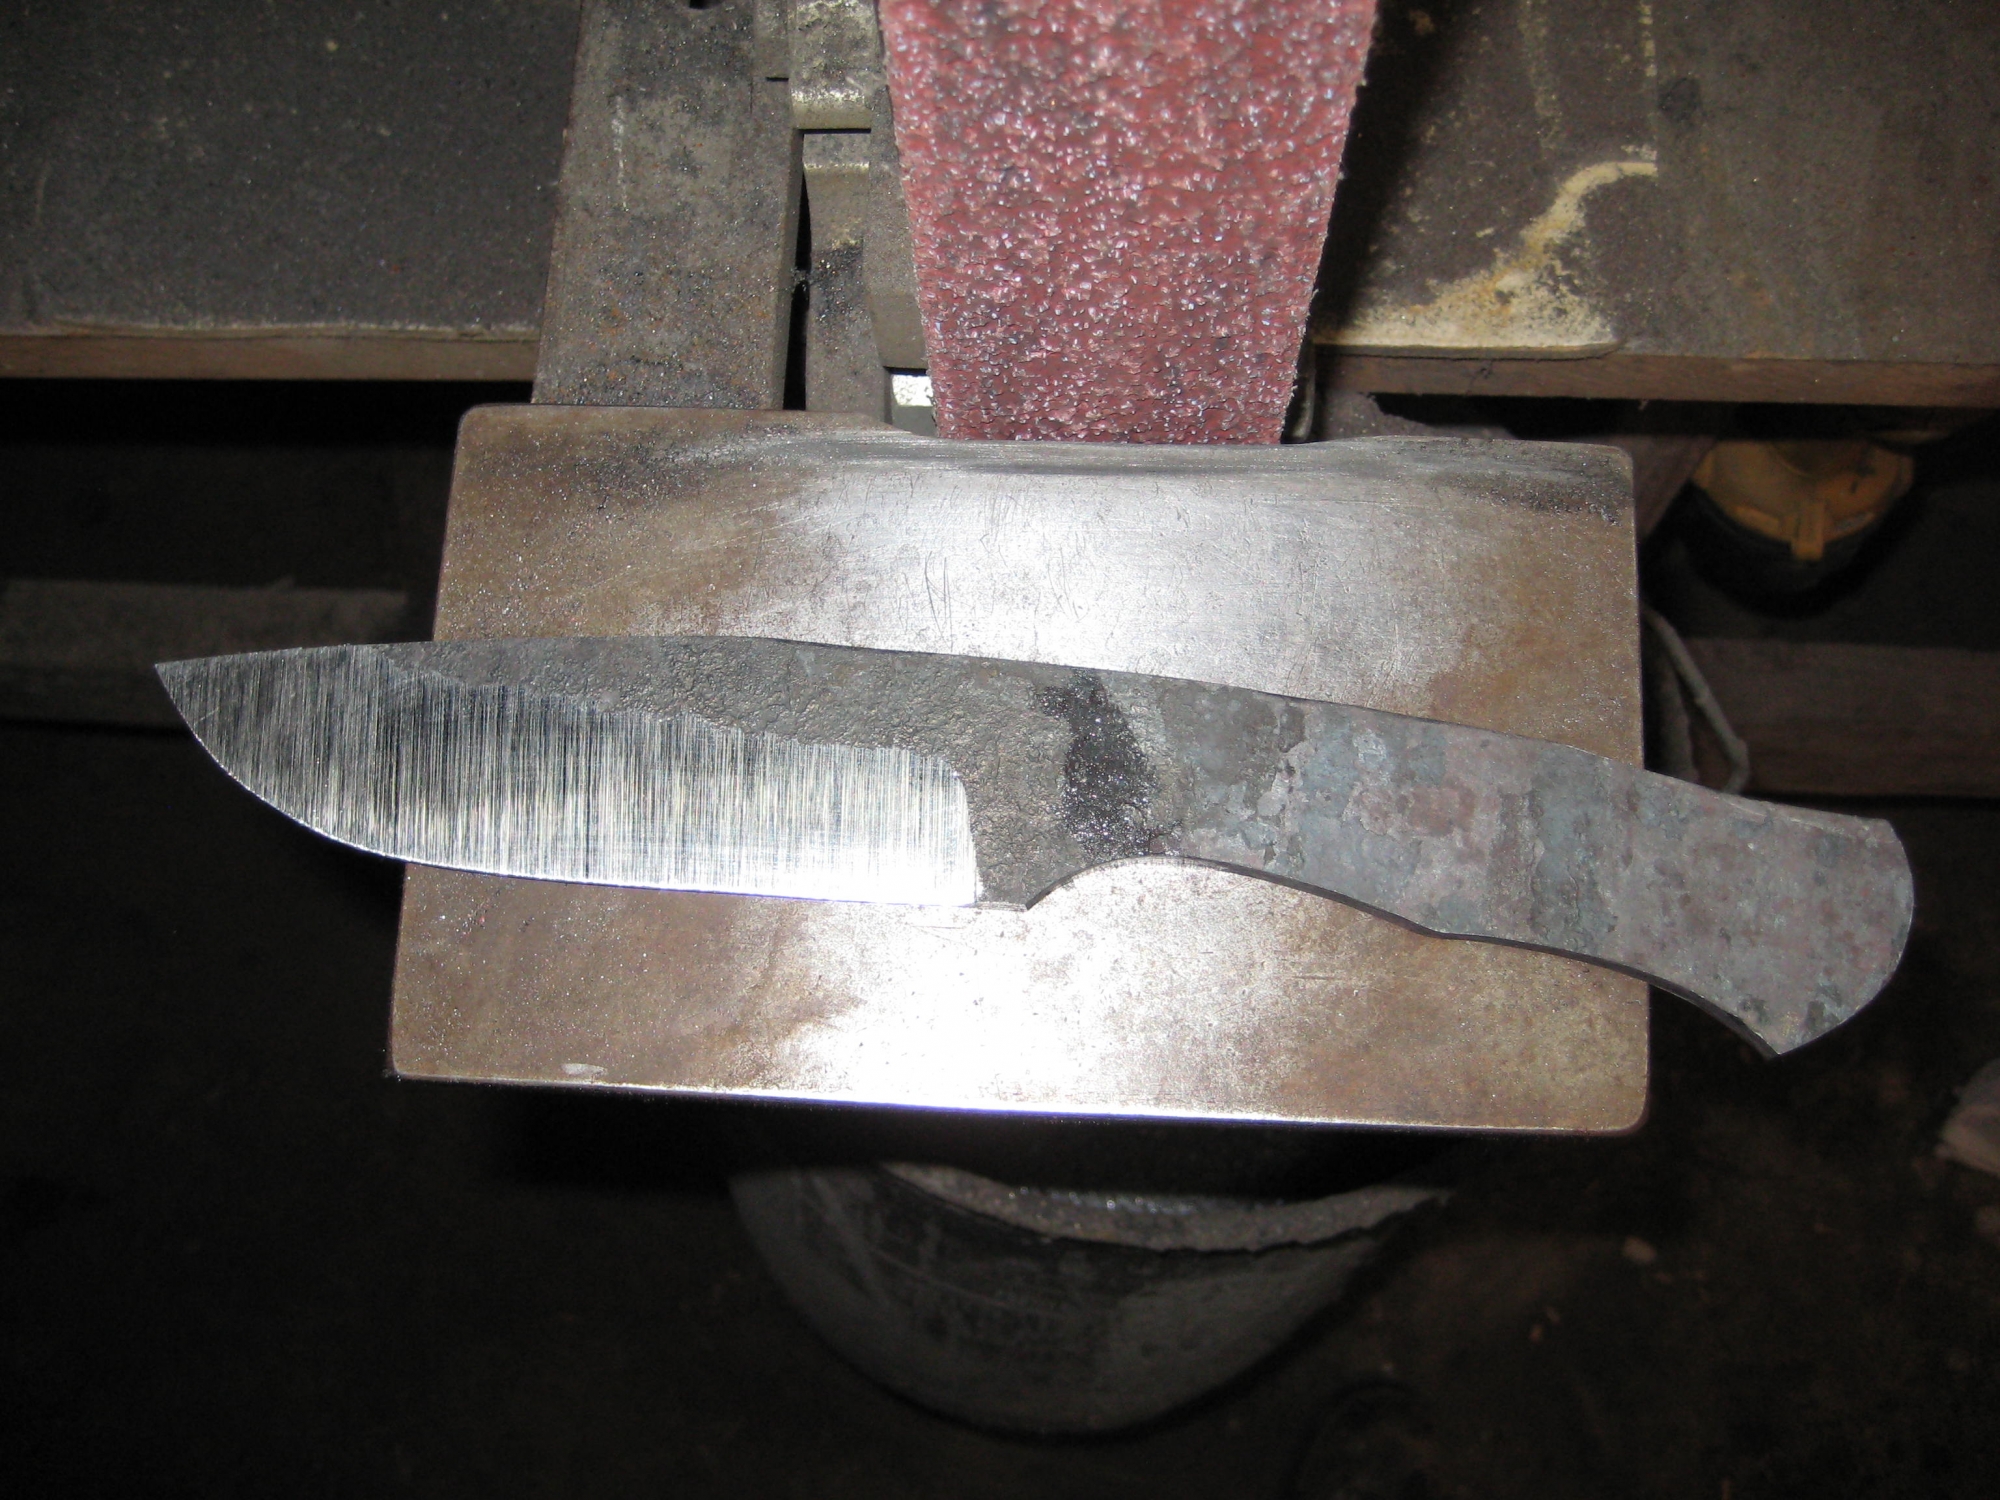
Here are just some more shots of the same thing. In this shot I have switched to the flat platen.
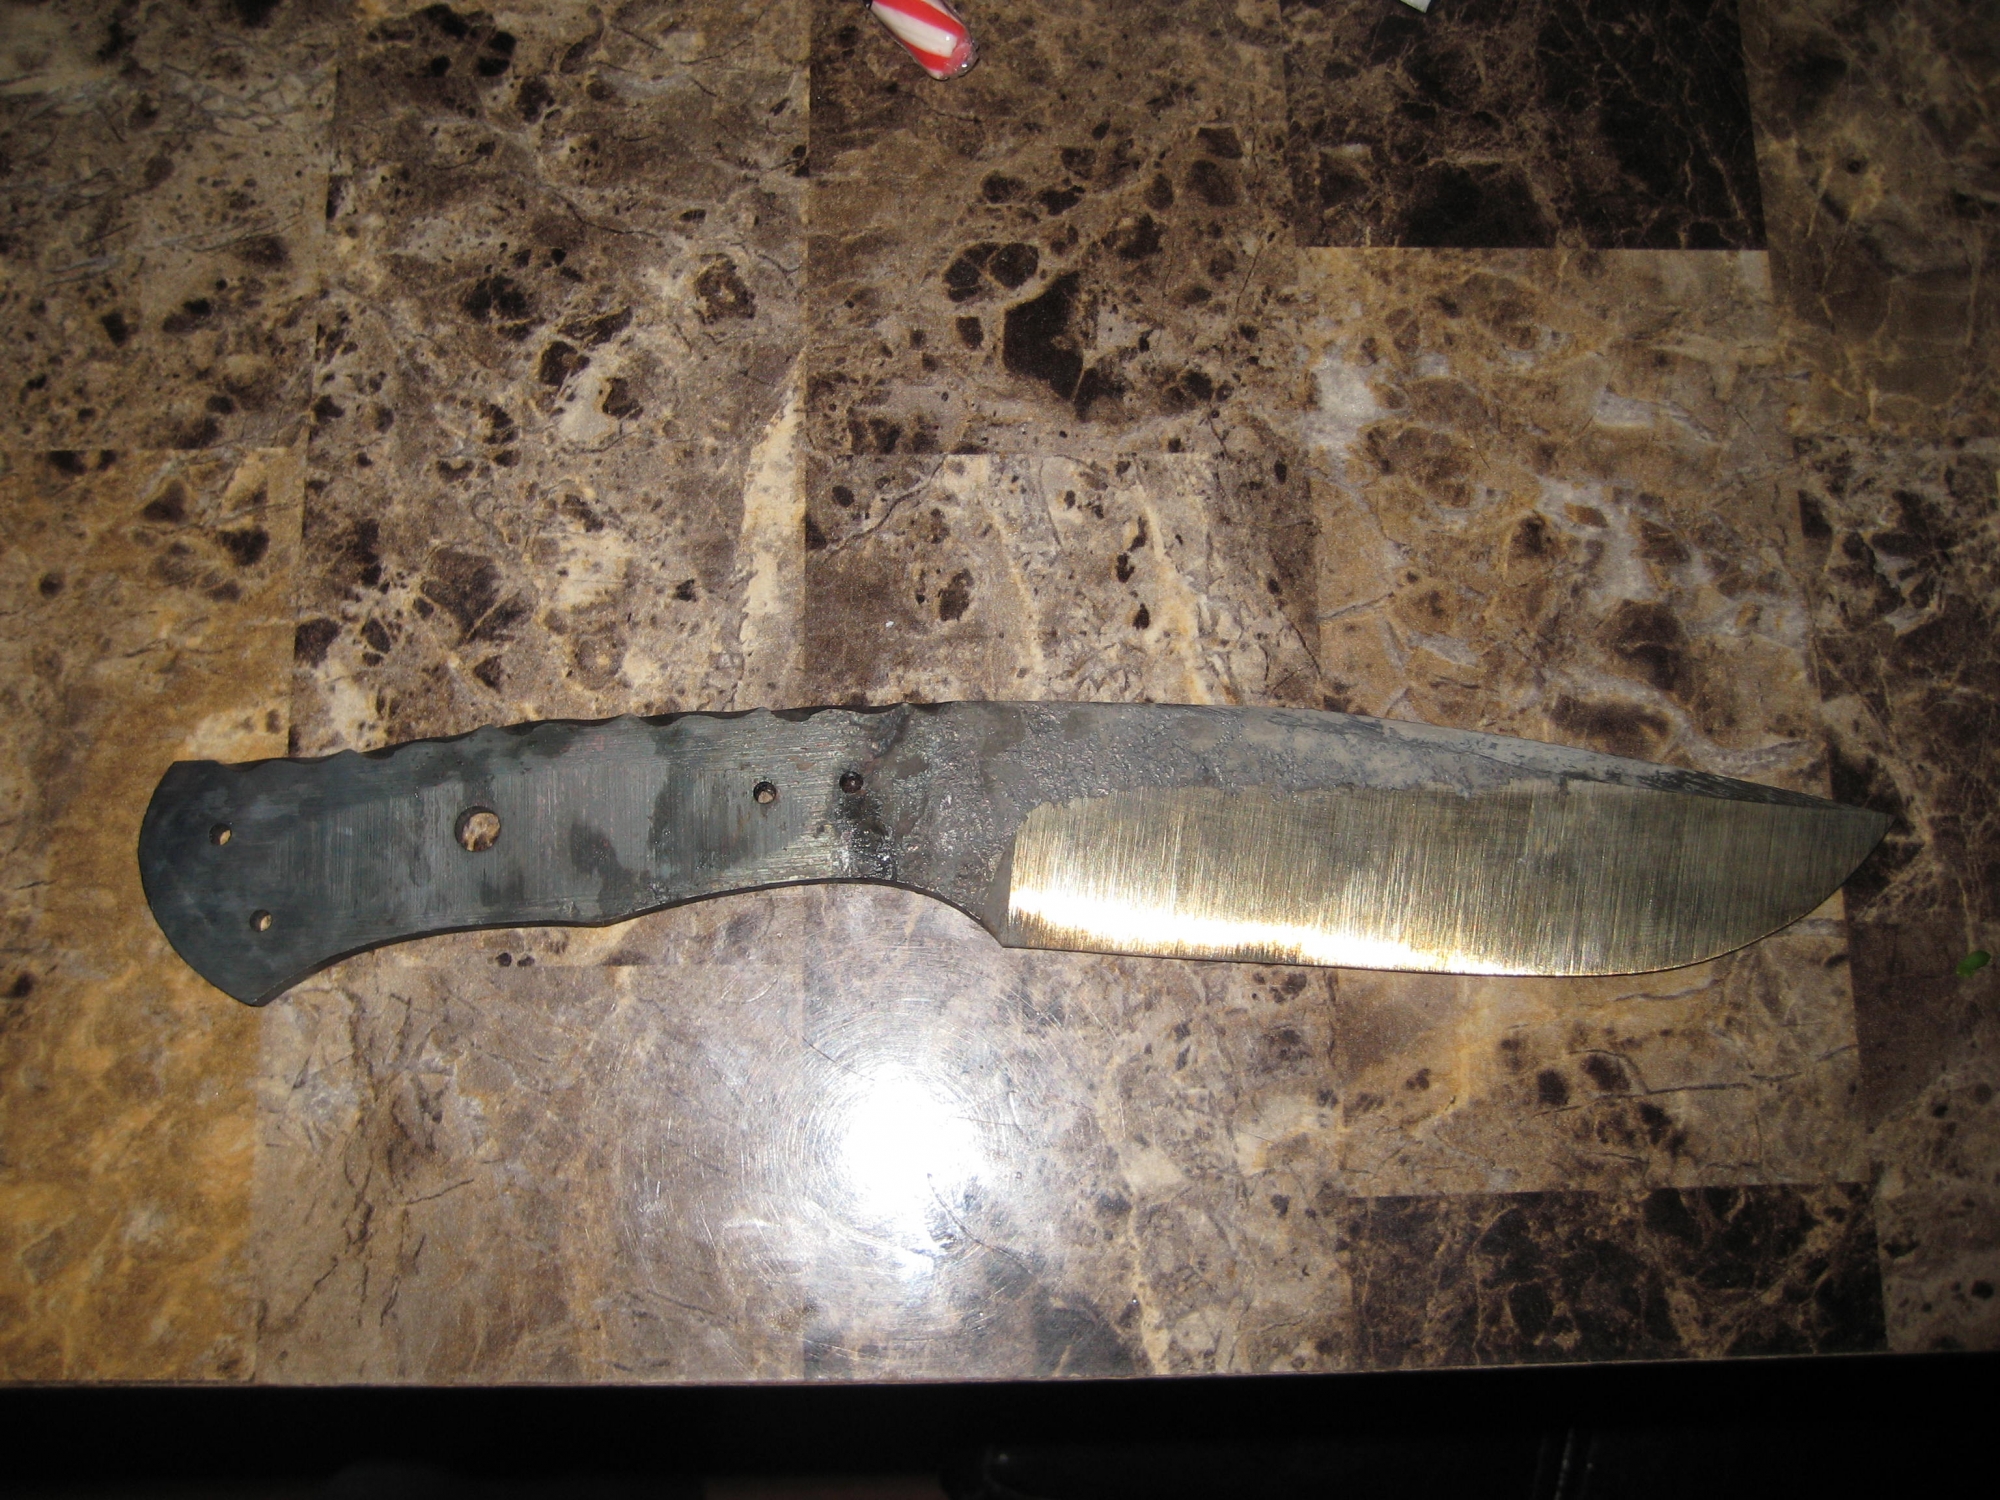
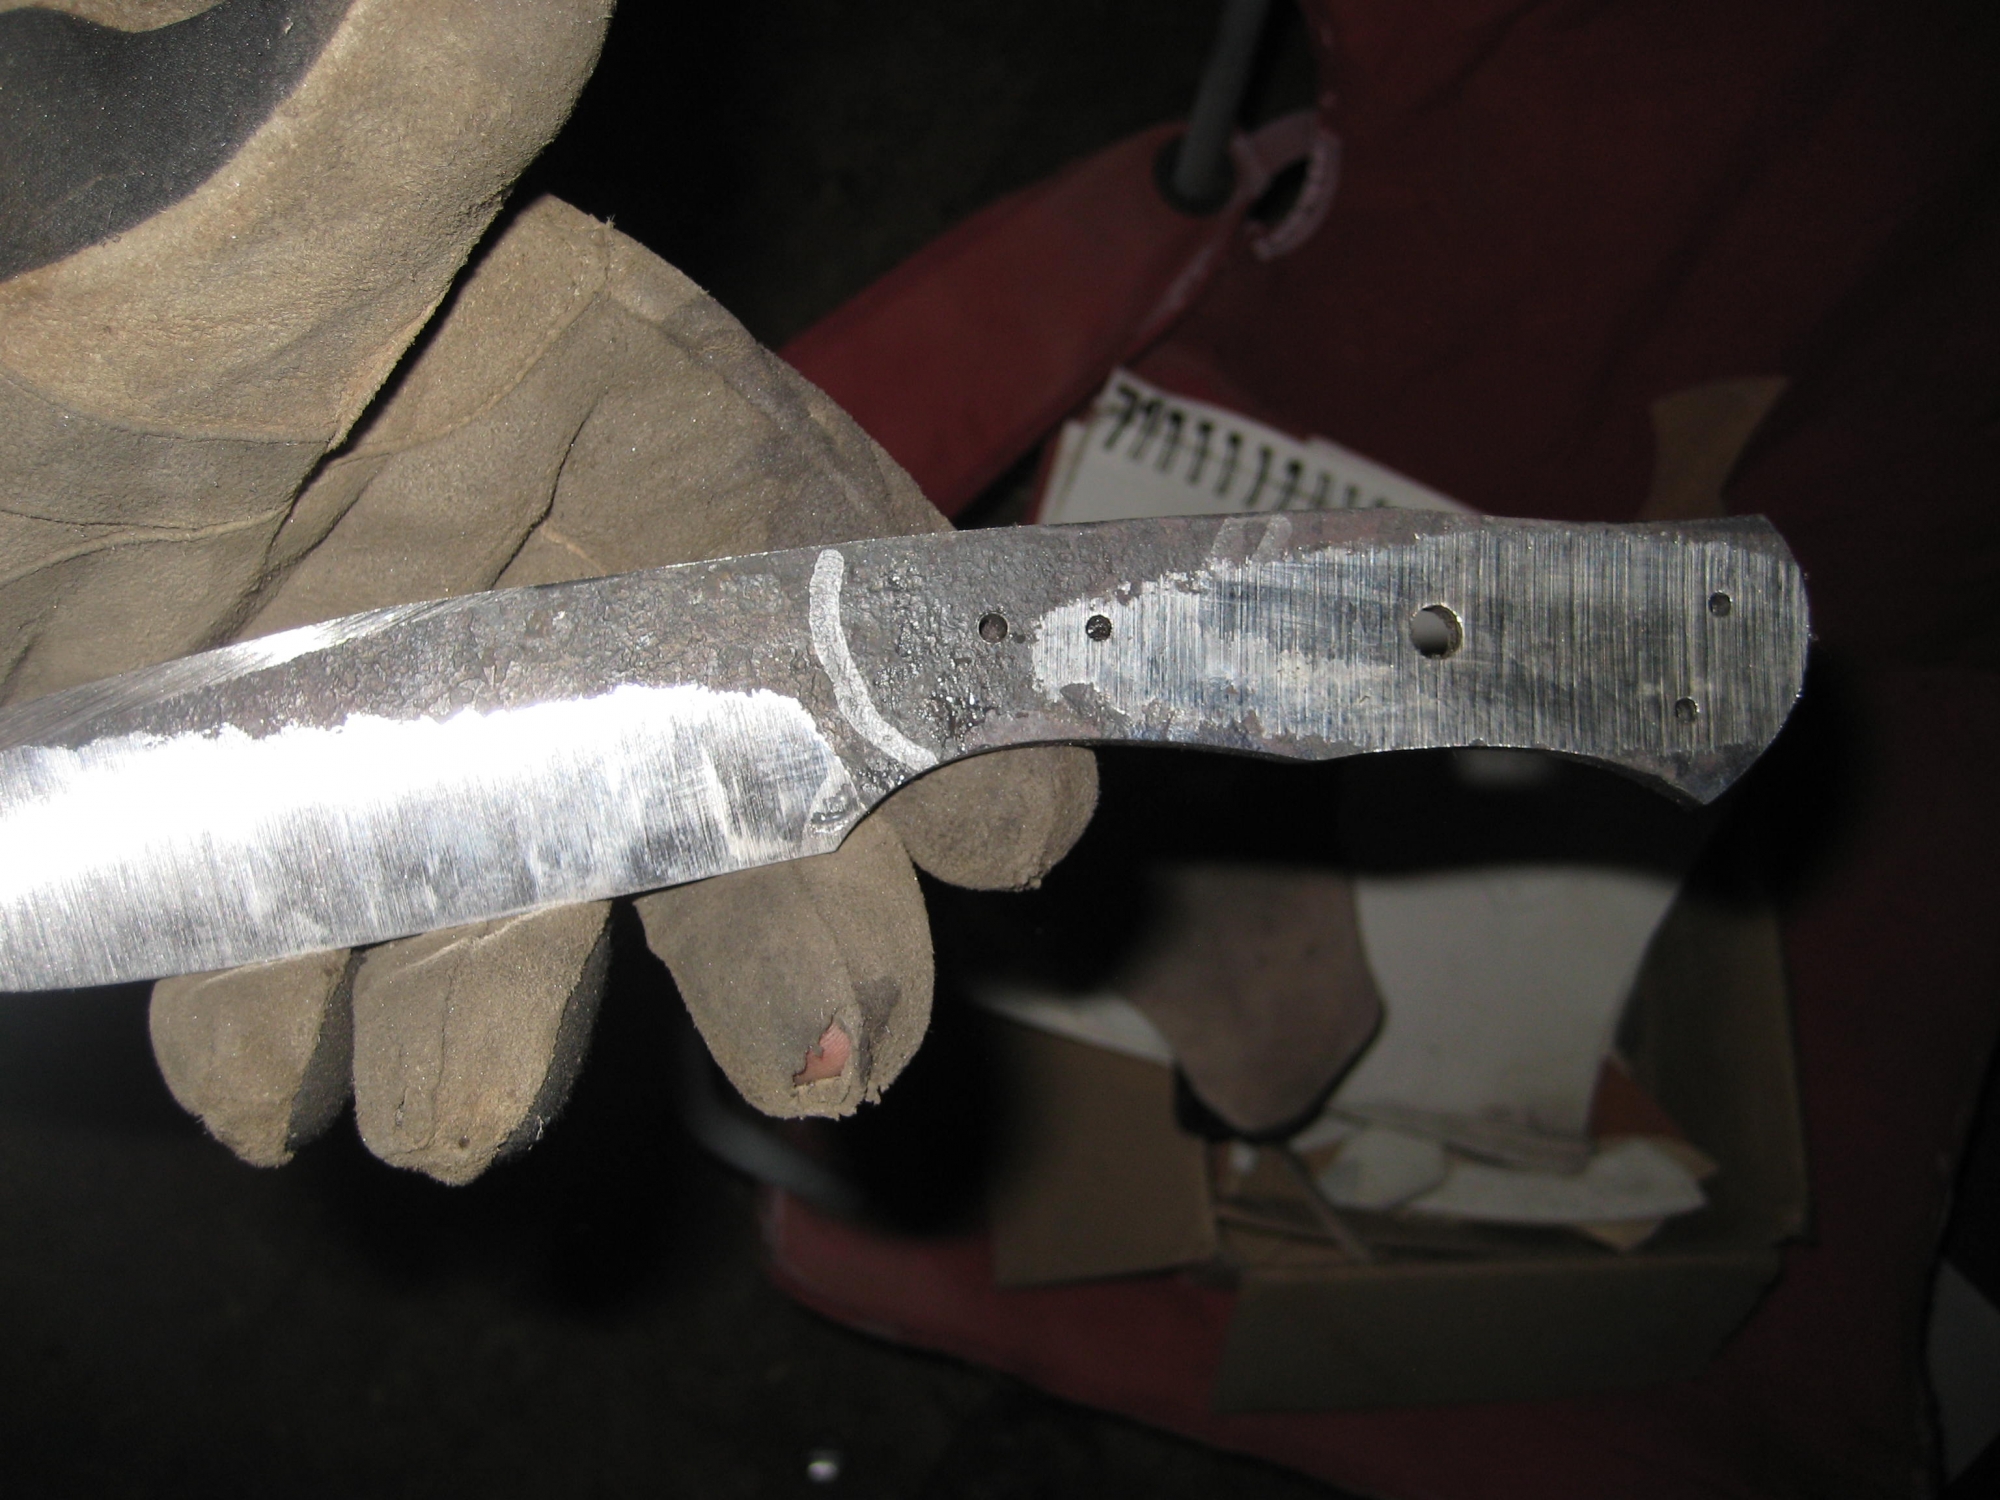
Here is the result. I have left the plunge area straight, although I usually create a sweeping plunge that goes off the edge of the blade. I do this because I like how it looks, it is easier to hand sand, and it makes the entire blade length a cutting edge.
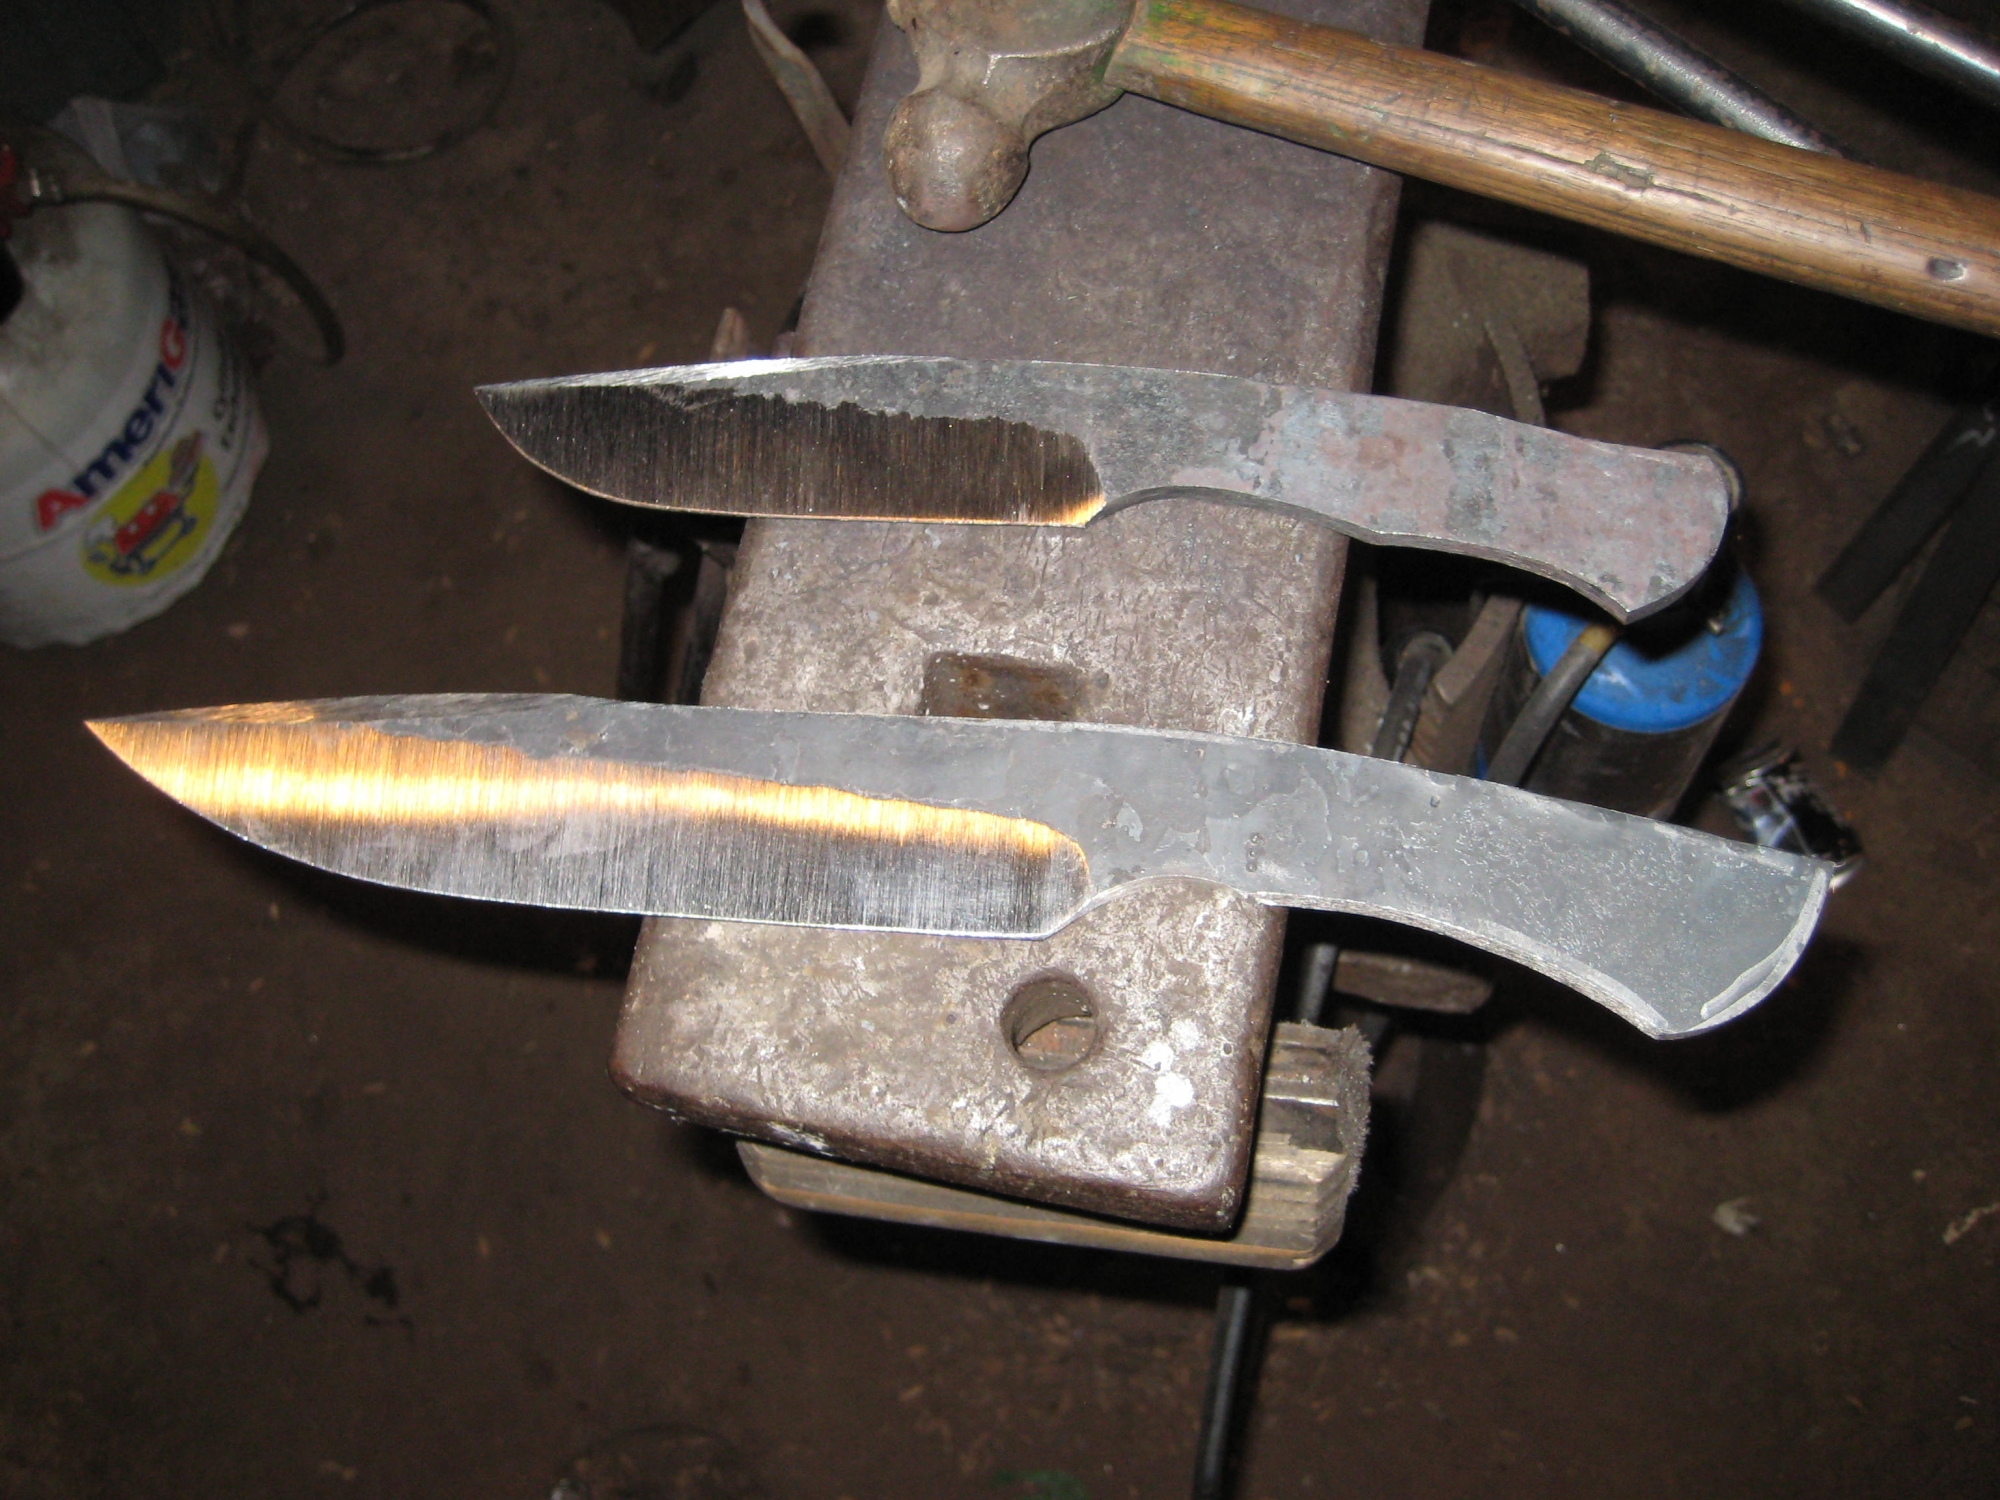
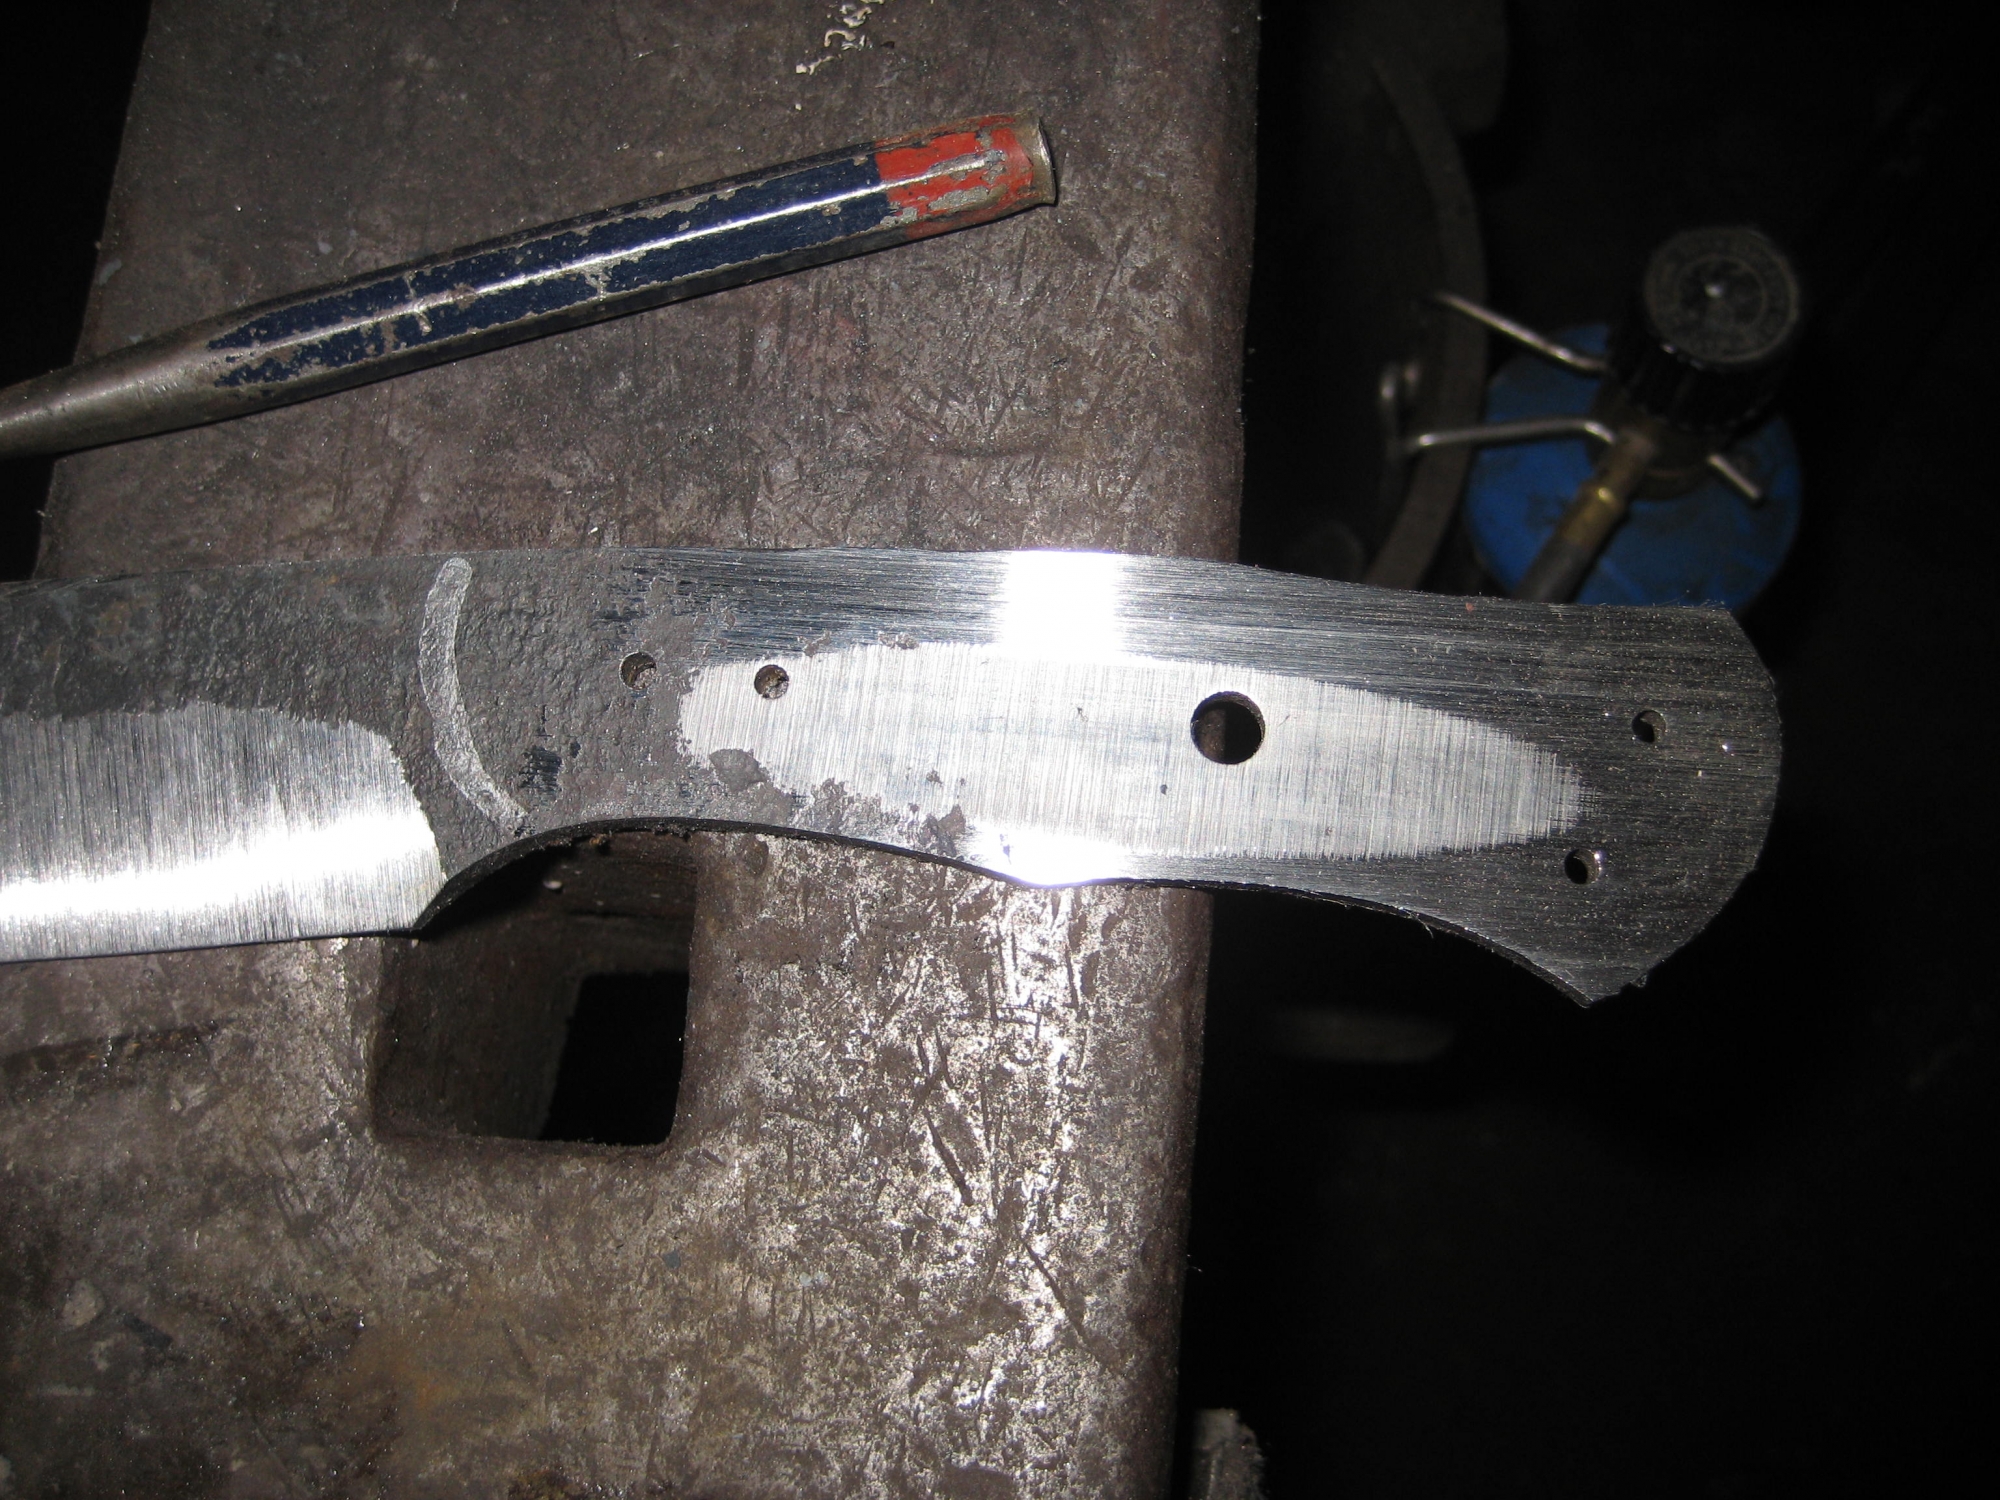
And here it is with the sweeping plunge. I also put a false edge on the top edge of it. It varies a bit from the design on the false edge in the sketch I drew, but I think I will keep it as-is

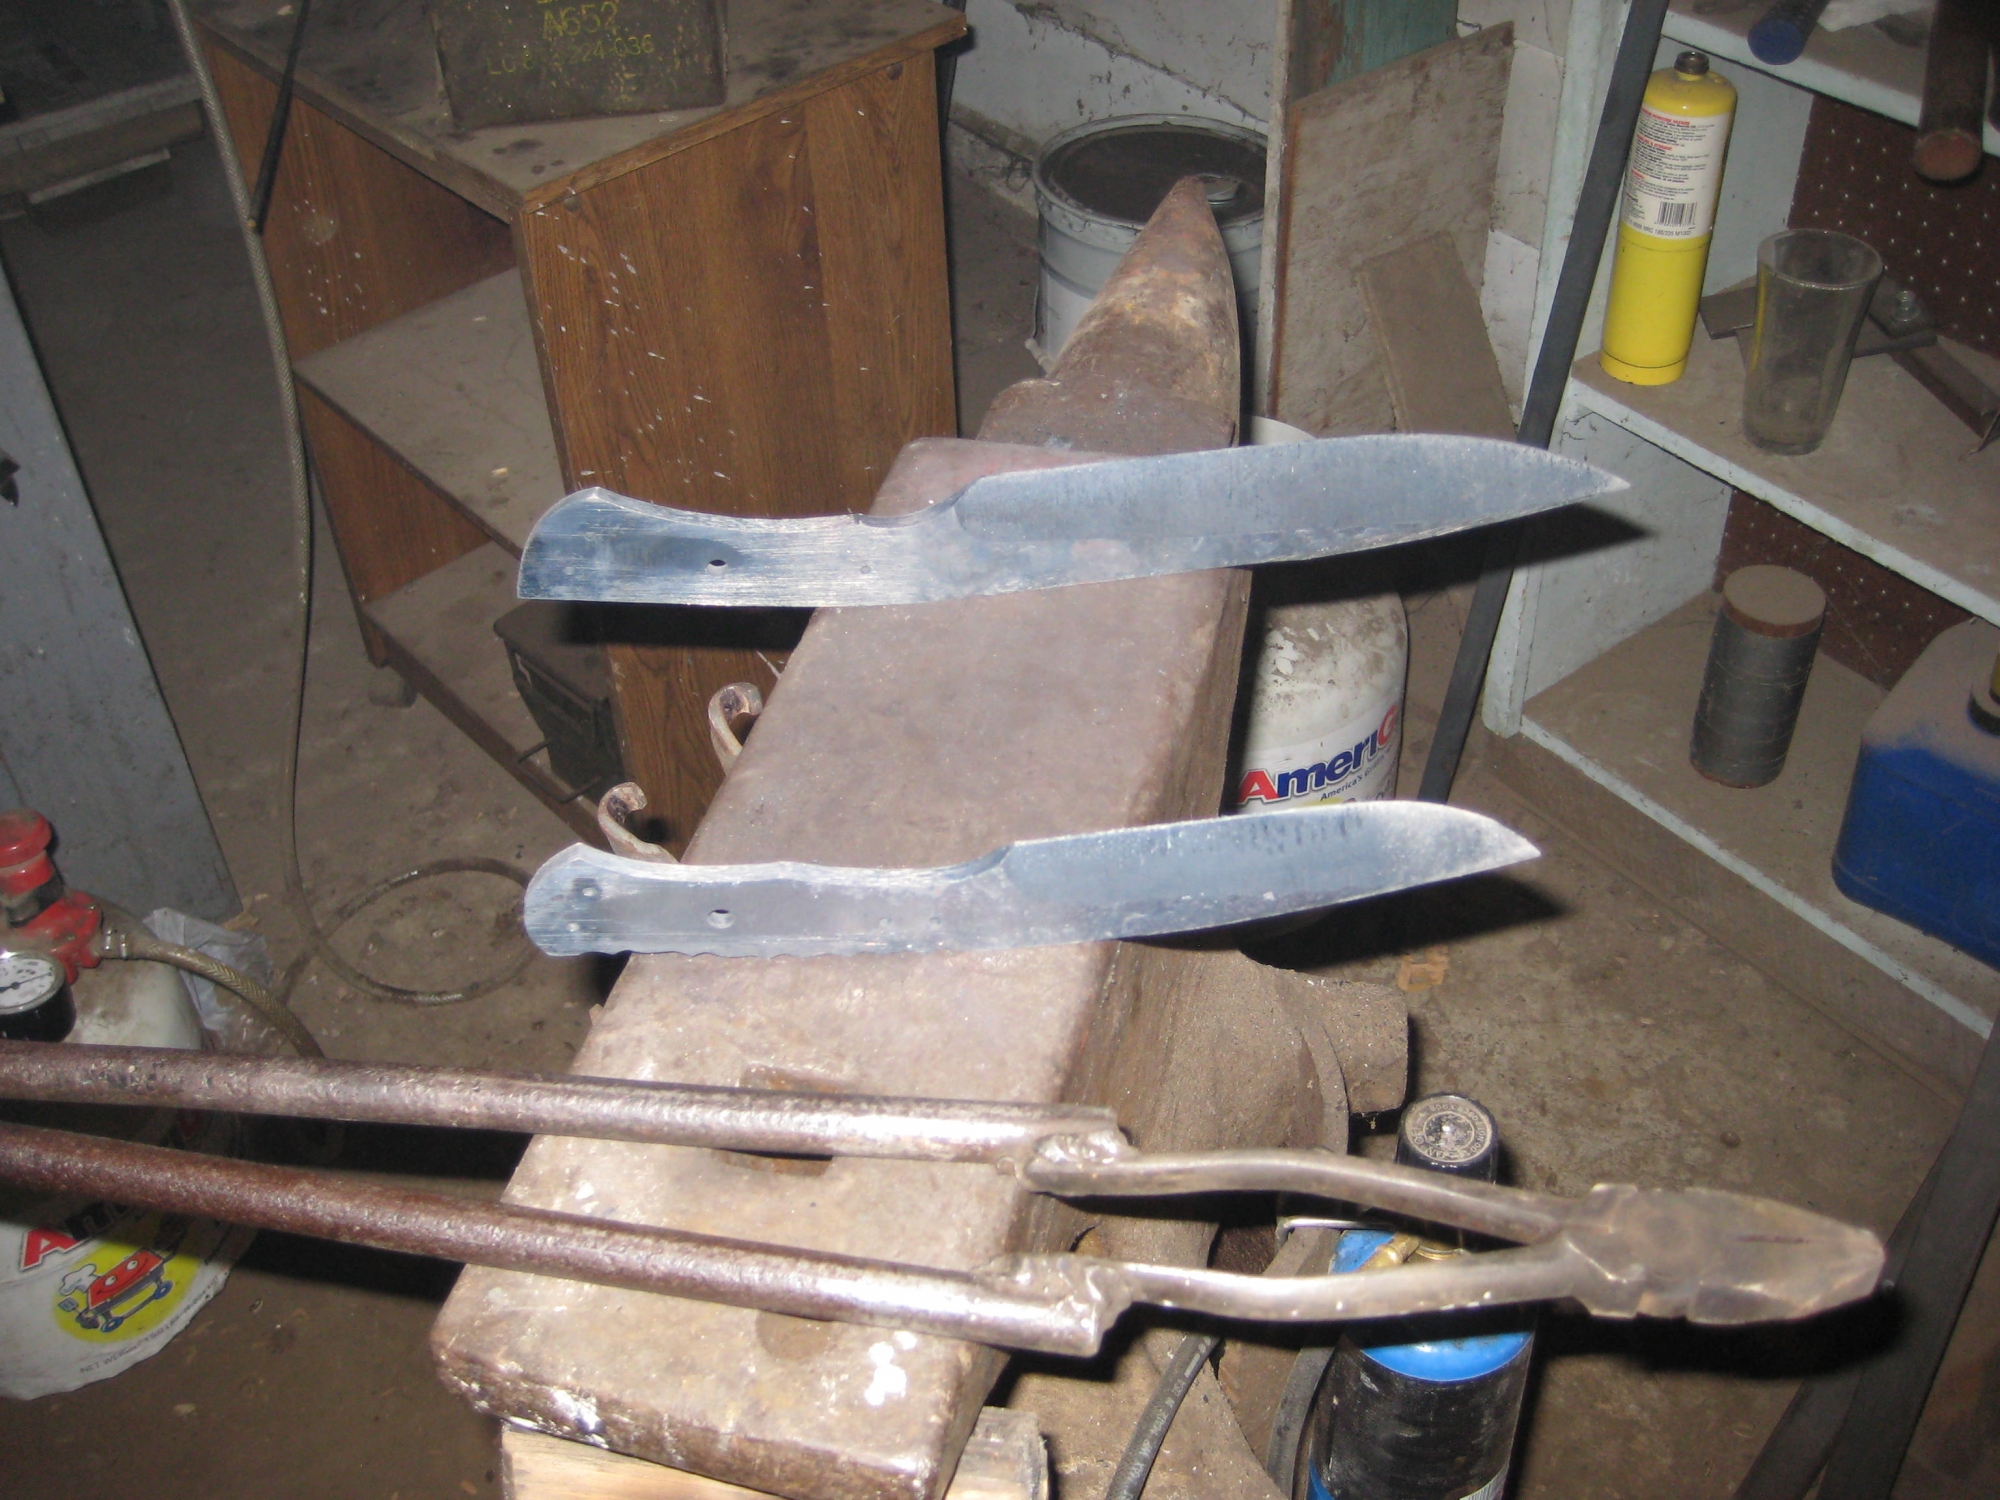
While I was making this one, I also was working on another. I am always asked how long it takes me to make a knife, and it is a very difficult question to answer because I am usually doing them in batches. I can't just divide the number of knives in the batch by the total time, because I use down time from one knife to work on another. If one is in the oven tempering, I may be grinding or forging a different blade.
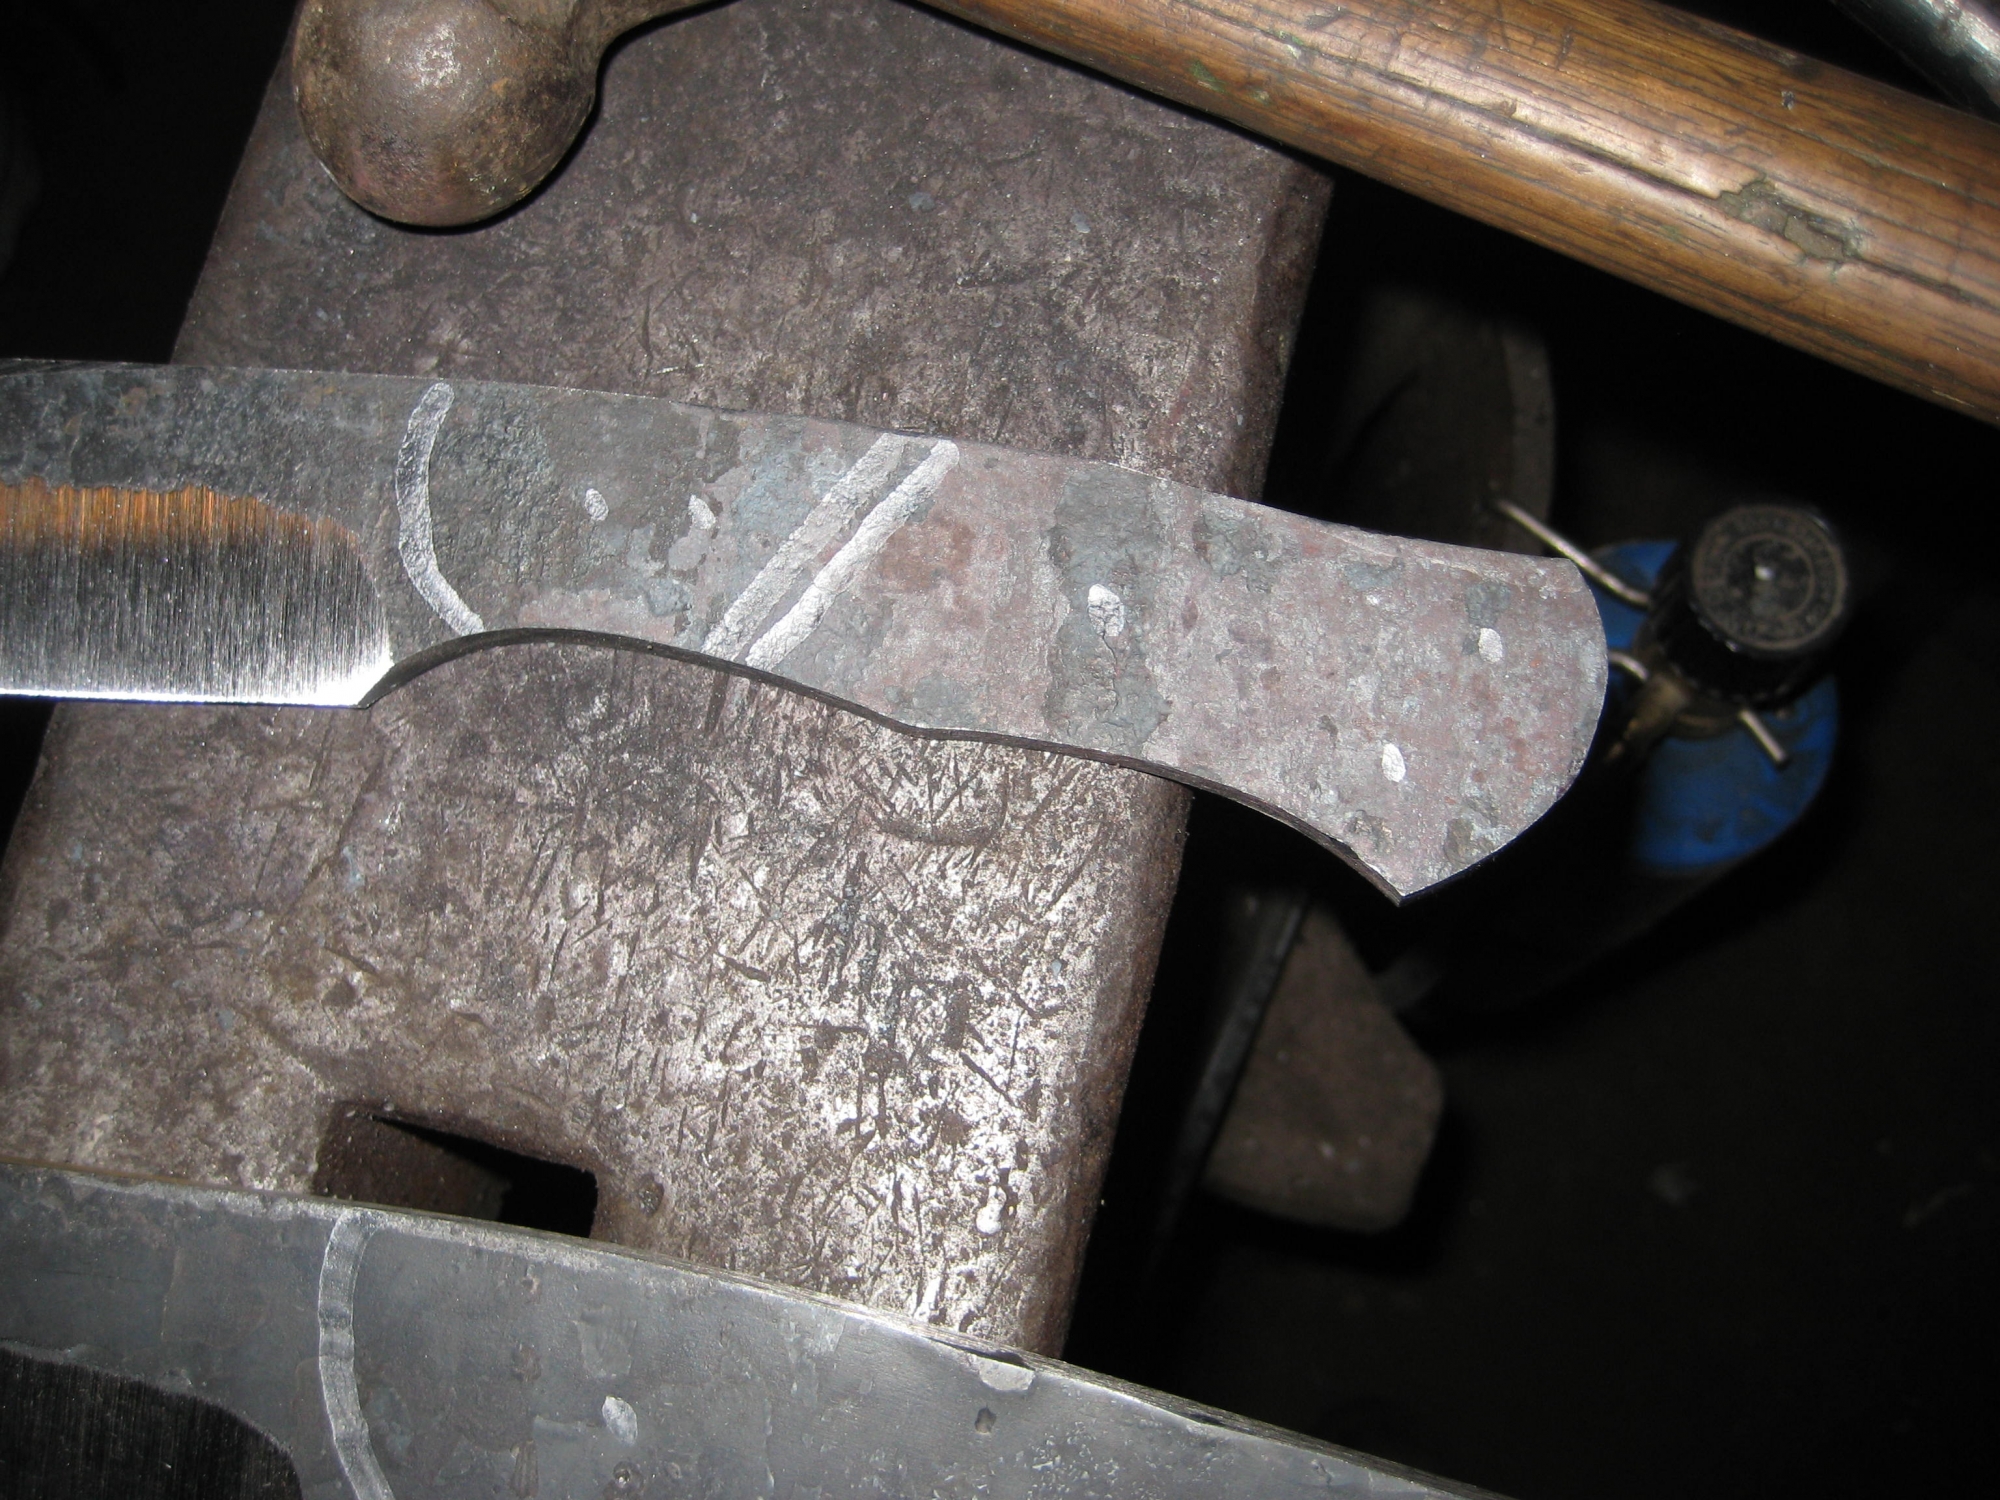
I now mark up the handle for pin holes. Syd's knife will have bolsters, which is why I drilled two holes in the front portion. The rest of the handle will have a mosaic pin and two normal (1/8") pins.
My drill press is old...very old. It was my grandfather's. The thing is great. I have a cross slide vice that I use to clamp the handle in, and move it around for the holes. It works very nicely. I received a facebook message from my father, and I feel the need to amend this portion of the website. Apparently, this was not my grandfather's drill press or his bandsaw, as you will see later. Instead, they belonged to my great-grandfather. I am thankful that they decided to purchase quality tools. My friend is jealous of my drill press, even though he has a brand new name brand drill press. Mine is just so smooth and nice.

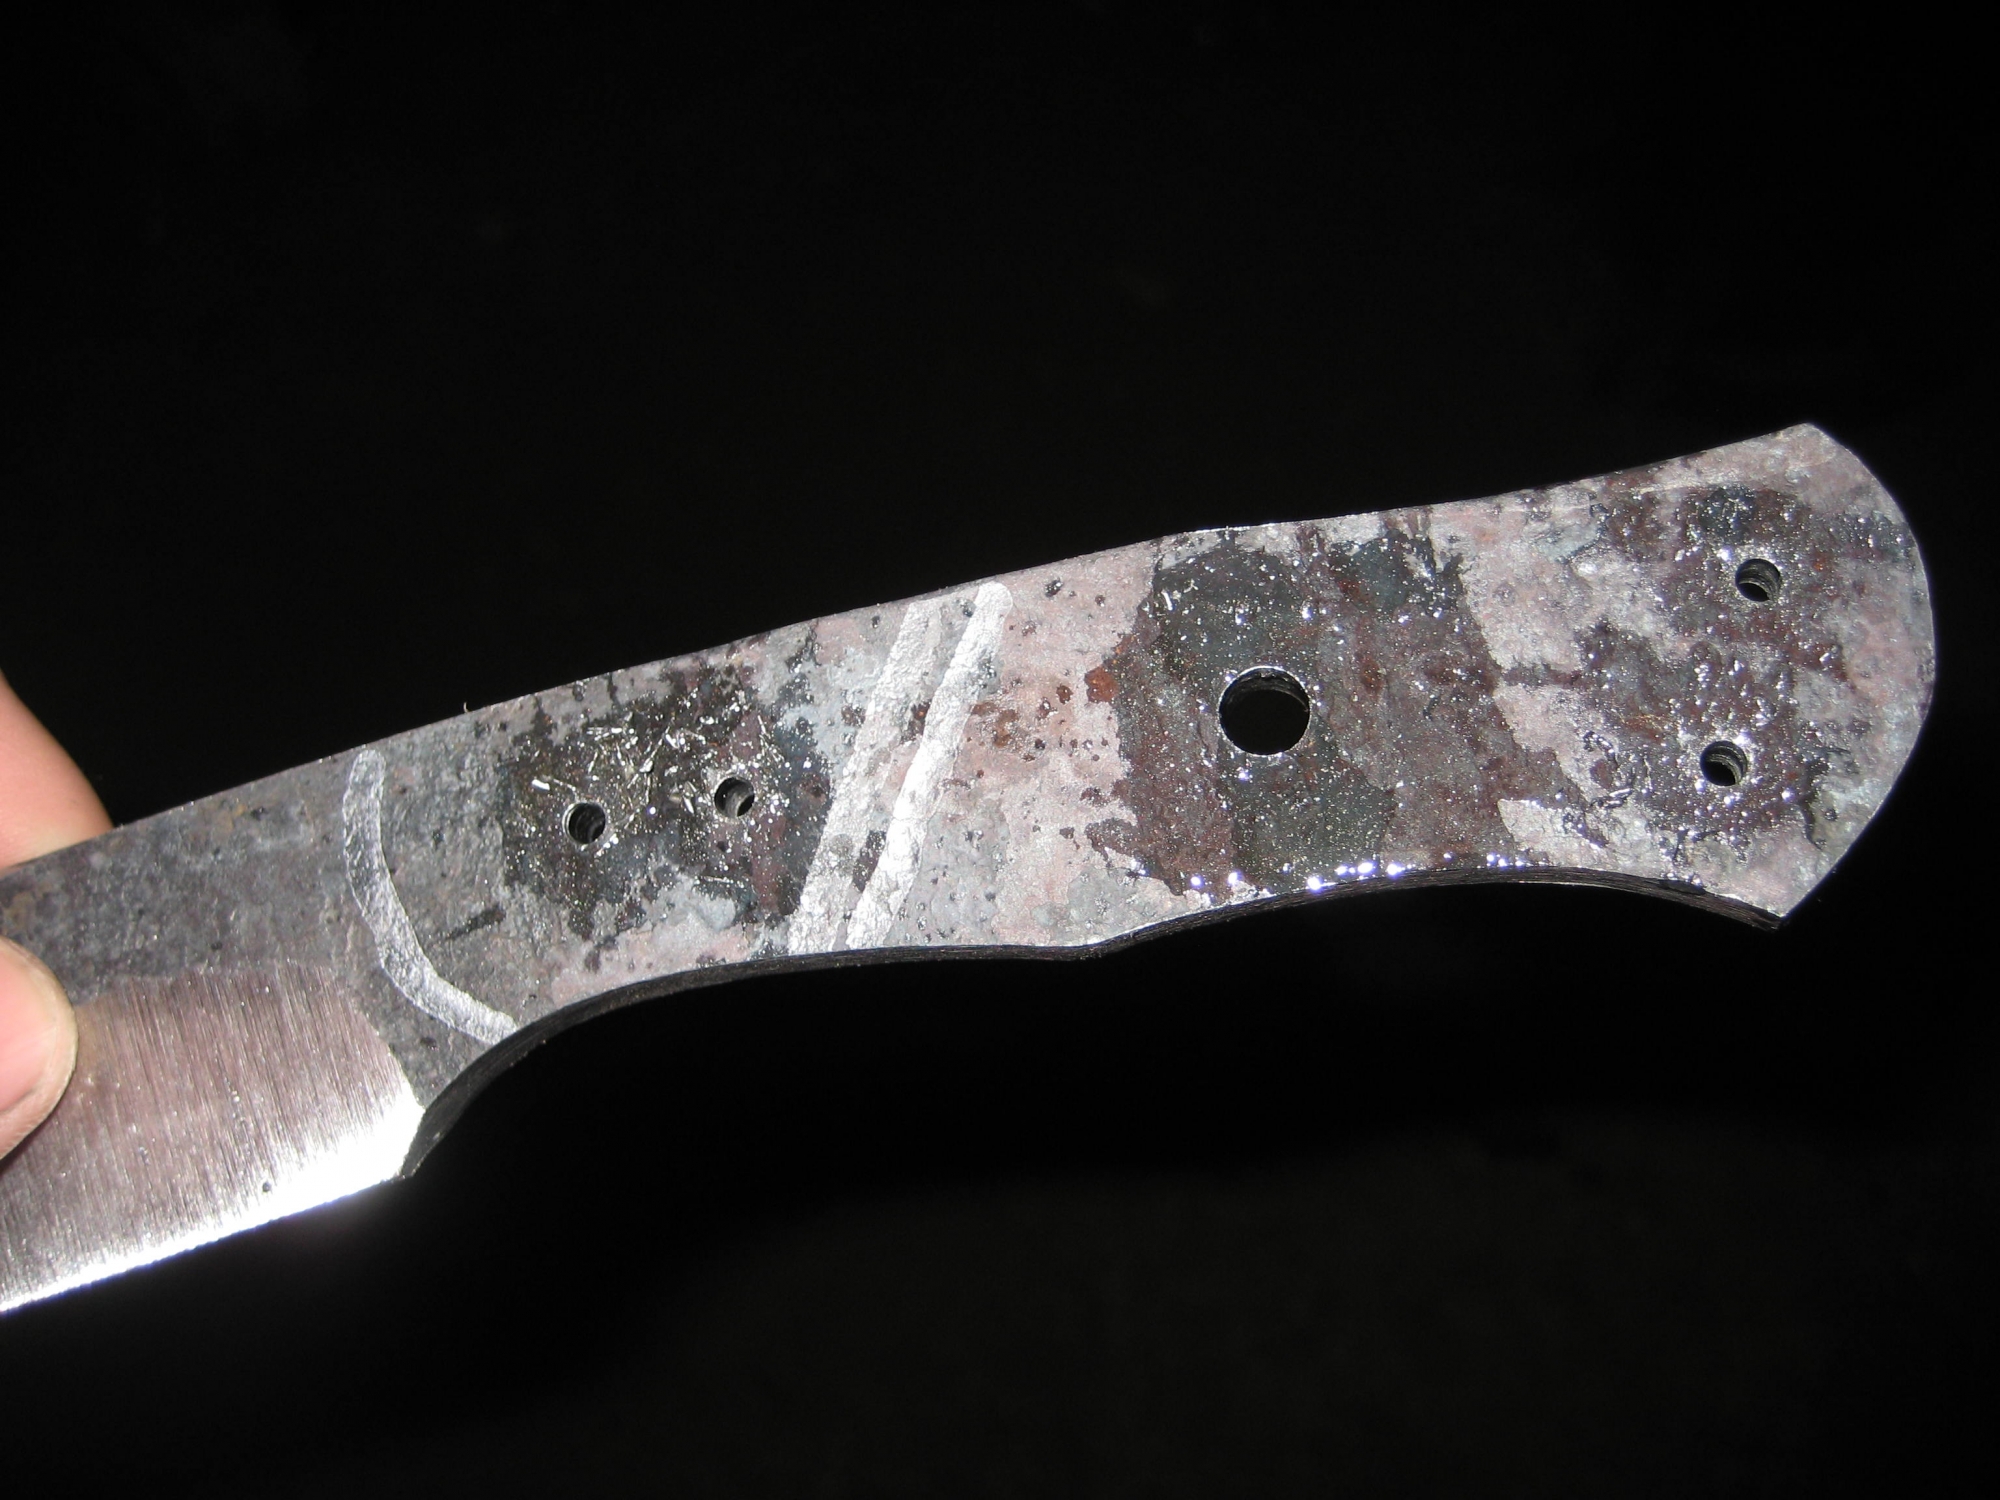
Here it is with the holes drilled. The wet looking stuff is just cutting fluid.
I decided I want to taper the tang. First I will mark out centerline on the butt end of the knife. I use something called Dykem to do it. It is a blue fluid that you paint on the steel, then I use my center scribe to layout a couple lines to show where center is. You can just make out the two scratches that go down the center of the butt.
I use the hollow grind wheel to take off most of the material. You will see in the next few shots that first the steel is removed from the tang, then it is all flattened up. There will be a section down the middle of the tang that still has cupping from the wheel. I leave it because it actually gives the epoxy something to grip onto when the handle is applied.
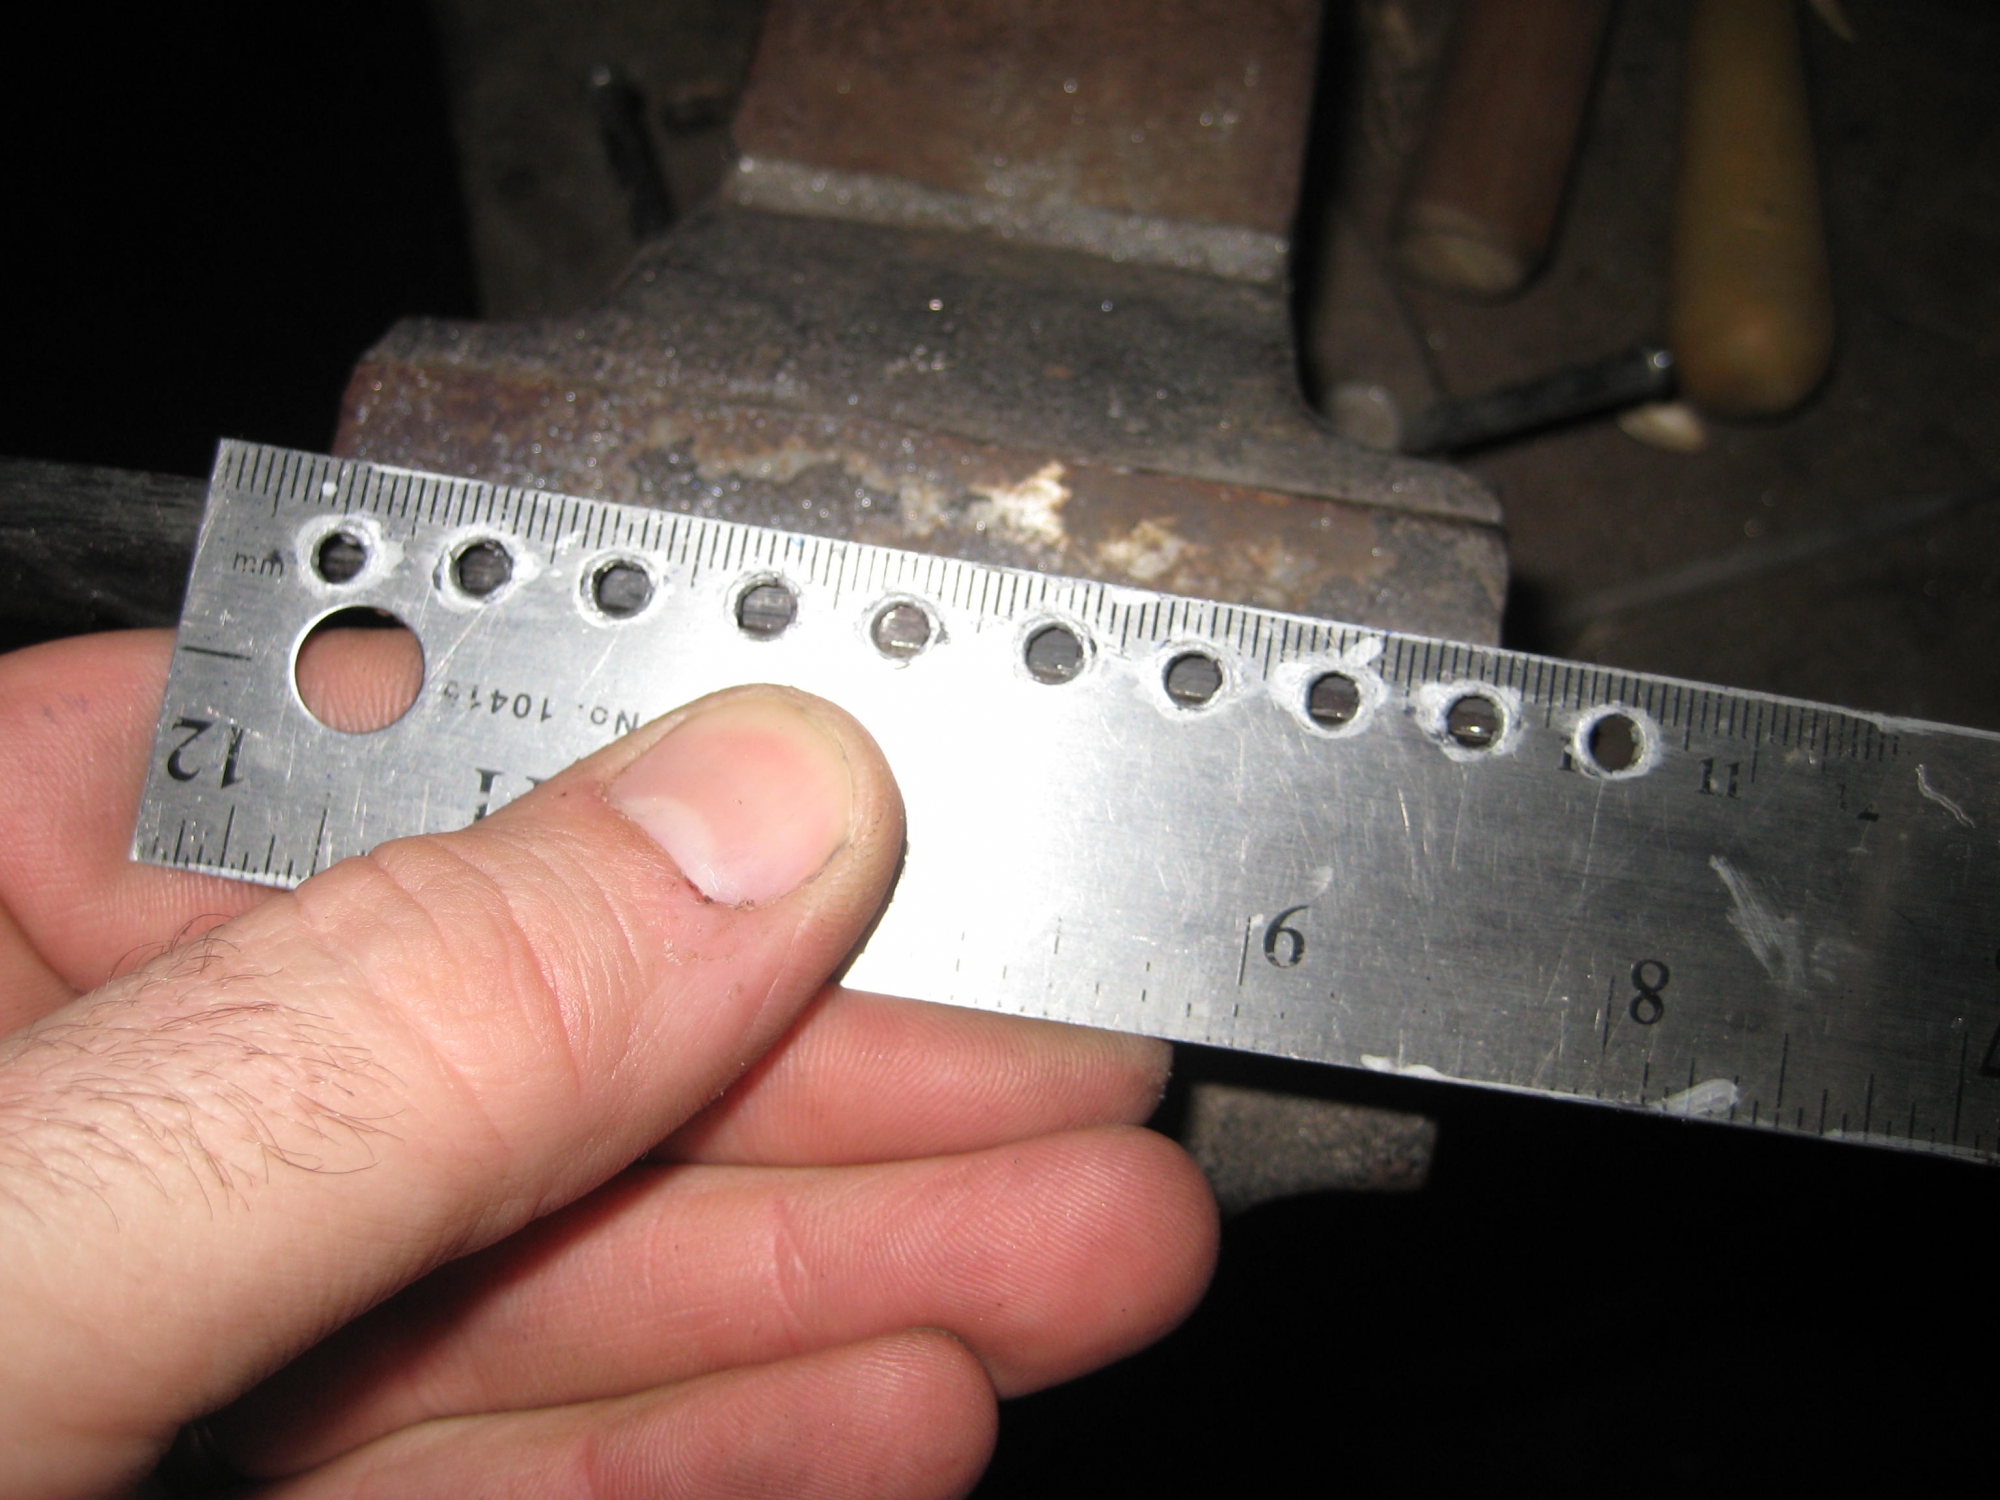
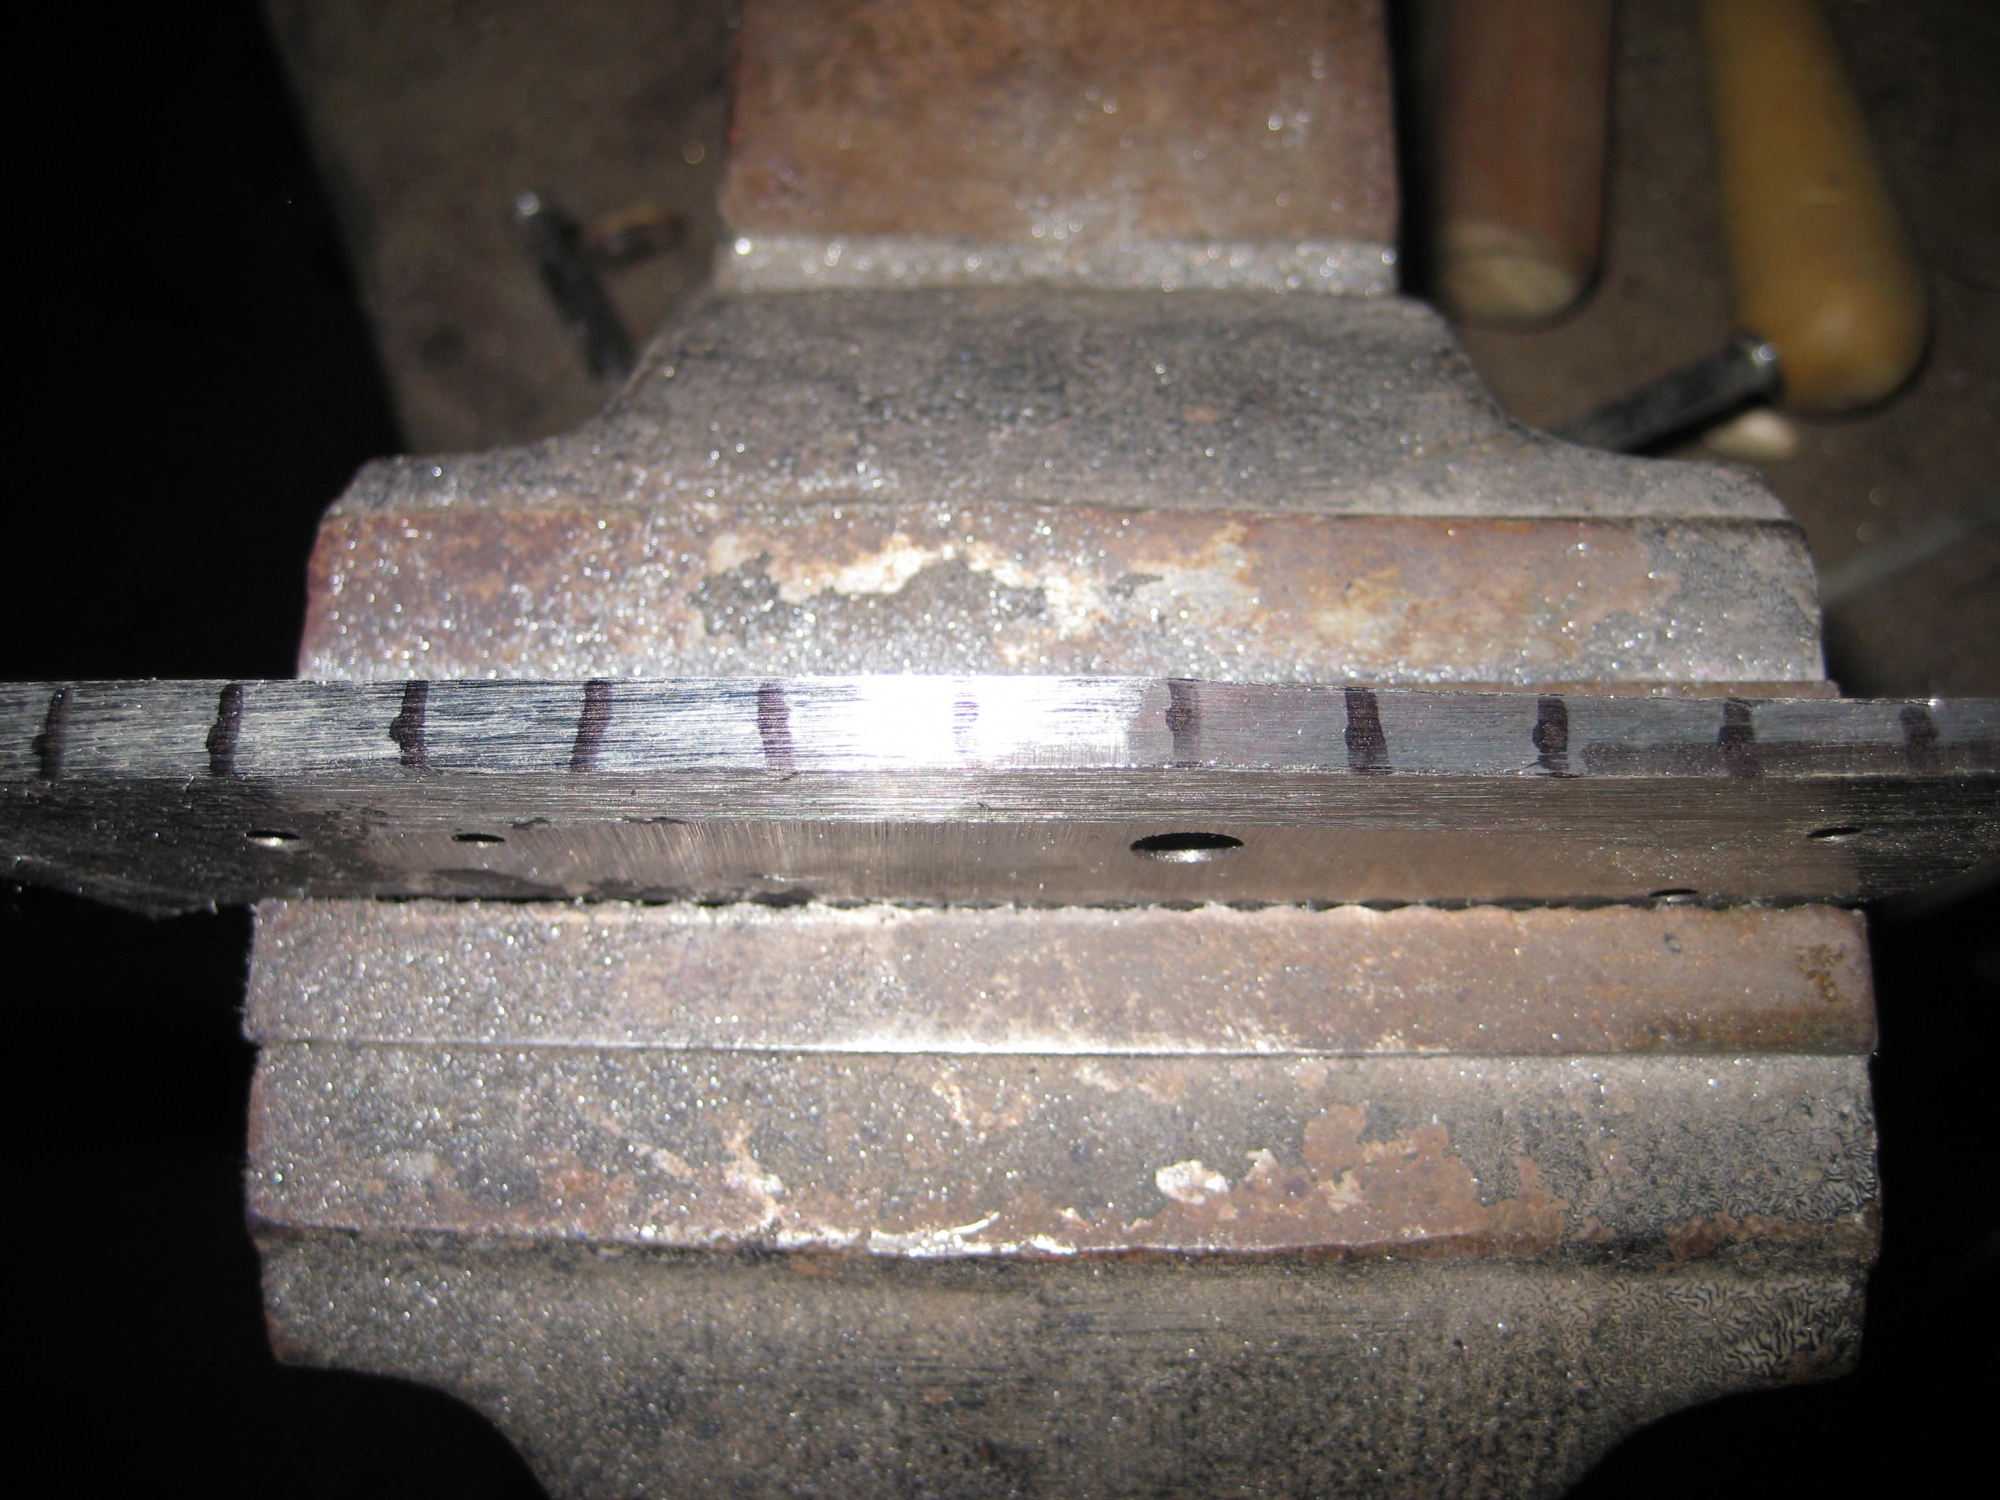
The next step is completely aesthetic. It serves no real purpose other than I think it looks cool. I am going to give the spine of the knife filework. Real filework purists will say that I am cheating because I use a dremel for part of it, but I don't want to have to say dremel-filework every time. First I will use my handy drilled ruler to mark out spacing, draw lines across the spine to get it all set up.
Now I start the filework.
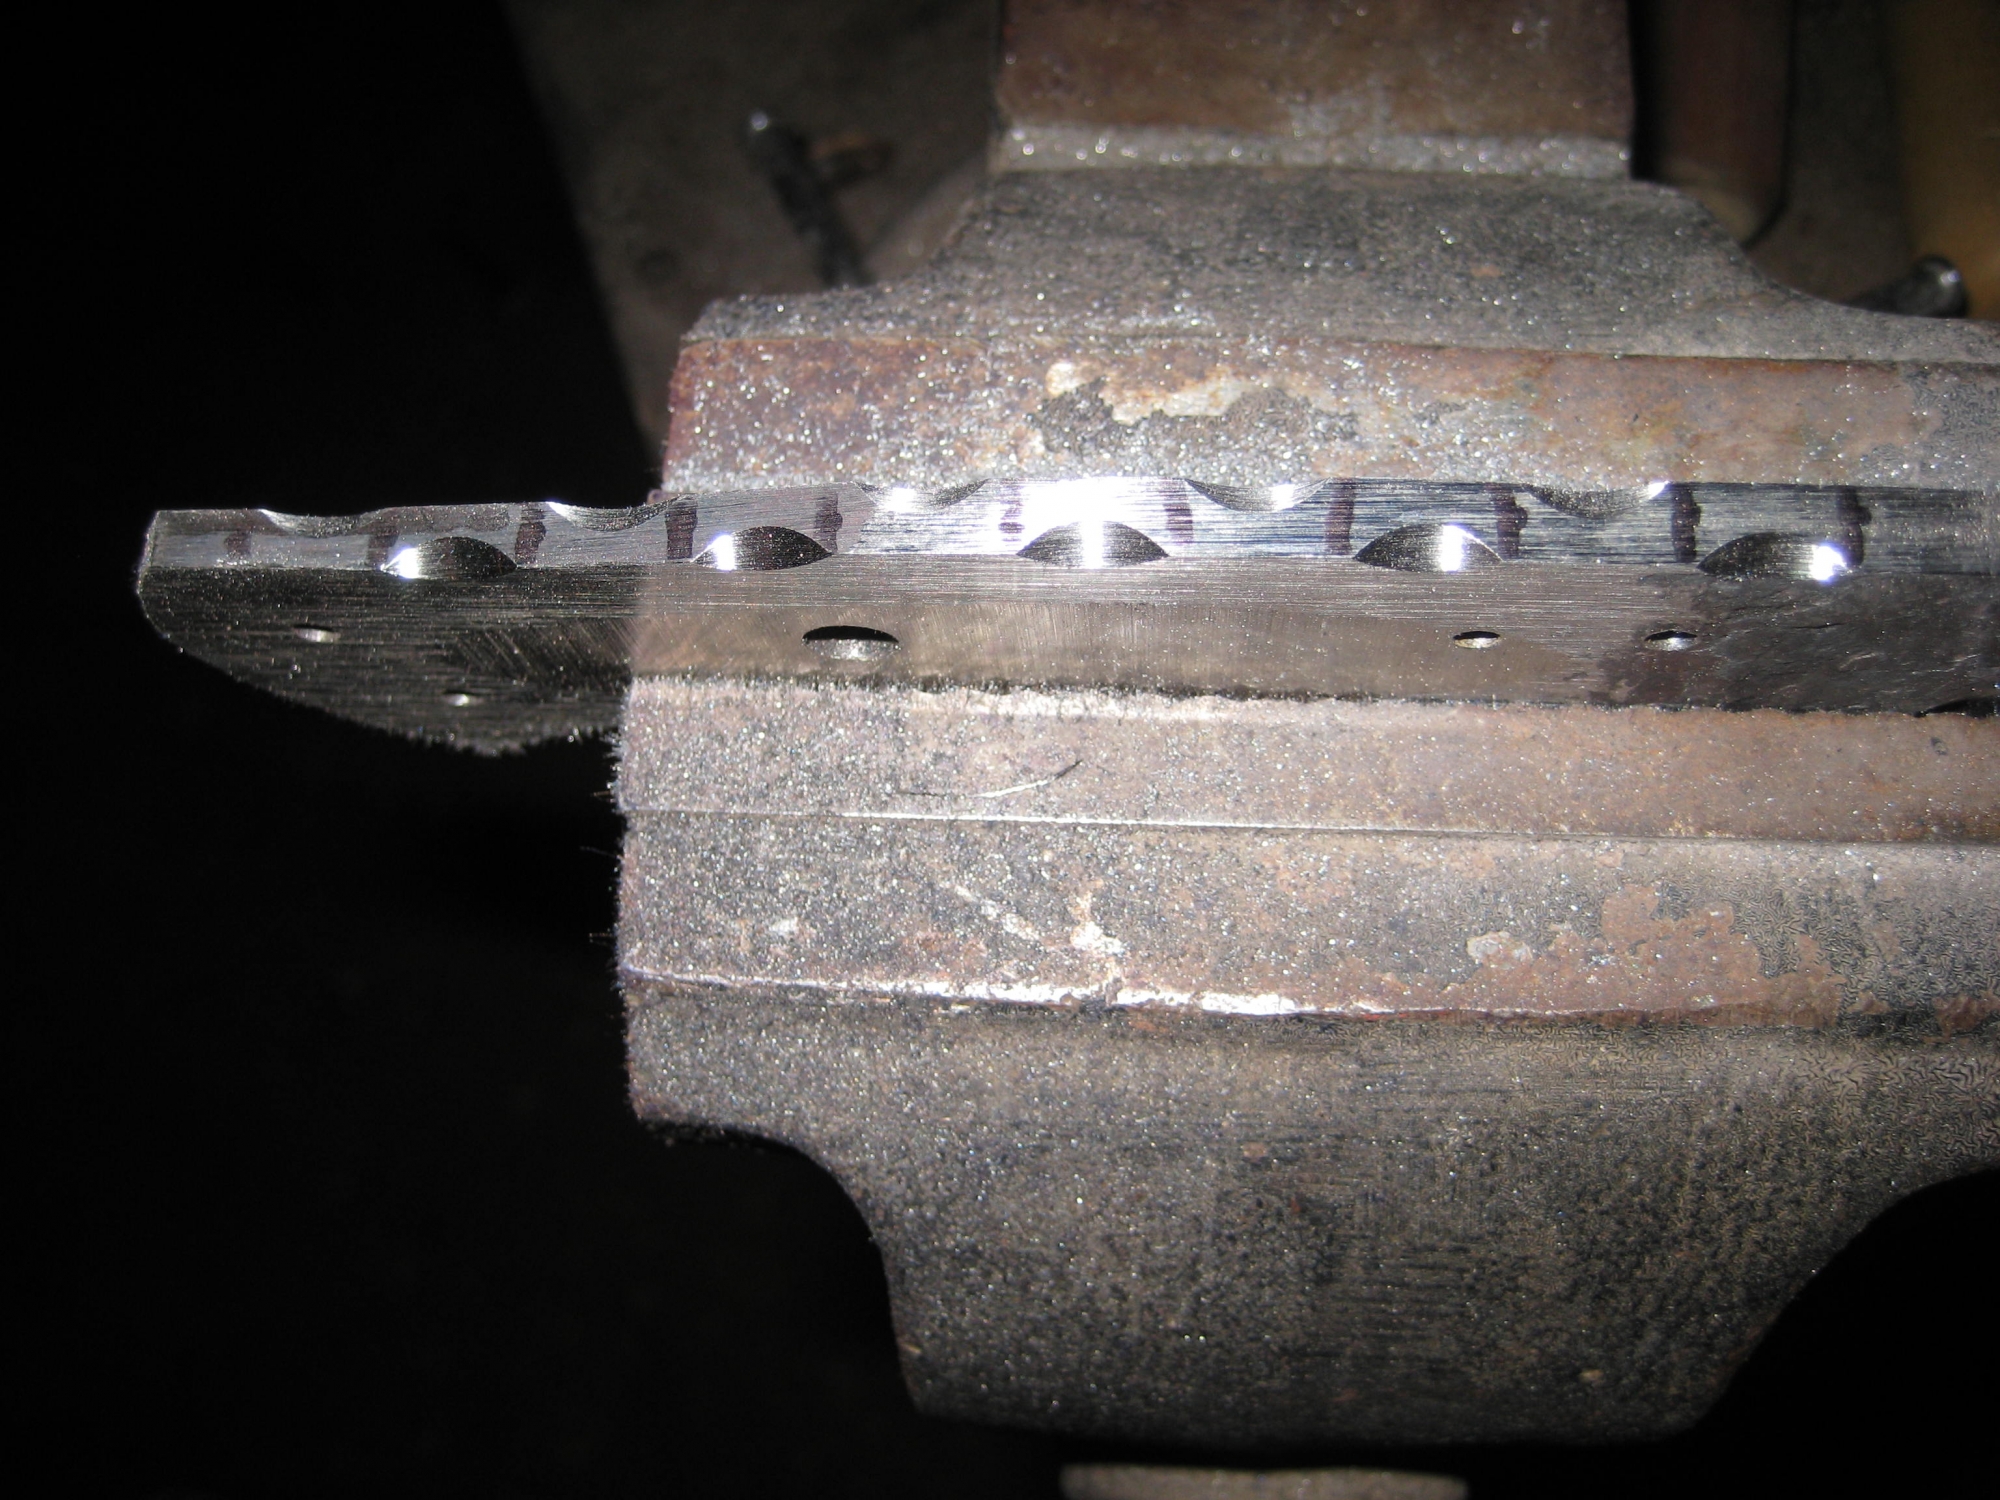
Now I go after it with a chainsaw file.
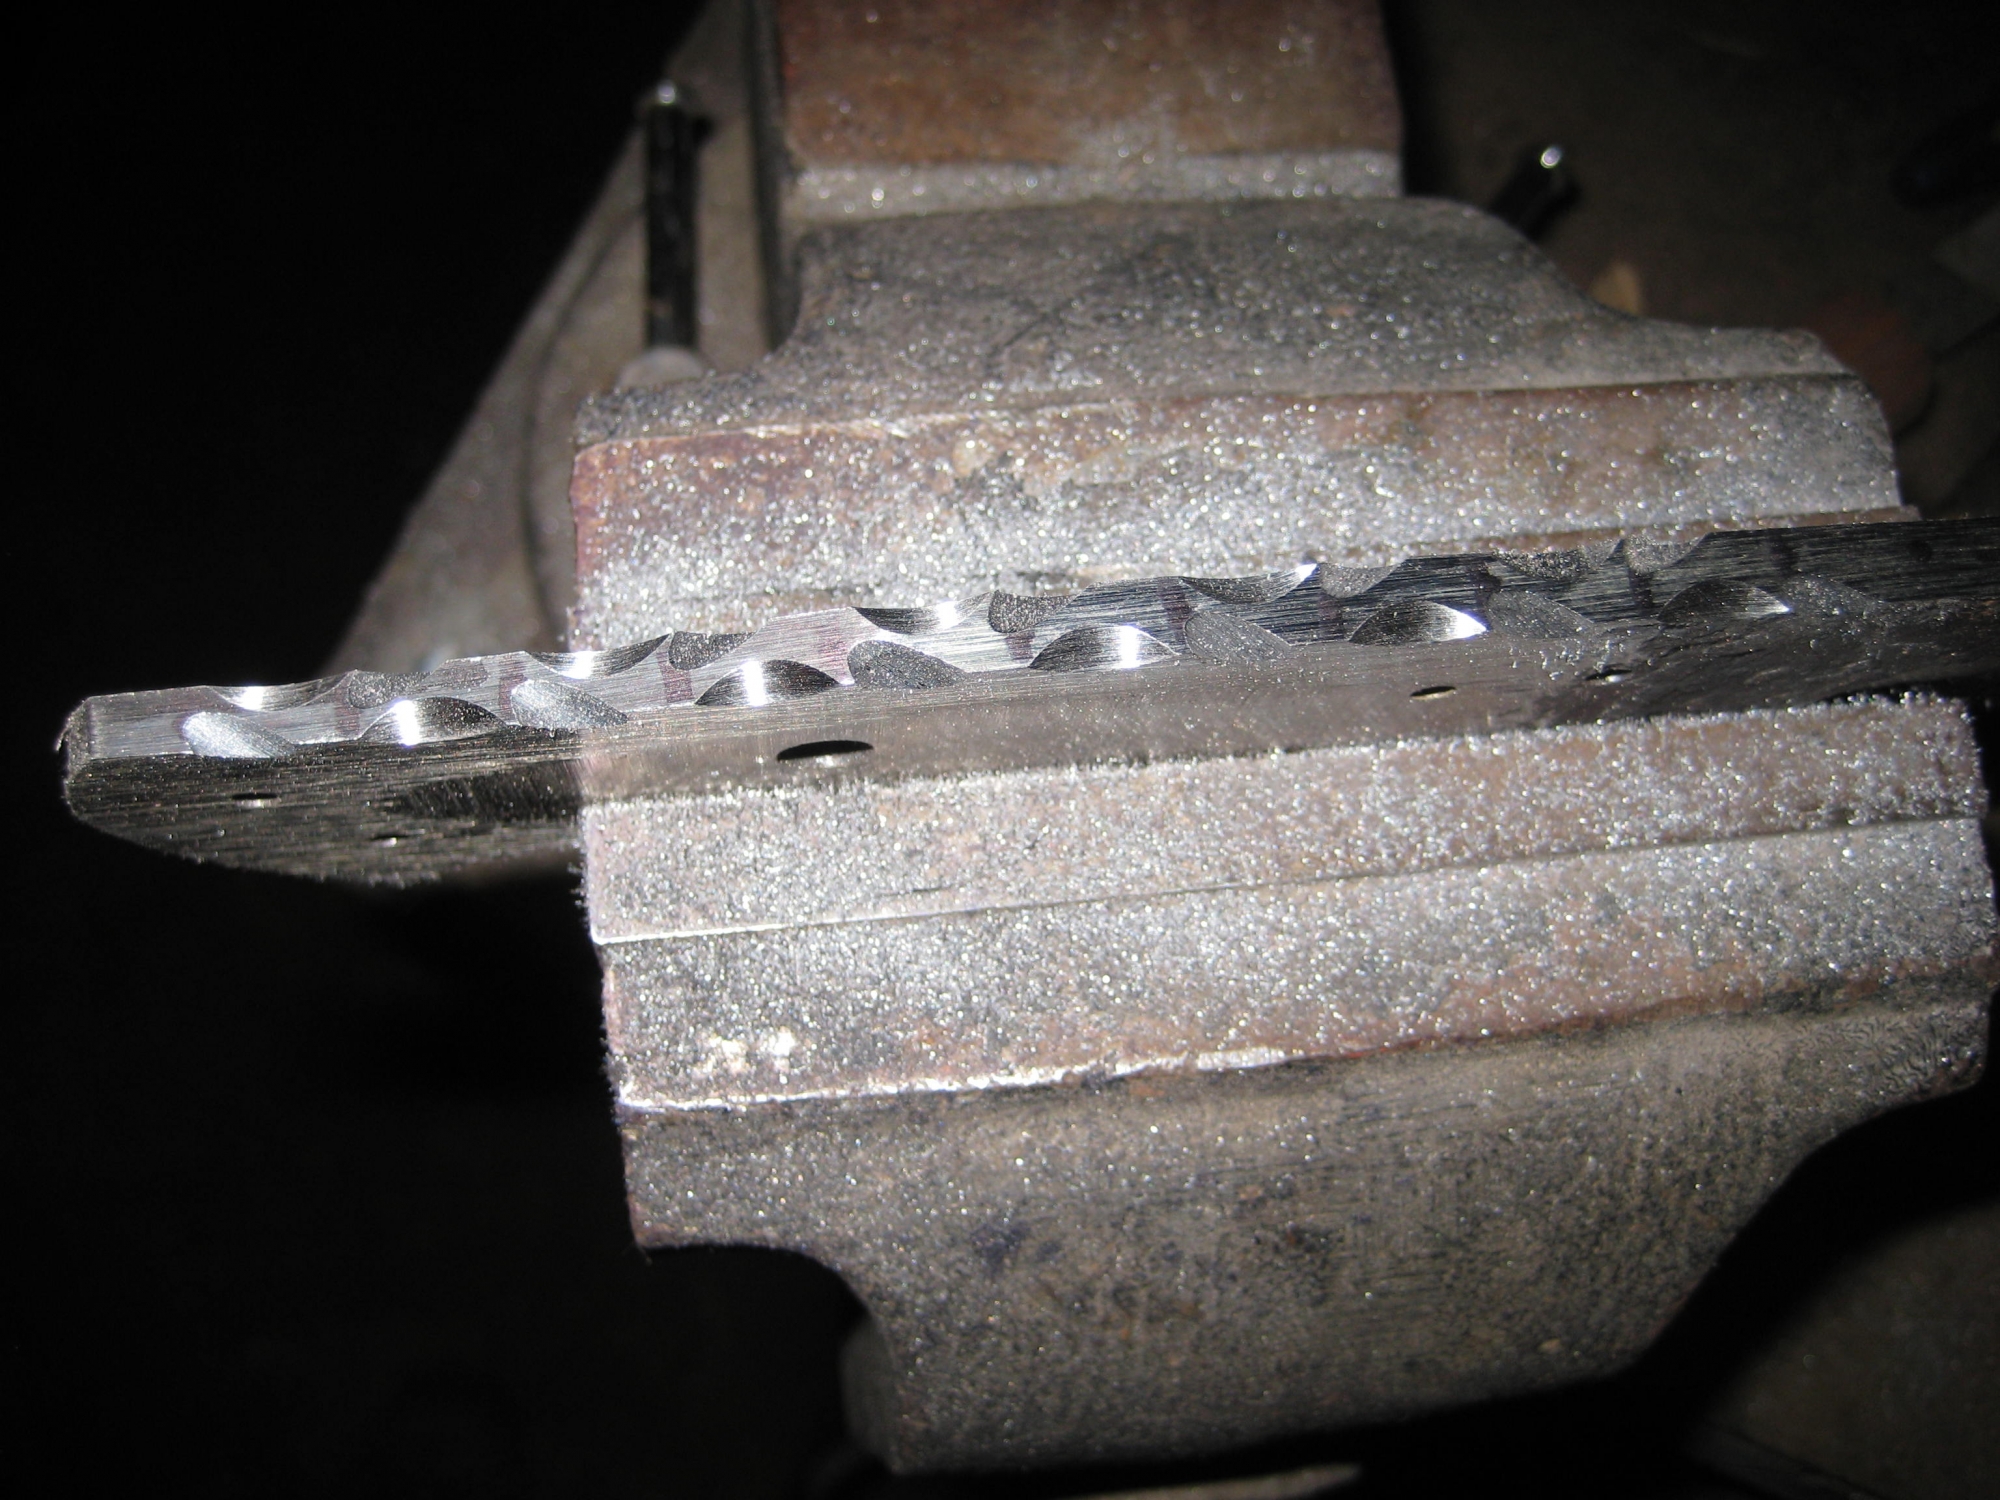
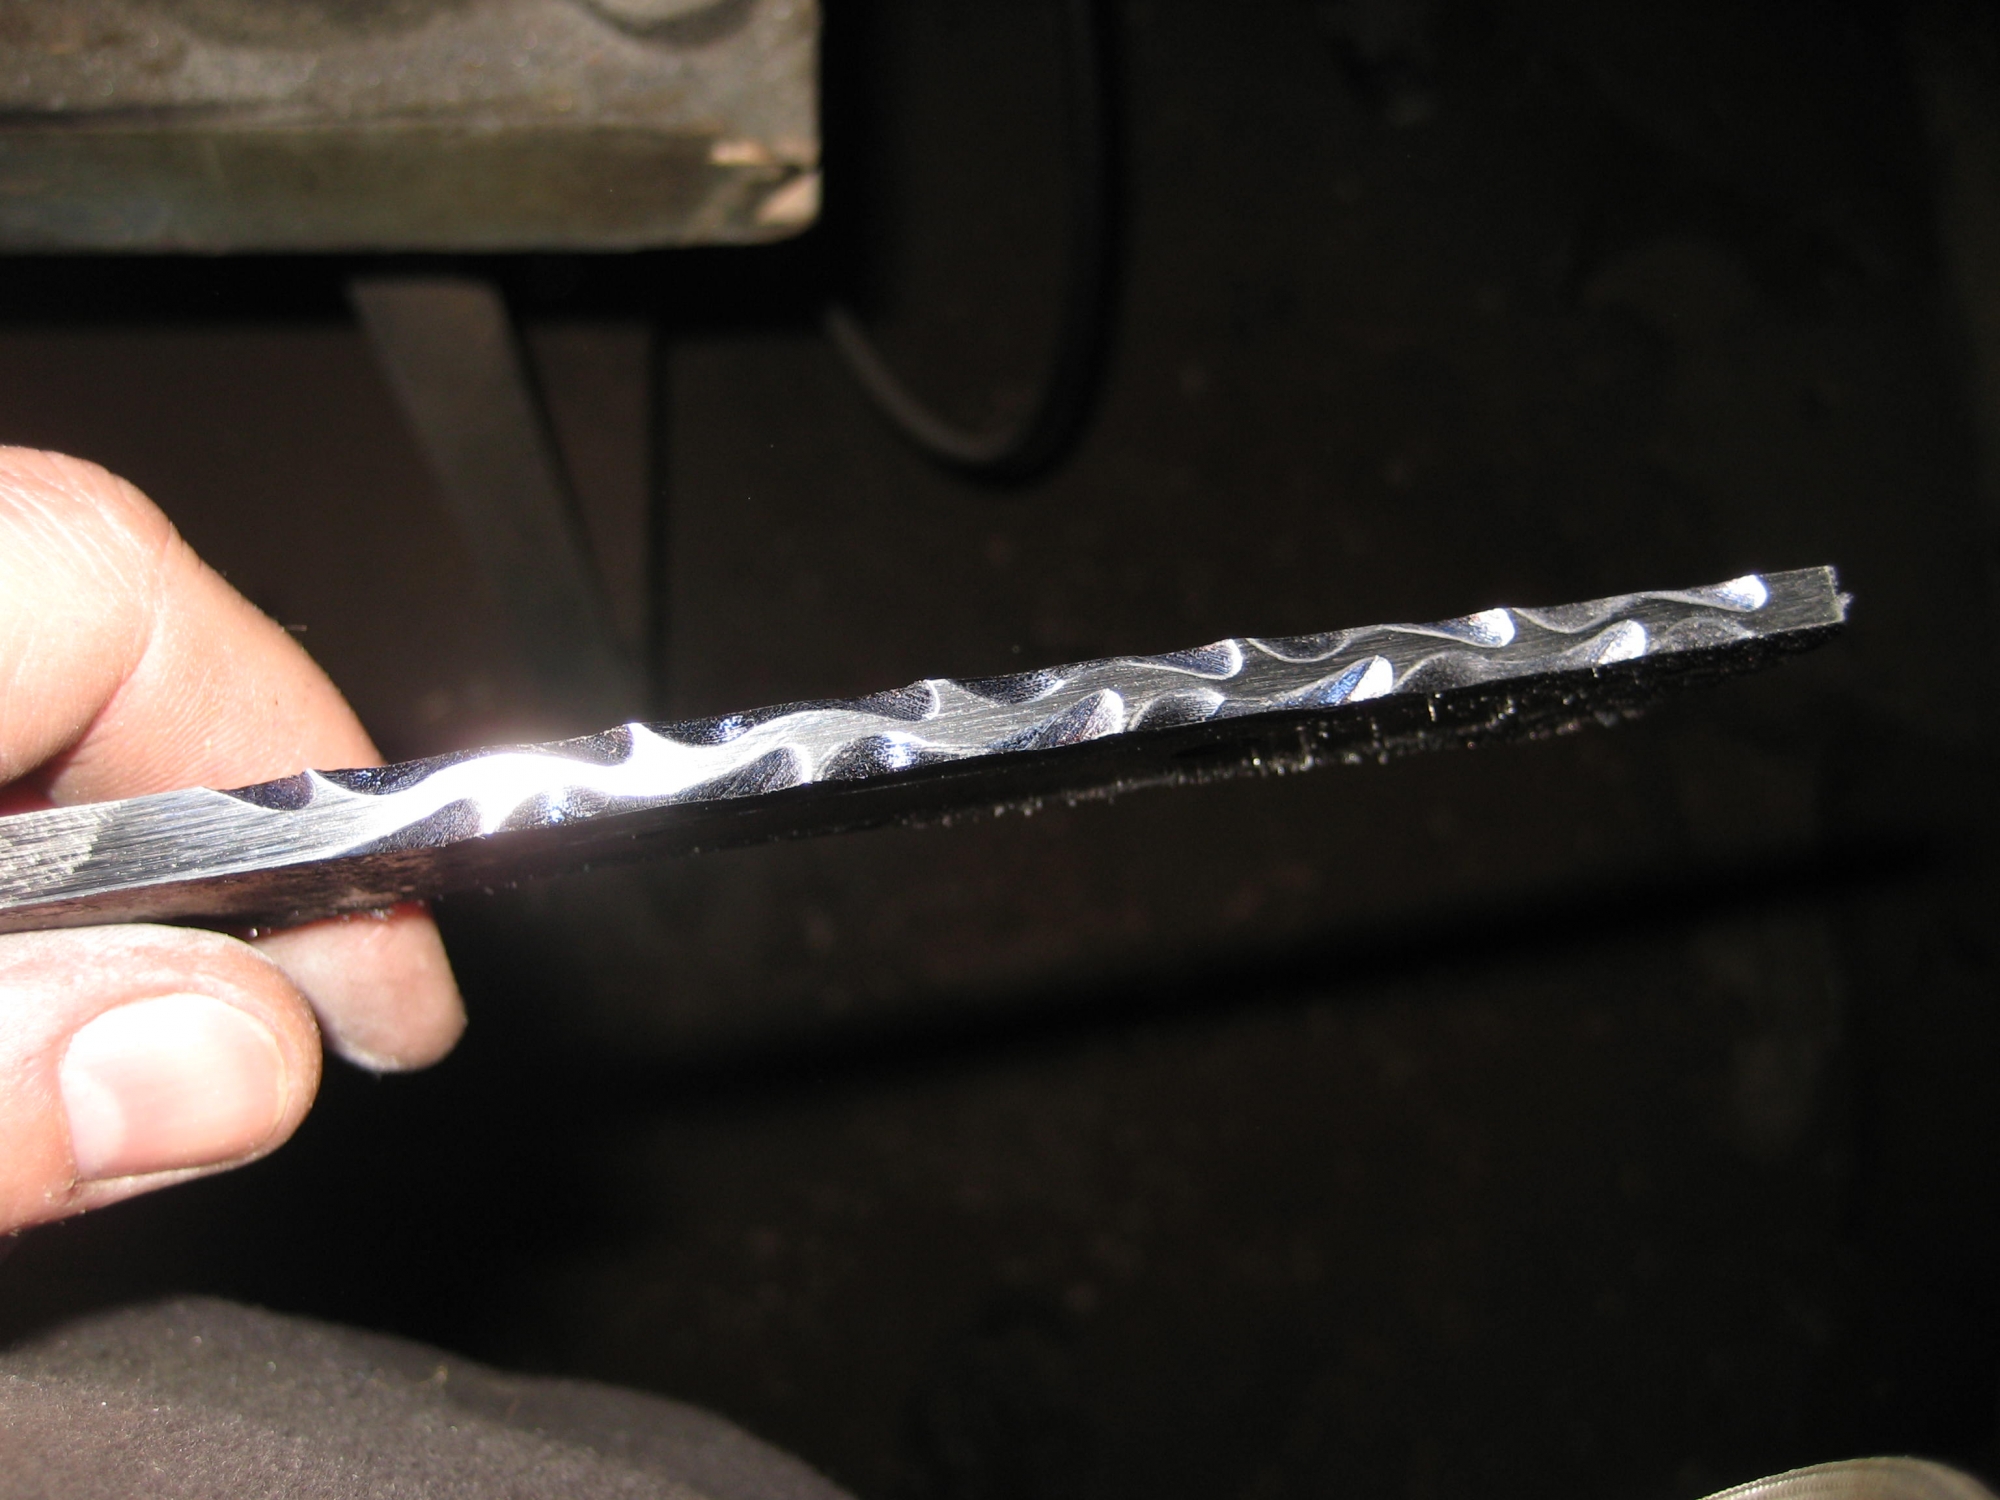
Next, I round off the flat areas. The whole thing should end up looking sort of like a vine.
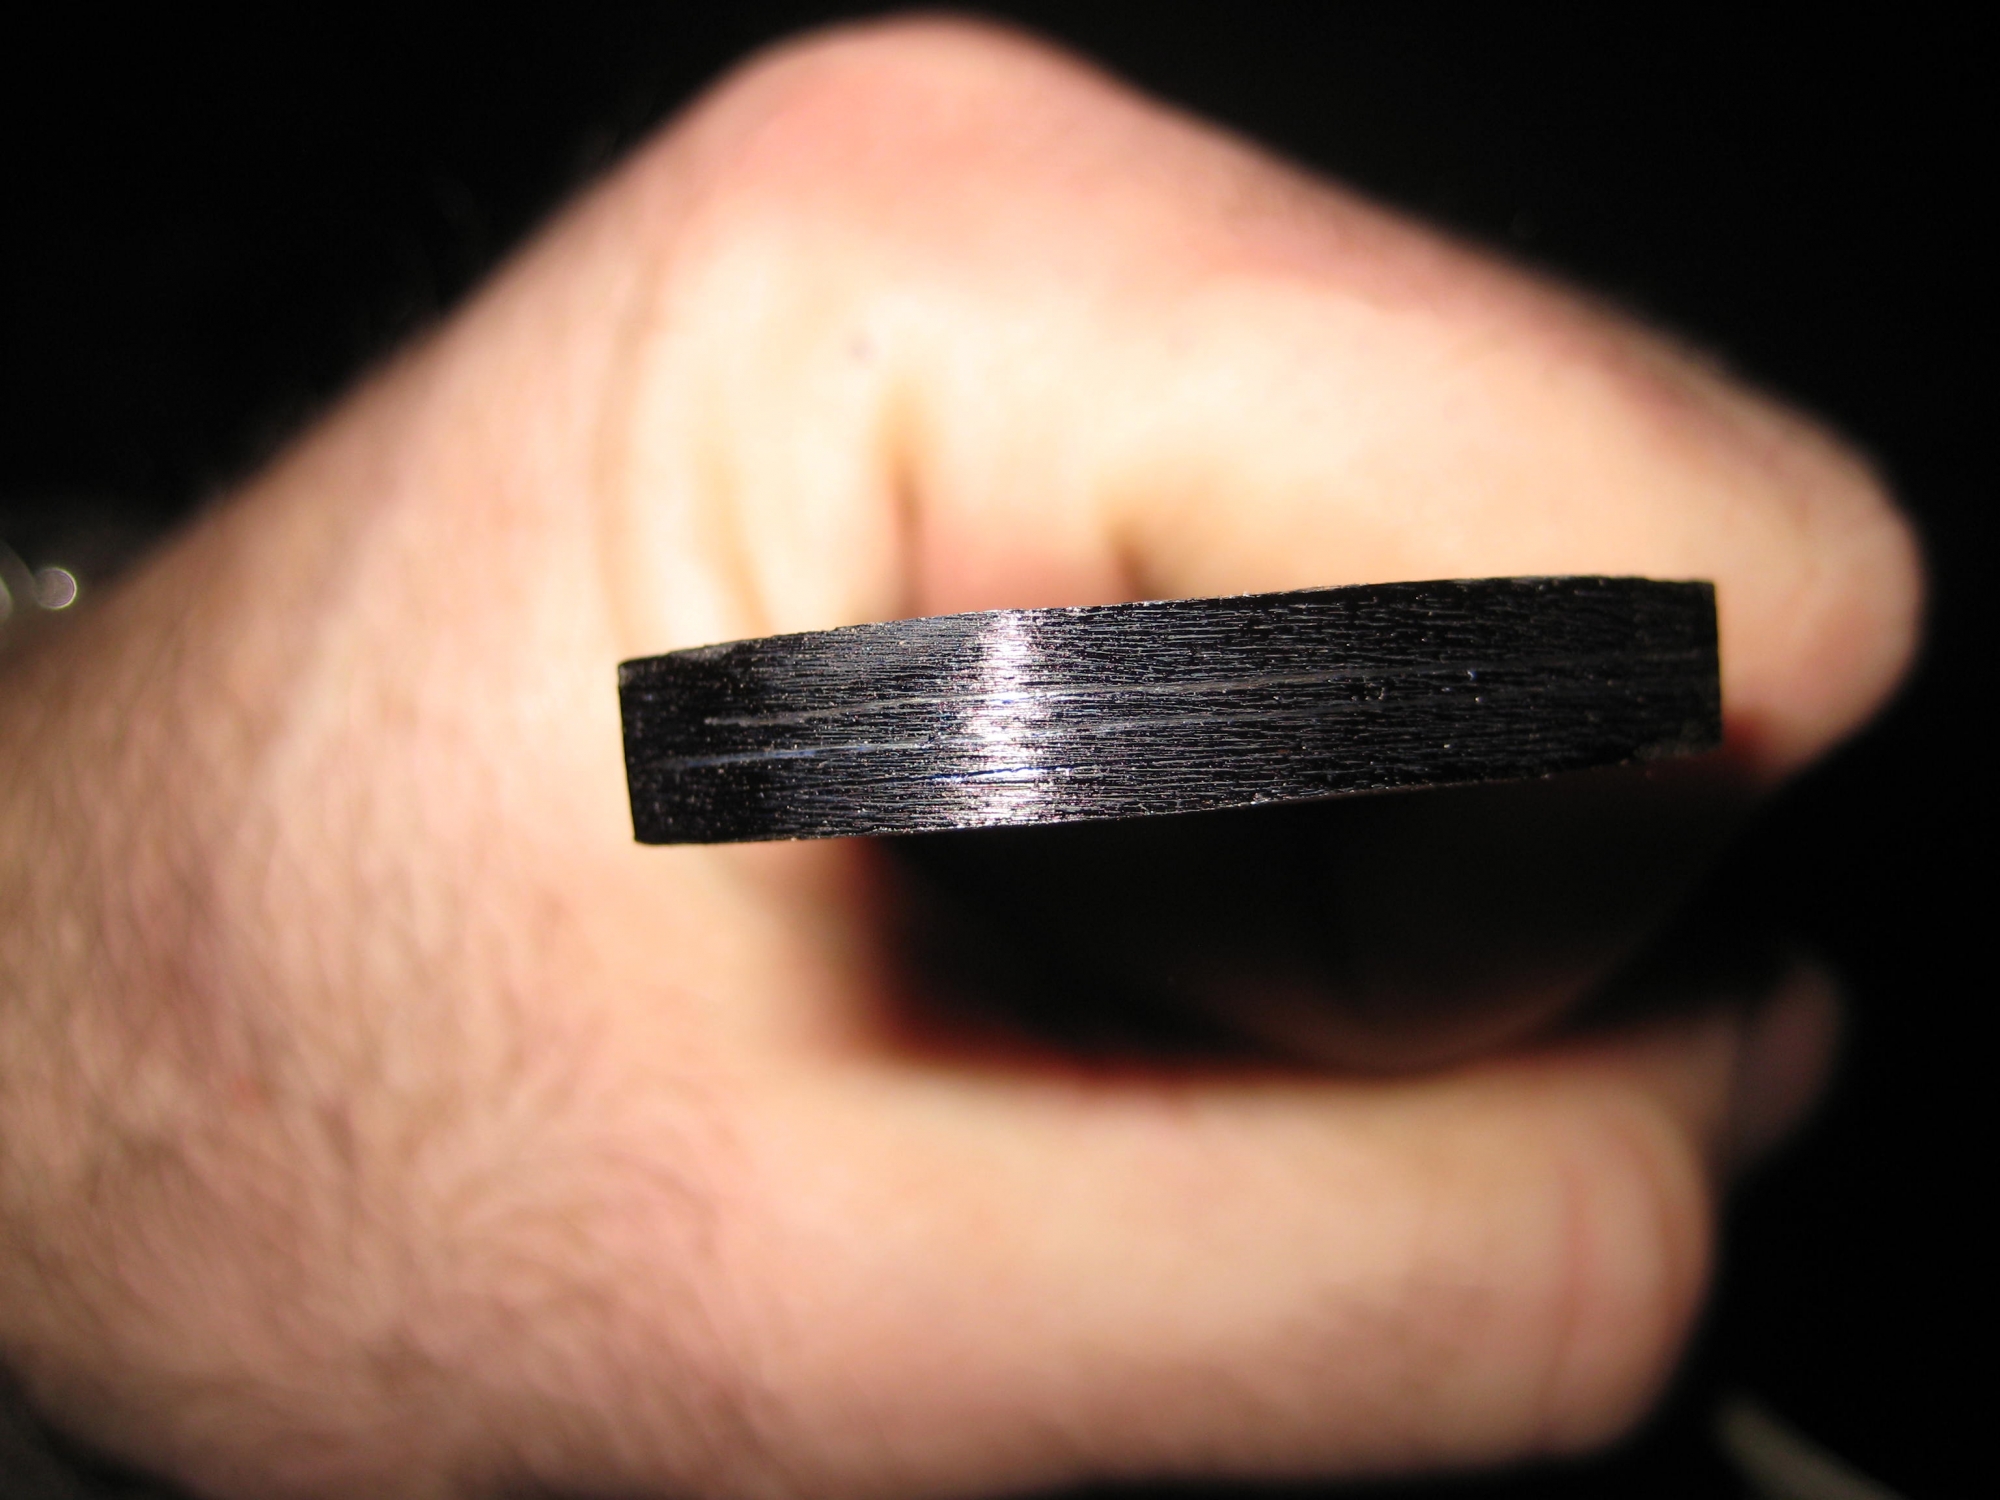
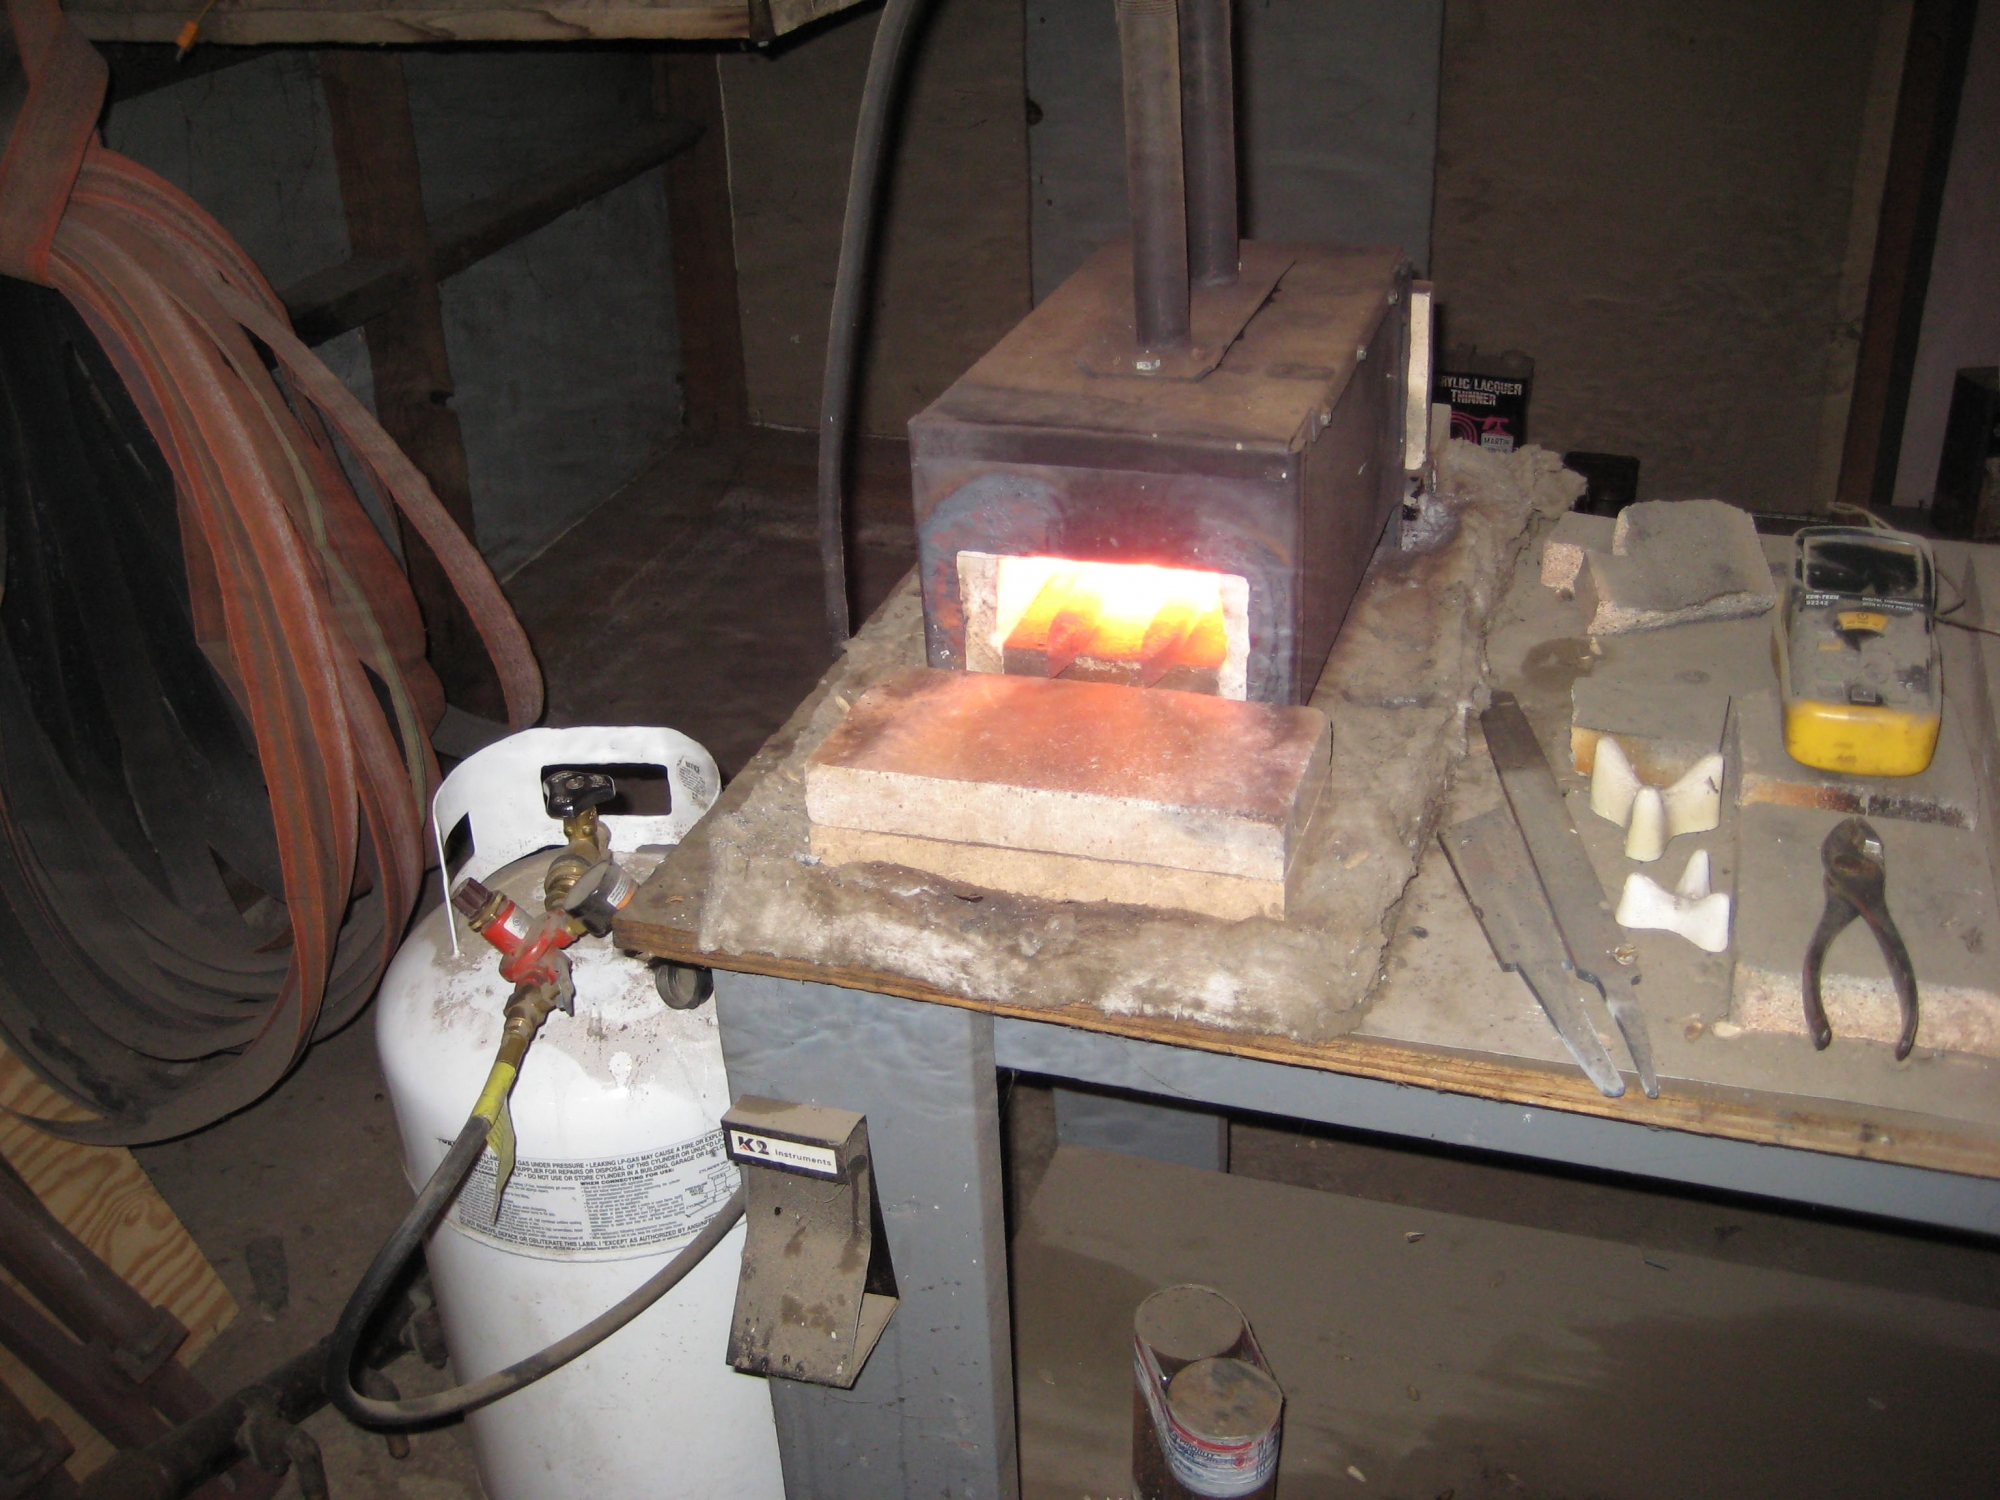
I have several different forges. The forge I used with the press earlier, the forge I used for hand forging, and this one. This is my heat treating forge. I have a pyrometer in this one and can hold it pretty steady. I am getting ready to normalize the steel. Forging puts a lot of stress in the steel, and the temperatures it takes to forge creates very large grain growth within the steel. Normalizing is just a process of heating it up and letting it cool in air. I throw a quench in there during the second normalization cycle. It takes the stress out of the steel and reduces the grain. If you are careful during heat treat, the grain of the steel is very fine. If I snap it in half, it should look like 2000 grit sandpaper.
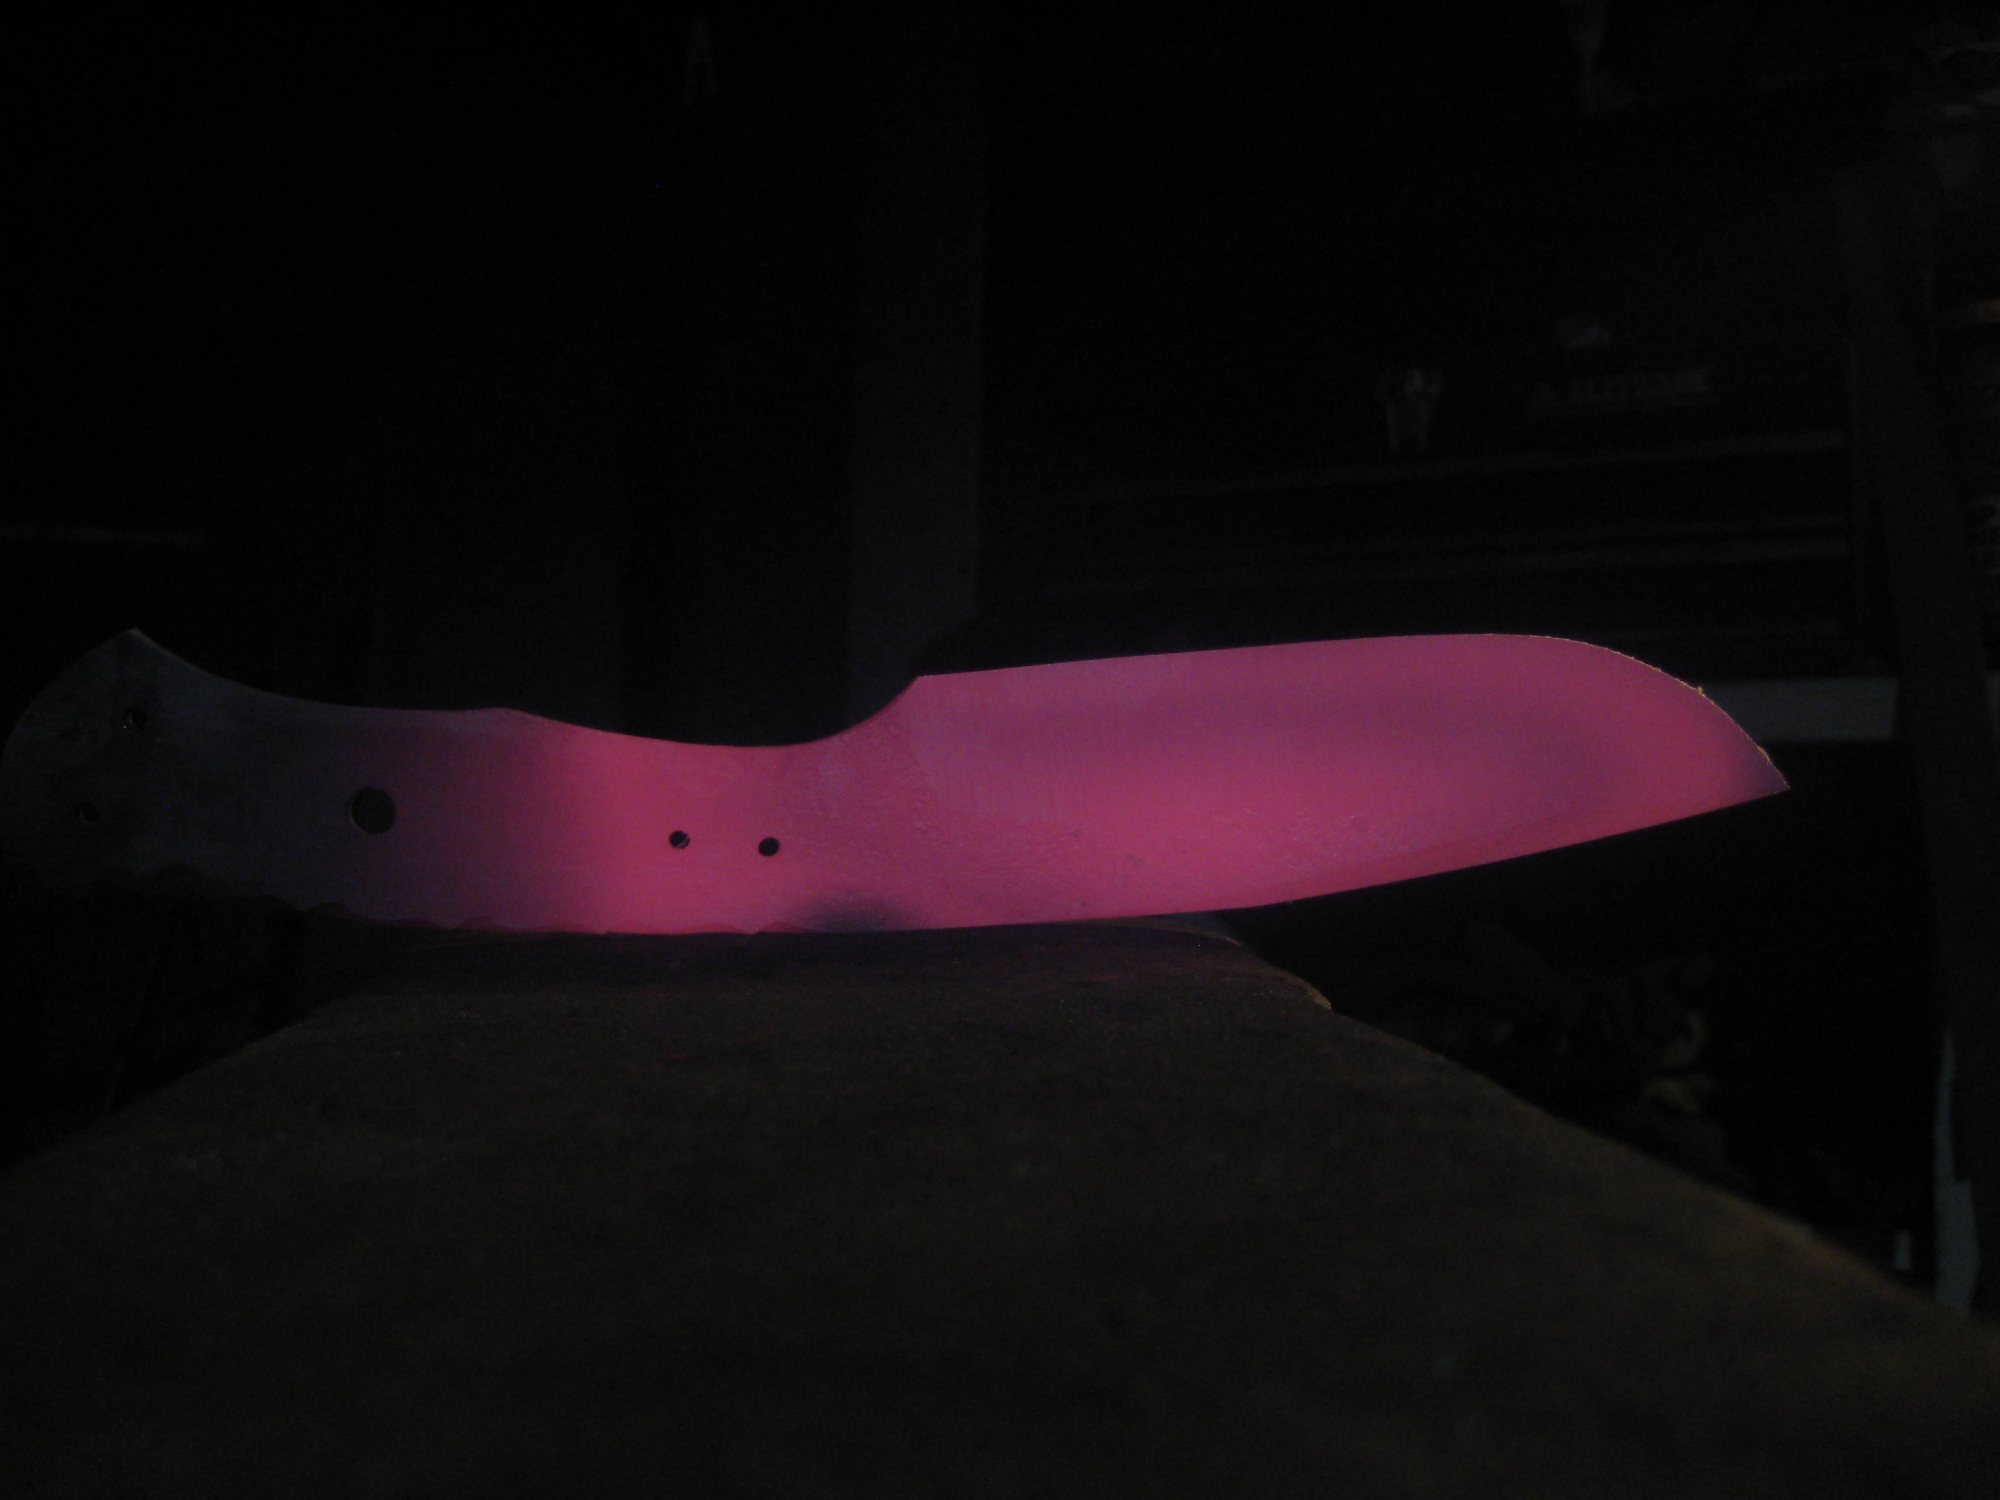
Here is a cool shot. I will try to explain it as best I can with my limited metallurgical knowledge. What you are seeing is called decalescence. As I understand it, when the steel is up to what is called critical temperature, the carbon that is within the iron matrix goes into solution. As it cools, it goes back within the matrix, and when it does it releases energy in the form of heat. The knife has been taken out of the forge and is starting to cool off. As it does, a black line sweeps across the blade. The black area is cool, and the red is hotter (obviously). What is happening is that the steel is cooling enough for the carbon to go back into the matrix (where the black is) and then it gives off heat and the steel actually increases in temperature, causing it go glow again. It is a long (probably boring) description of a picture of a knife with a slight black band in it. Can you even see the black band? It is there, but pretty faint. (I might be a dork when it comes to this stuff).
And here it is after the third normalization cycle. That is enough for tonight. I will try to document heat treating tomorrow. I will apply clay to the blade and attempt to pull a nice hamon.
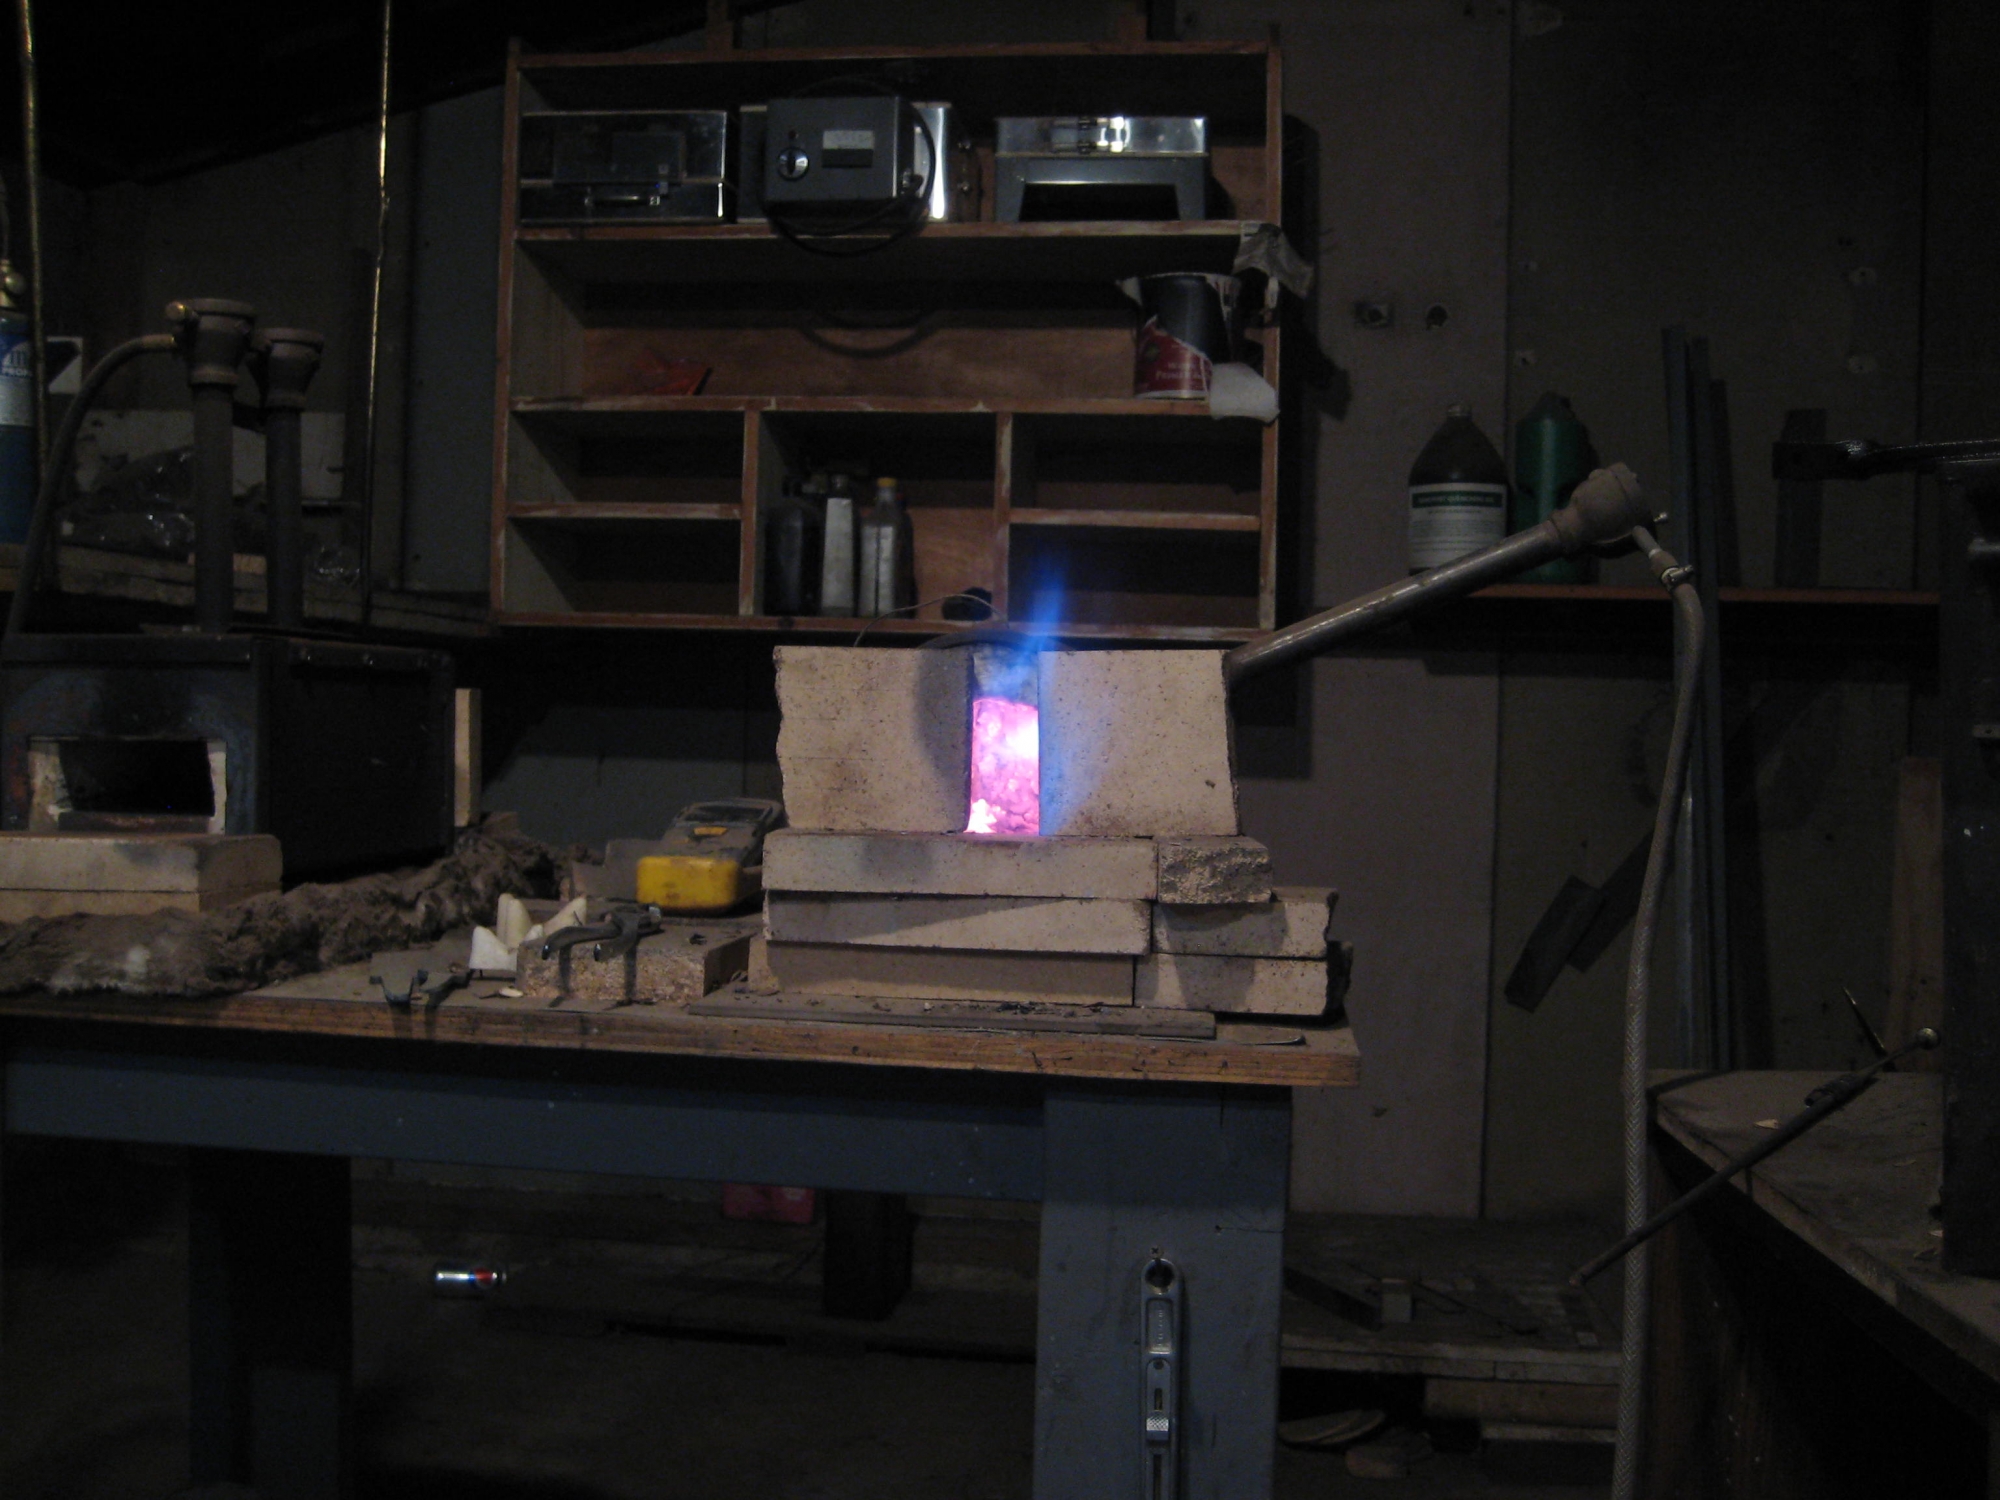
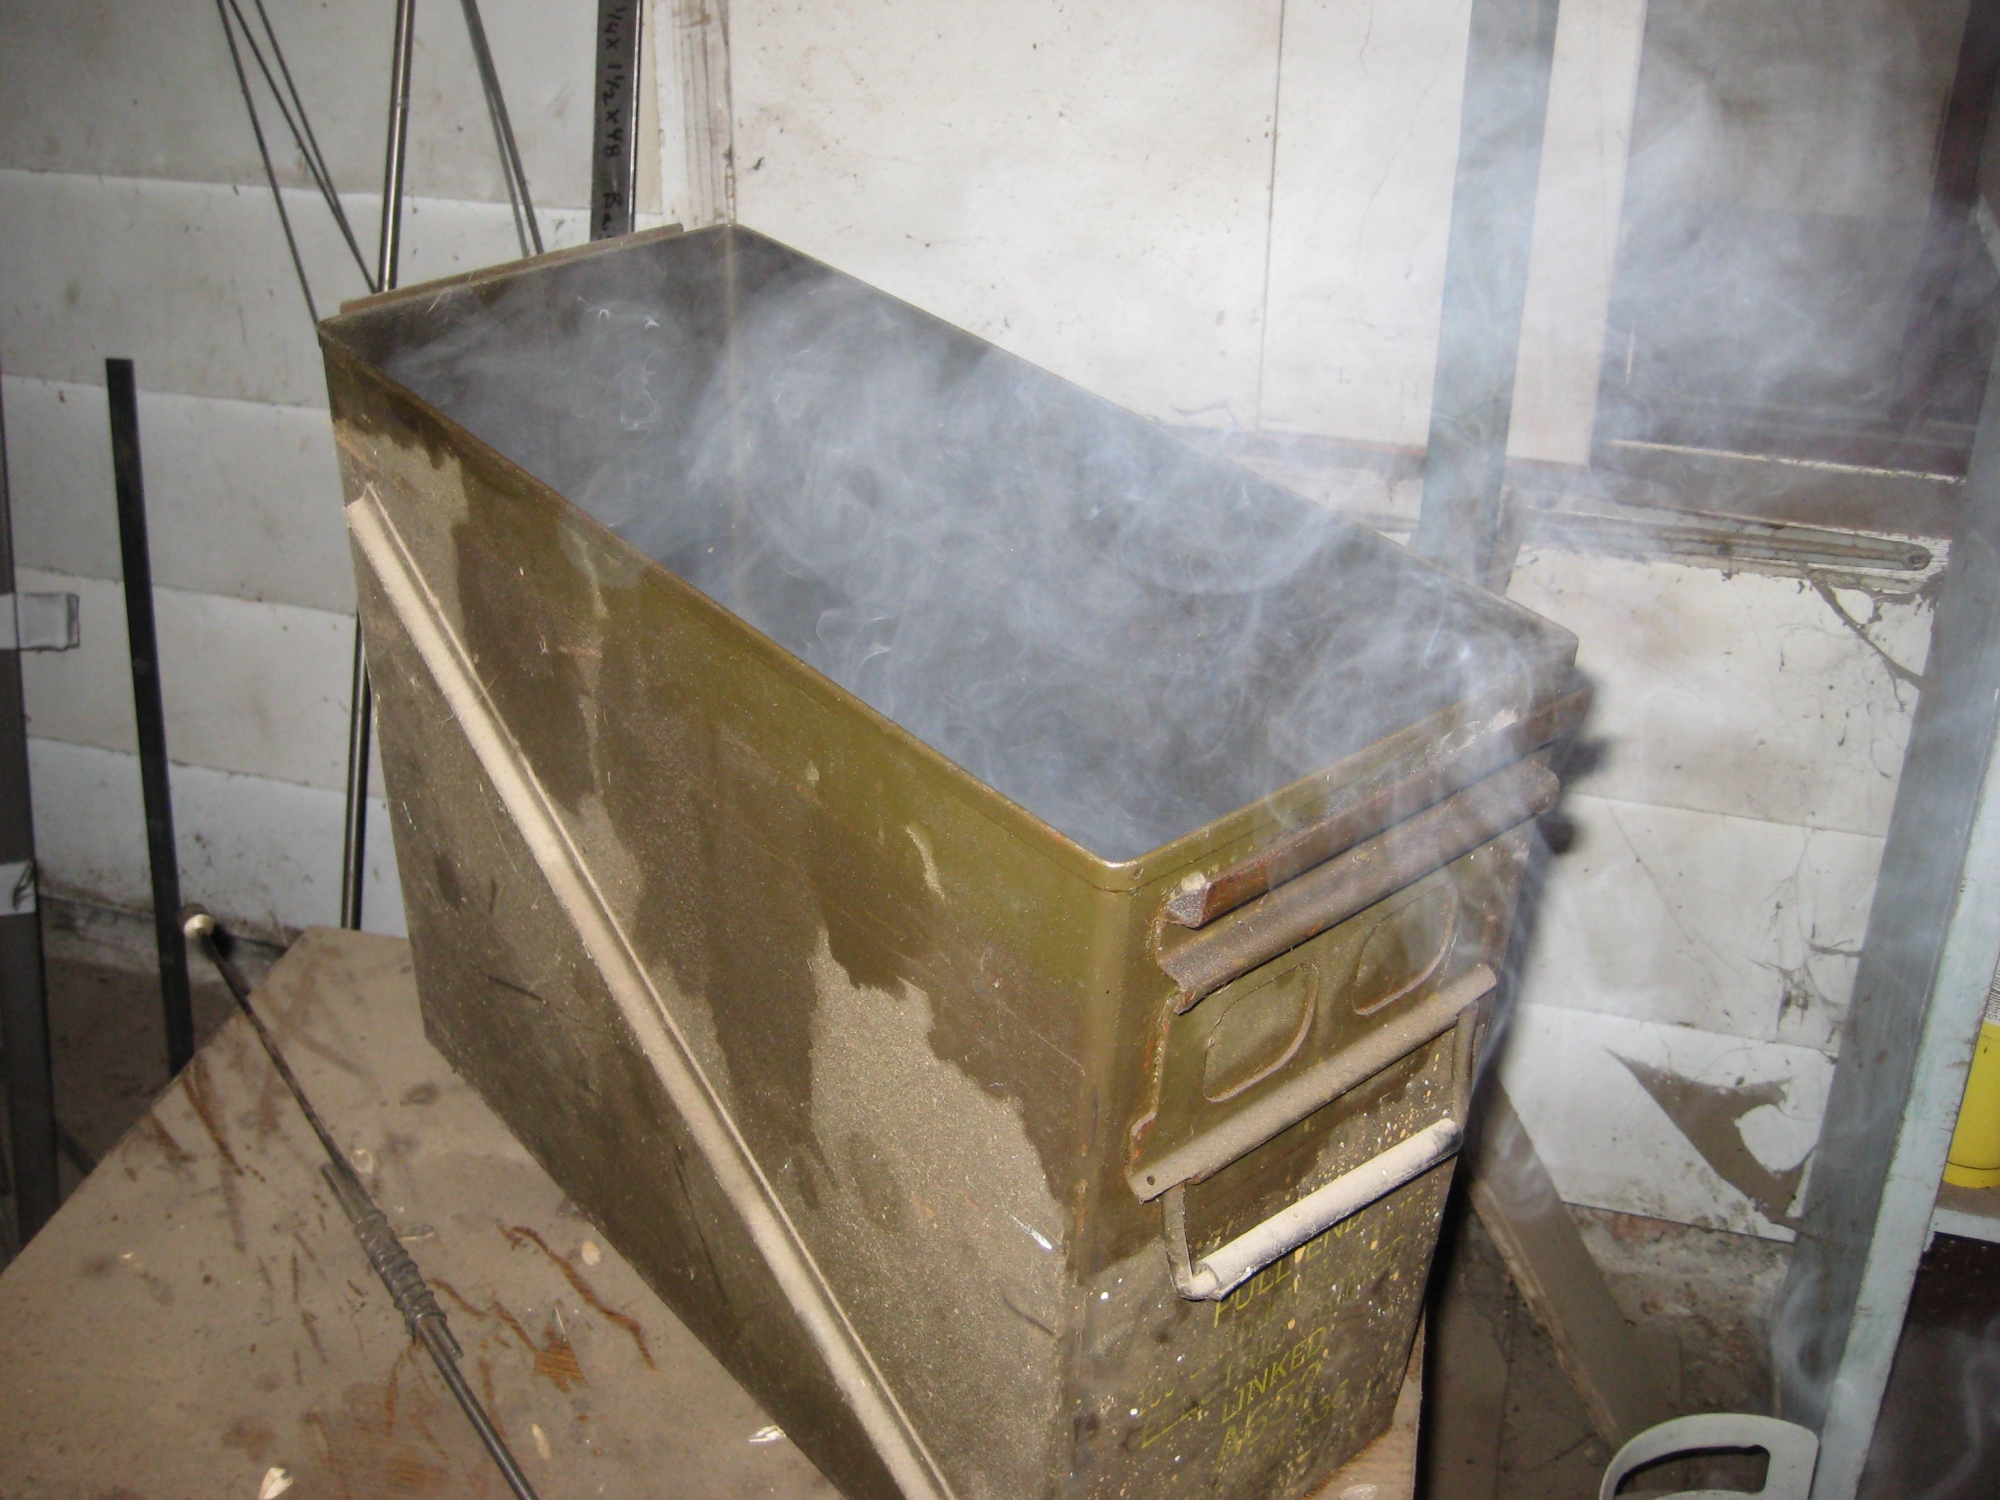
OK, up until this point, I have not actually made a knife. I could put an edge on what I have now and could make it really sharp. It would cut something once, but it would dull very quickly. The steel needs to be heat treated in order to turn this from a knife shaped paperweight, to an actual functional knife. I am going to get the smaller forge running again, heat up the blade to its critical point then quench it in Parks 50, which is an engineered quenchant. I am heating up some railroad spikes in order to heat up the quenchant. It performs best at between 90 and 140 degrees. This gets the shop nice and smoky.
In order to differentially heat treat the blade, I use clay in order to keep the spine edge from getting hardened. Truthfully, I do this because I really want a nice hamon. The hamon is the visible line between hardened steel and softer springy steel. Done correctly, it can be quite beautiful, but it takes a few extra steps. I have been trying to get hamons on nearly every knife I have made (that wasn't damascus) for the past 5 years. This is how I apply the clay. It is satanite refractory. I mix a thin batch (in a small dixie cup) to give the blade a wash, then place thicker clay about where I want the hamon to appear. Doing this does not mean the hamon actually appears in that spot, it just influences where it will appear. It kind of goes where it wants to.
Here is the temperature, right about where I want it.

Now the knife is in the forge and coming slowly up to heat. When I first started doing this, my heat treating was one of the major issues. I would just stick the knife in the forge, crank it up and quench it in oil. I have become more particular about my methods. I am constantly concerned about overheating the knife which can result in the coarse grain that I don't want. I let the knife sit in the forge at temp for a while to make sure it has a consistent temperature throughout. I can check the blade with a magnet. I have one on a long metal pole. I put it in the forge and tap it along the blade edge. Steel has an interesting property that when it is up to critical temperature, it is no longer magnetic.
The knife is actually in the quenchant right now.
When a knife comes out of the quenchant, it is very hard, too hard to be a usable knife. It is somewhere in the area of rockwell 67 or so. It is brittle and the edge would chip out if used with any pressure. In order to change this brittle knife into a tough usuable one, I have to bring that rockwell down to about 58-60. I do that by putting it in the oven (yep, the regular kitchen oven) at about 400 degrees. I will actually bump it up a few degrees for the next cycle. It takes 2 cycles at about 2 hours at each cycle to effectively convert all of the hard steel to more managable steel. Notice I have a ton of thermometers in the oven. I don't trust the dial on the stove top, so I use thermometers. I have noticed that my oven is about 15 degrees off.
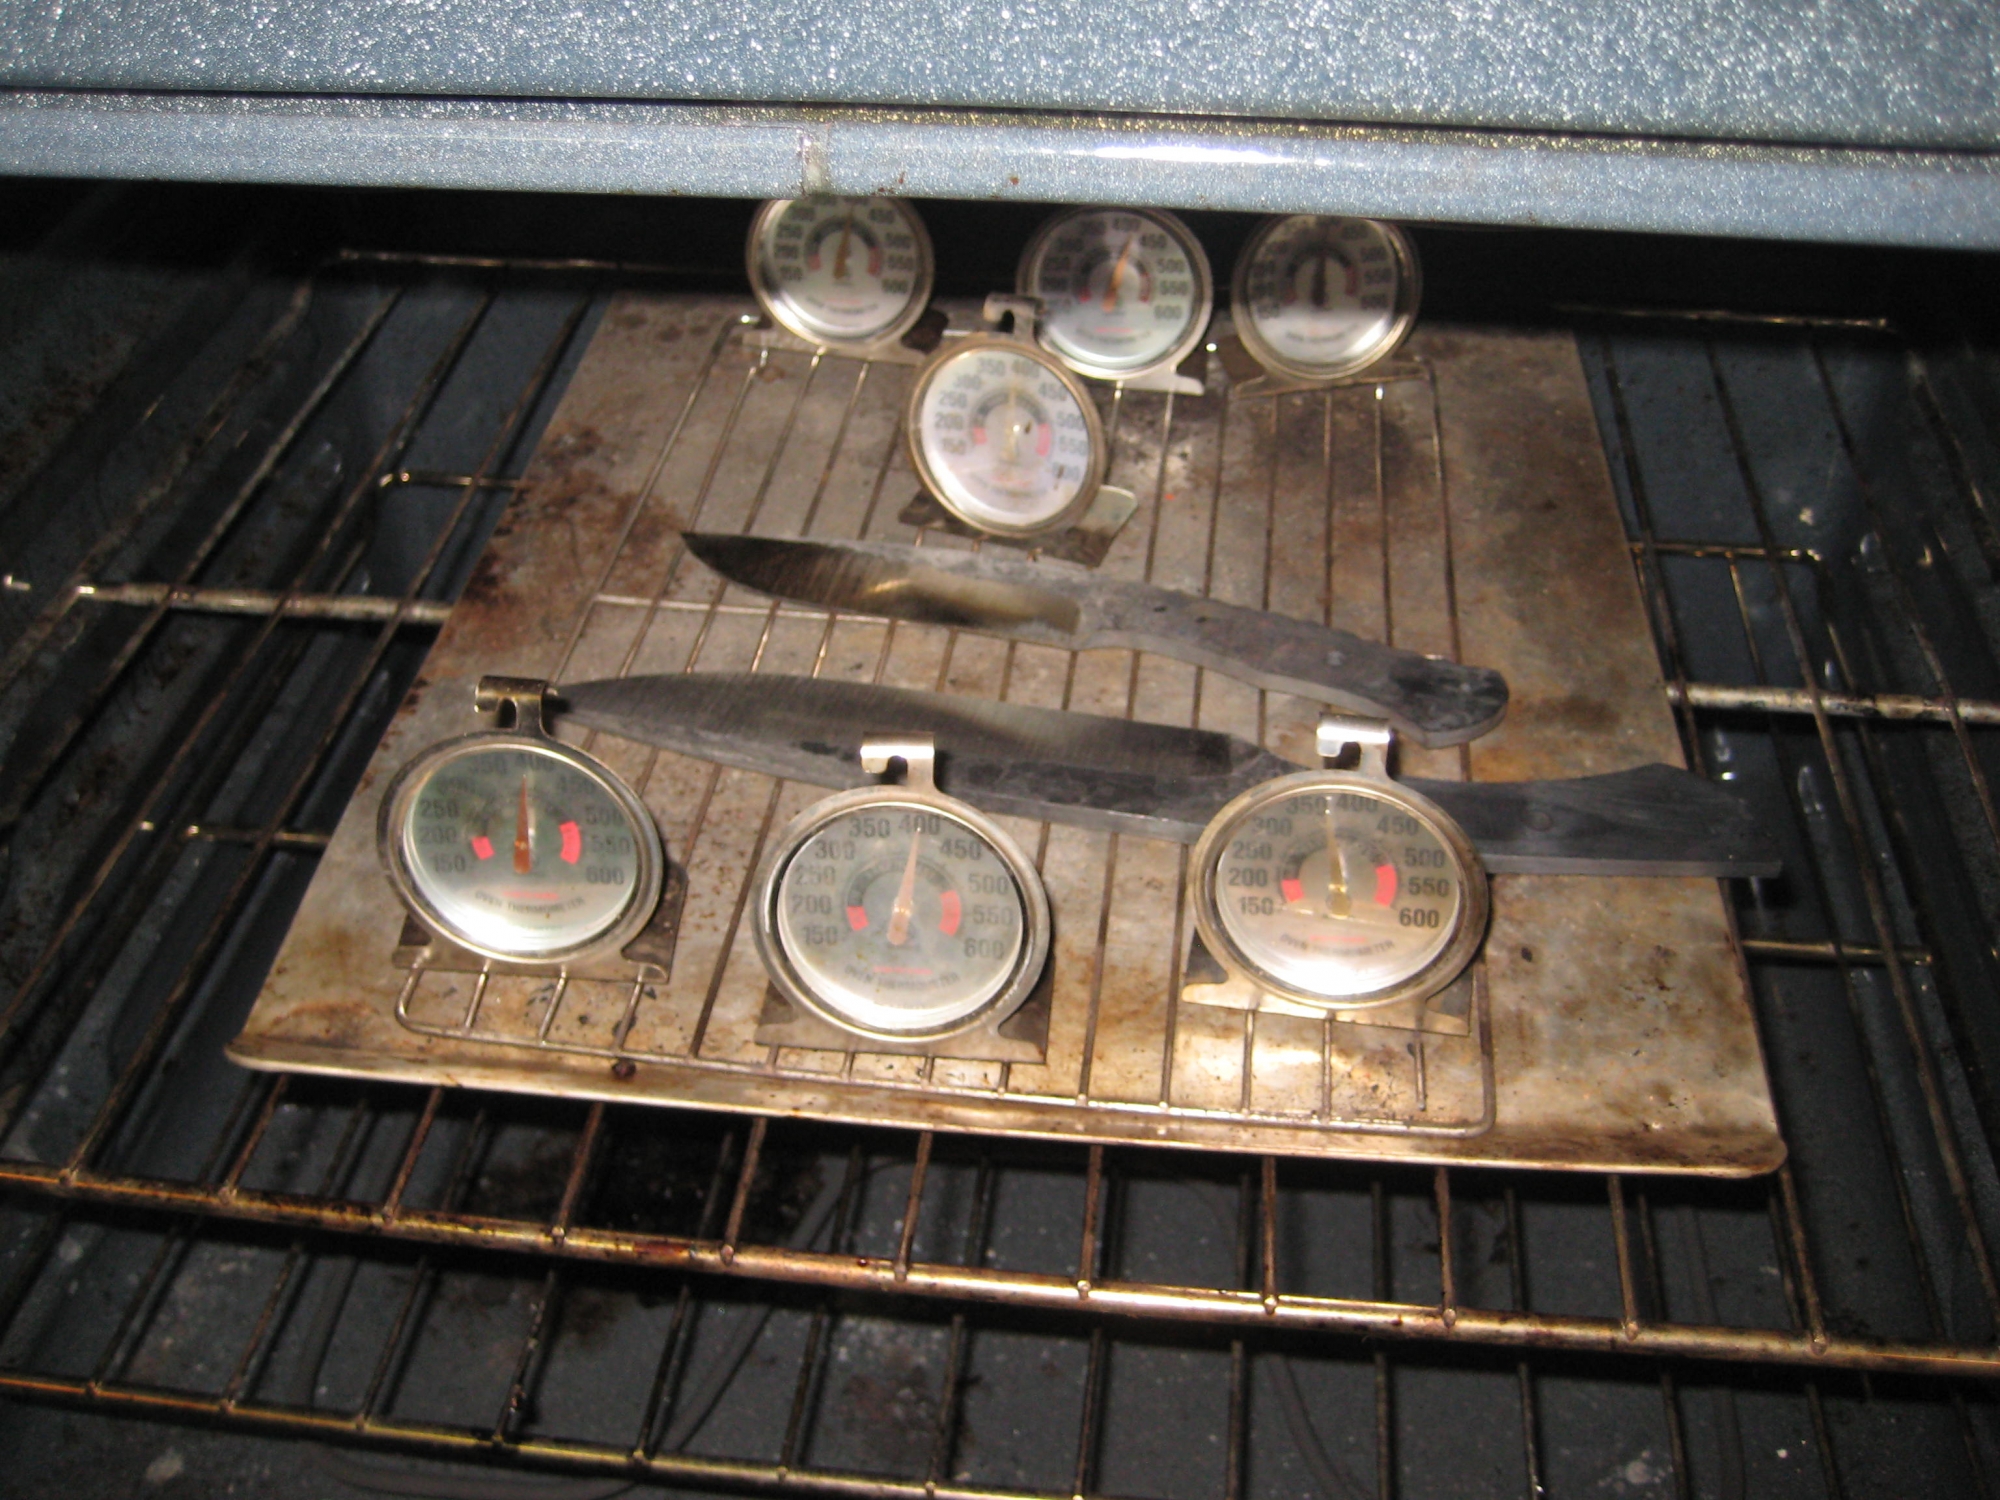
Here it is so far.