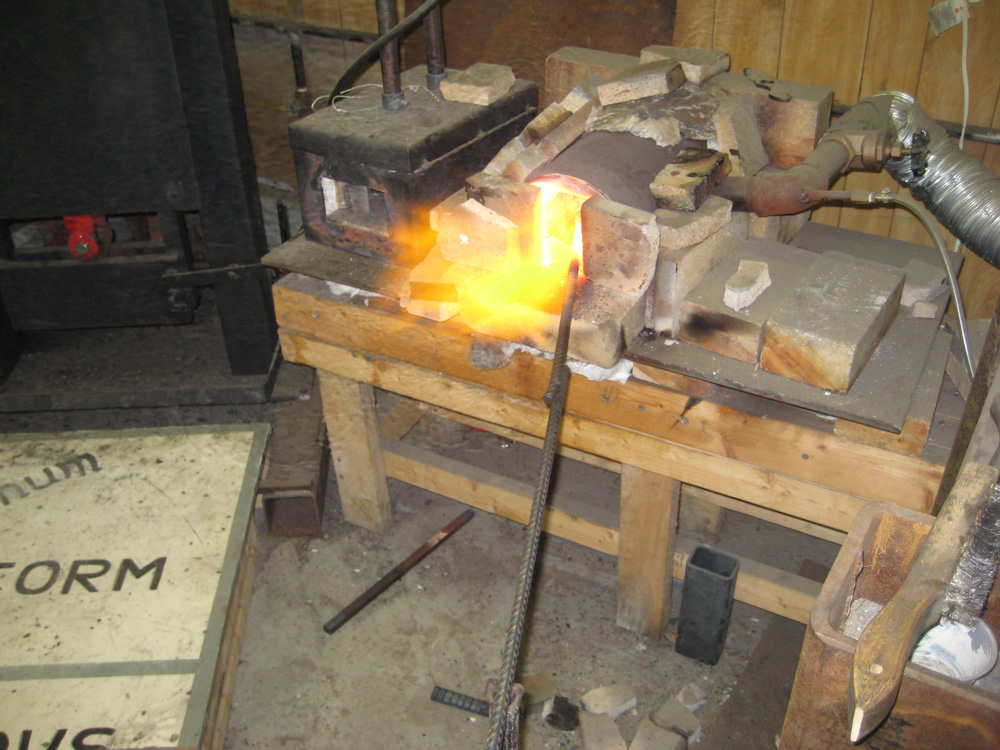
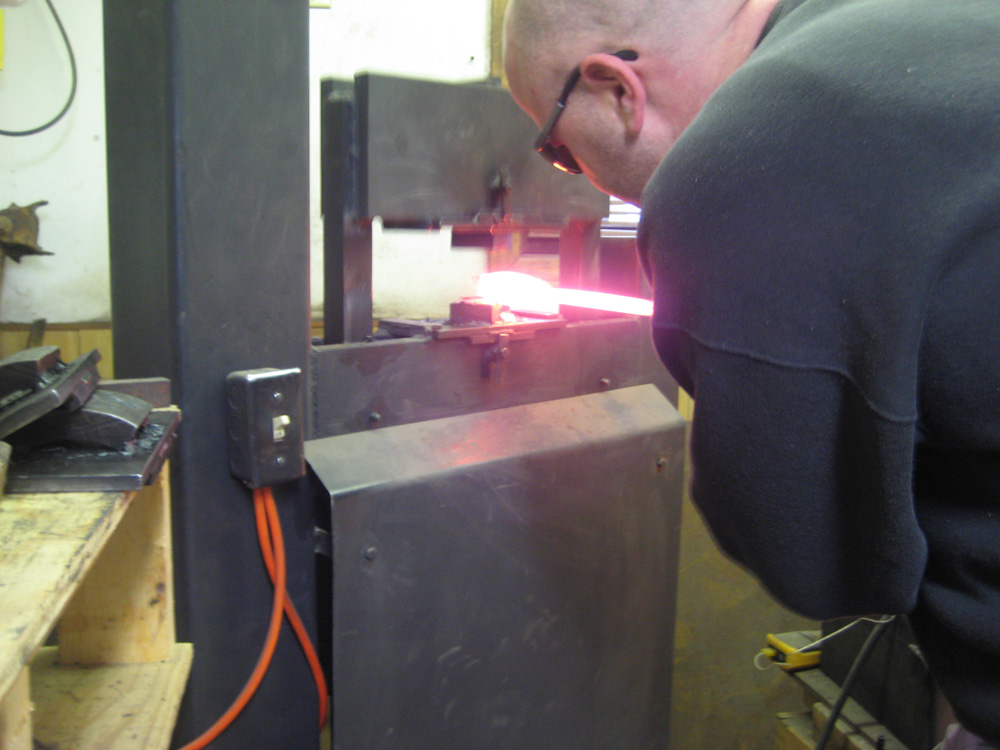
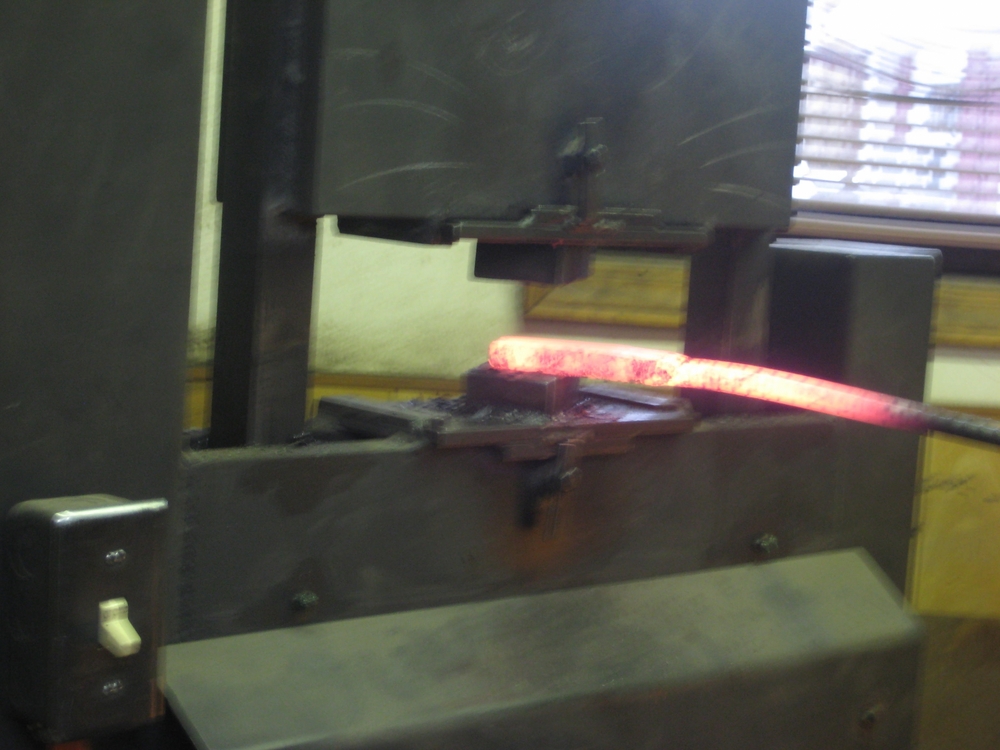
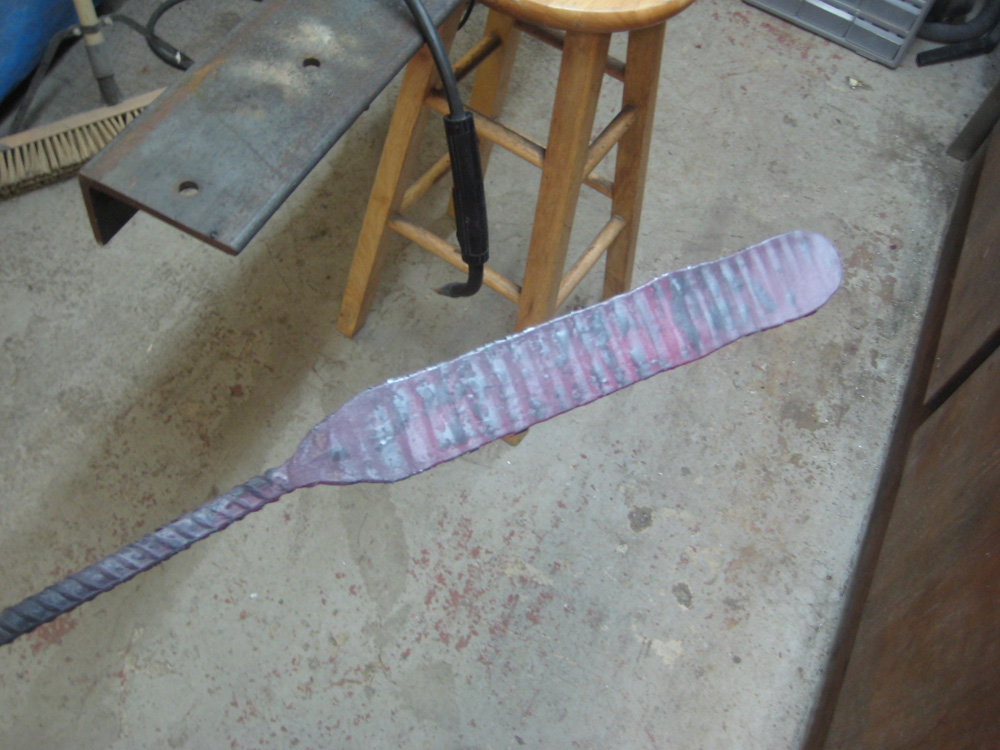
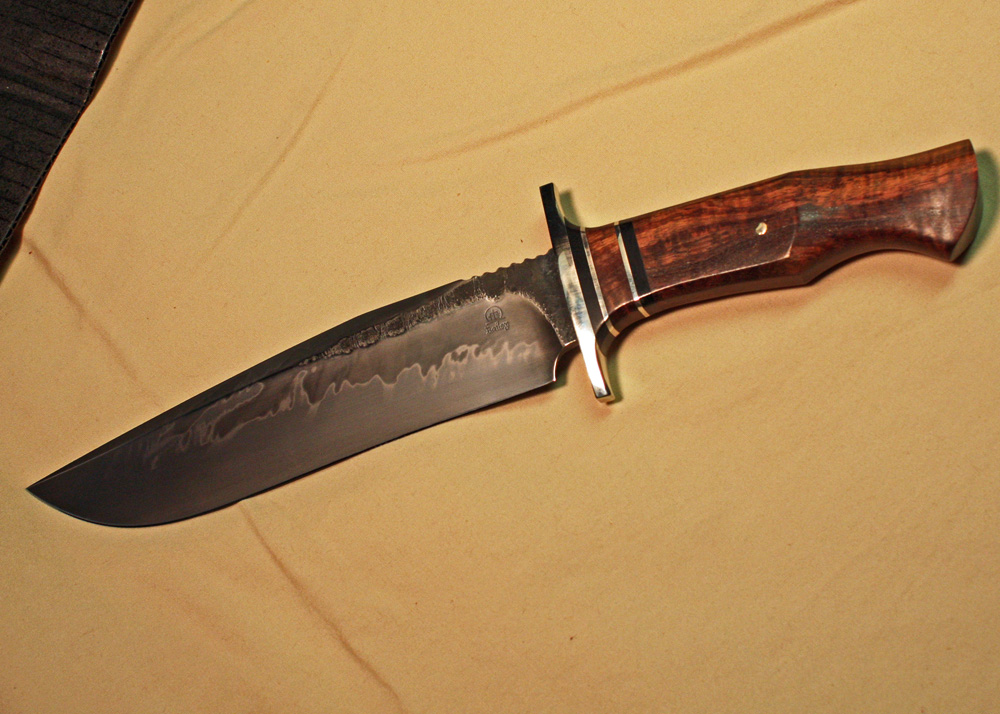
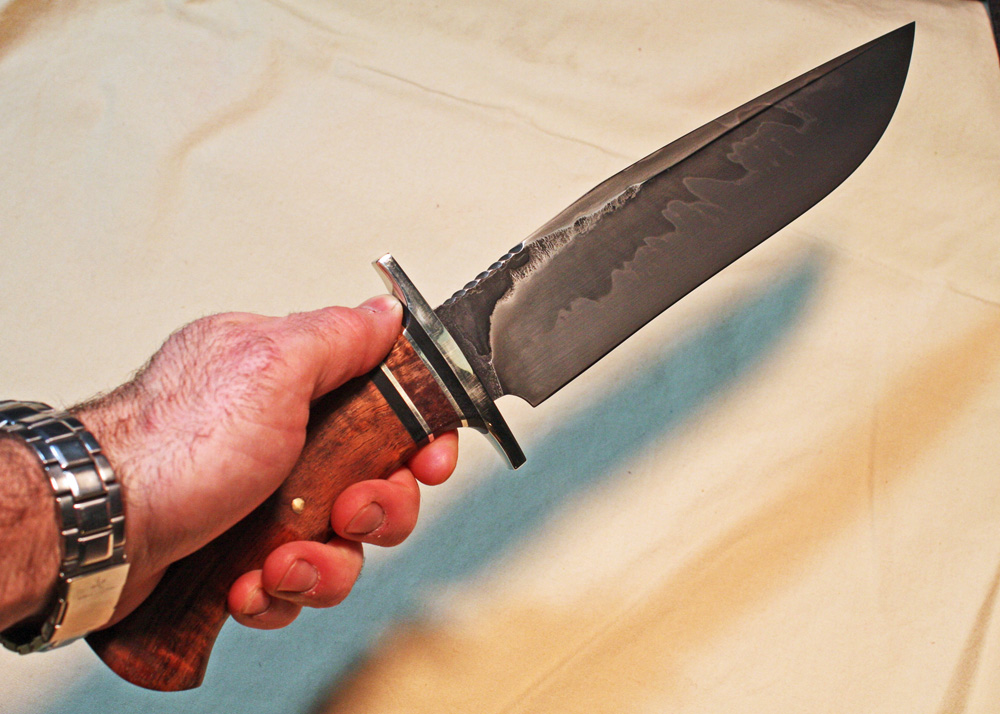
Ok, so my sister-in-law's father asked me to make him a big bowie. He said he wanted one to just hang on his wall, but I convinced him that a wall hanger is fine, but if it happened to be able to lop off a limb or two, that would be ok also. I started with some of Don Hanson's W2 that comes in 2 1/2" cylinders. I have a local machine shop cut them into cookies since it would take my bandsaw forever. I usually go with 3/4" cookies, then weld them to a rebar and use the press to draw them out. I was not sure if I would be able to get the length and width I needed on the blade, but I thought I would take a shot at it anyhow. Here is the cookie, and me drawing it out on the press. I love that press.
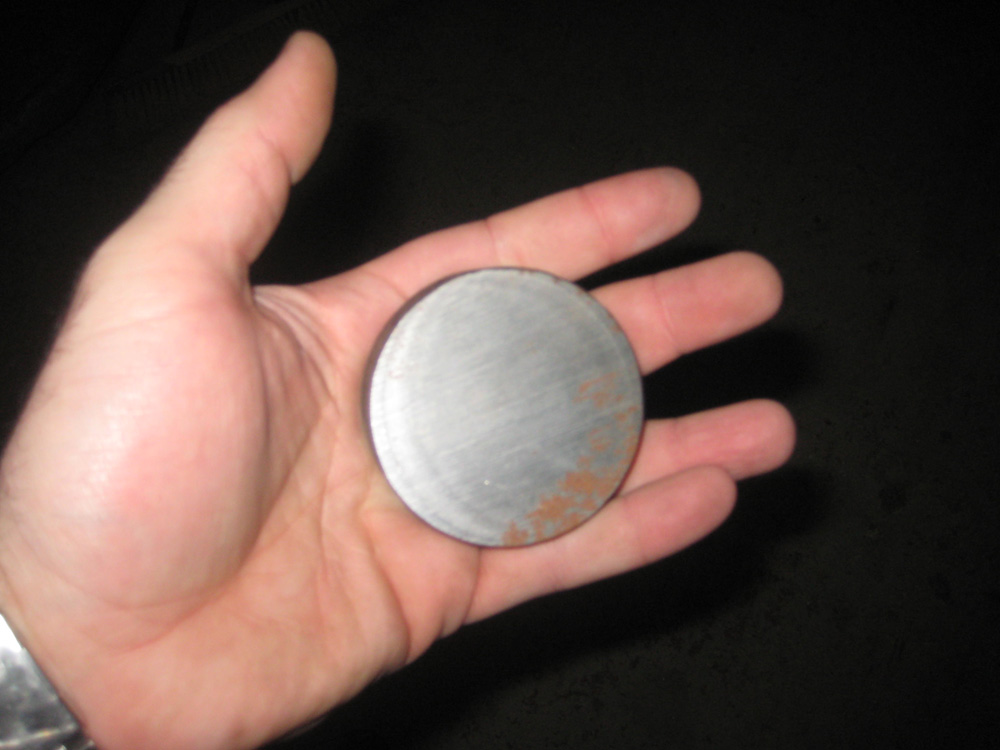
As luck would have it, I forged it out too thin, and it still was not the right dimensions for the knife. I knew it may not have worked, so I just turned this into two smaller hidden tang knives. I had some W2 on order from Aldo Bruno, an it comes in bar stock. It came in a couple days ago, and I am ready to forge it out to the dimensions I need.
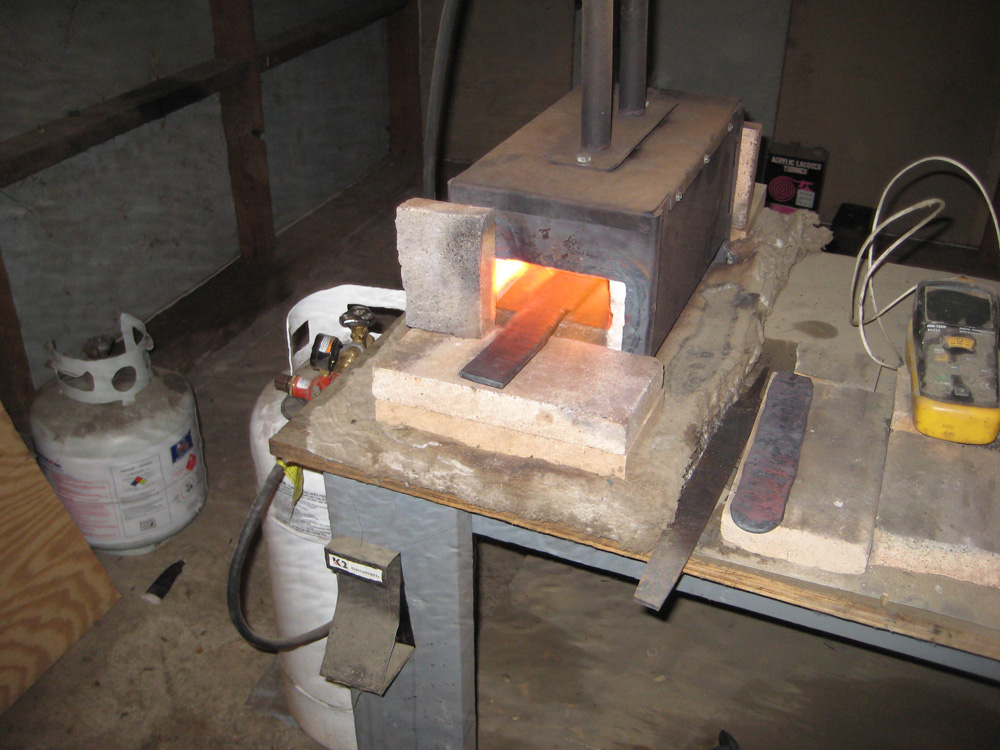
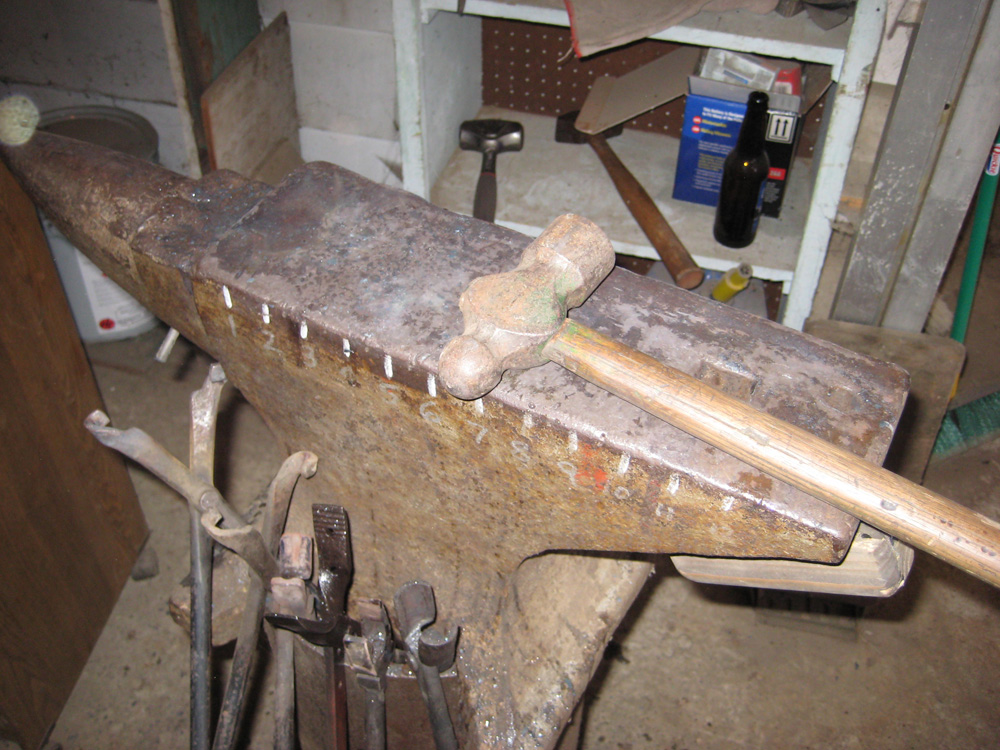
Here is just a random
shot of my hammer and anvil. It is not the actual hammer I
used to do most of the forging, they are on the shelf behind the
anvil, but I use it to clean up all the bevels and make sure I have
no deep hammer marks. It is hard to get shots of me forging
without the help of a second party. It happened to be cold
and snowing today, so my wife thought it would be better for her to
stay inside.
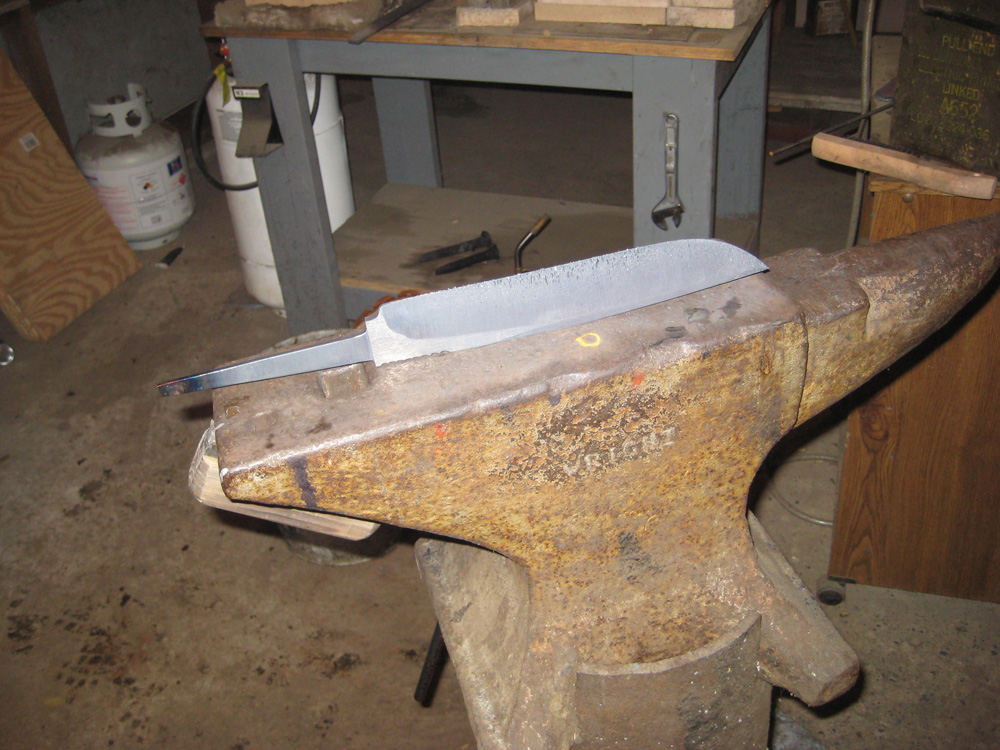
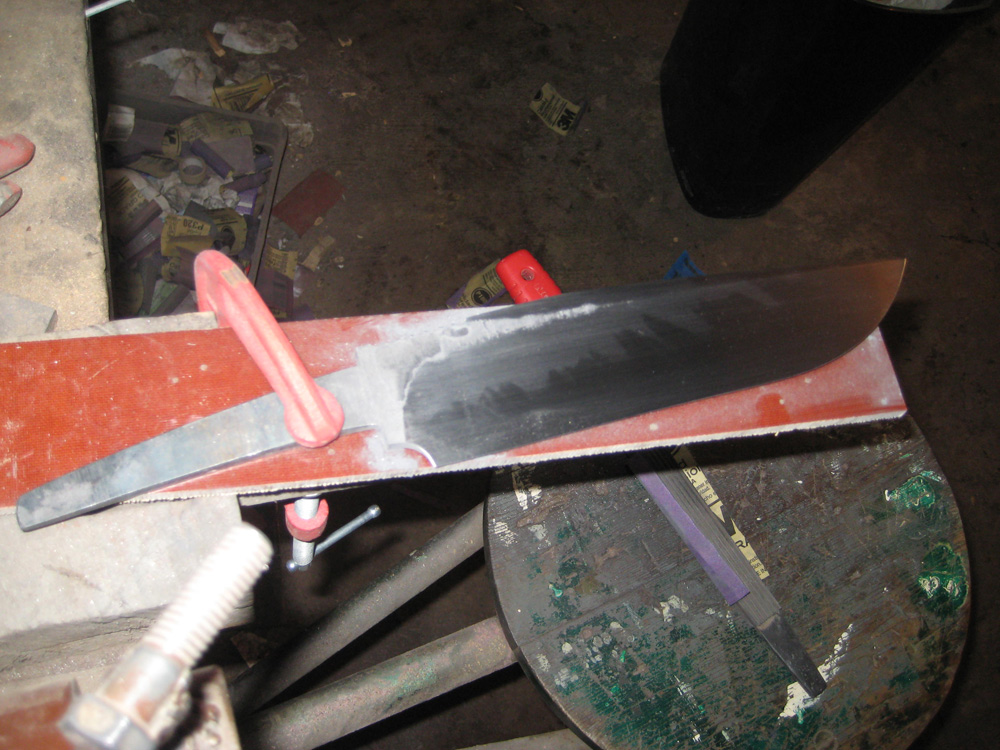
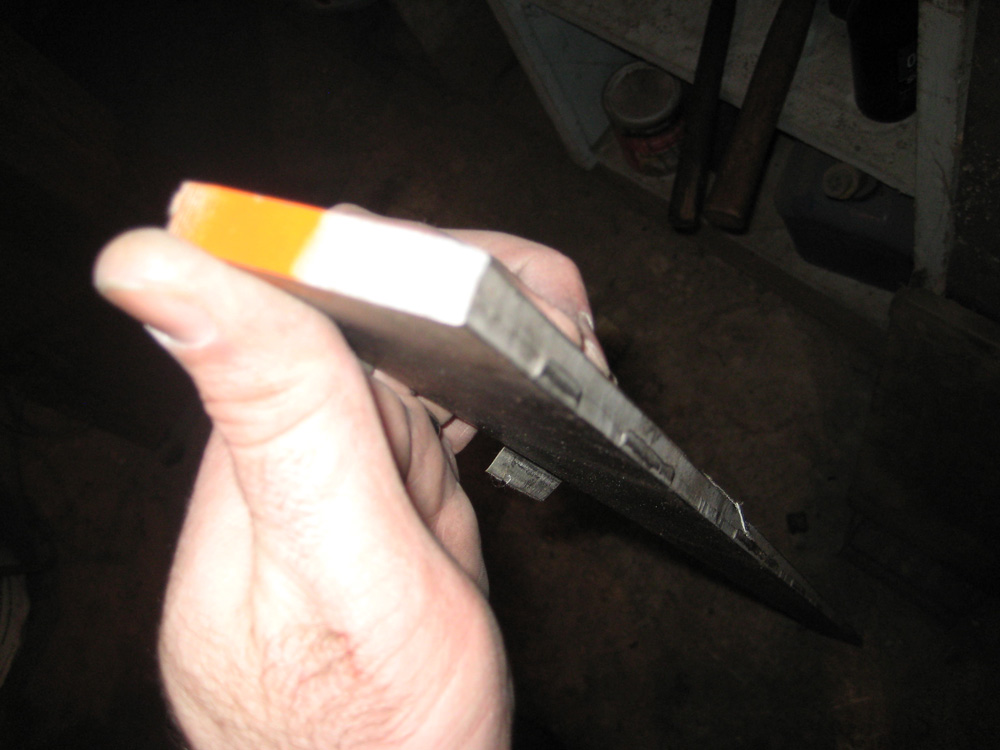
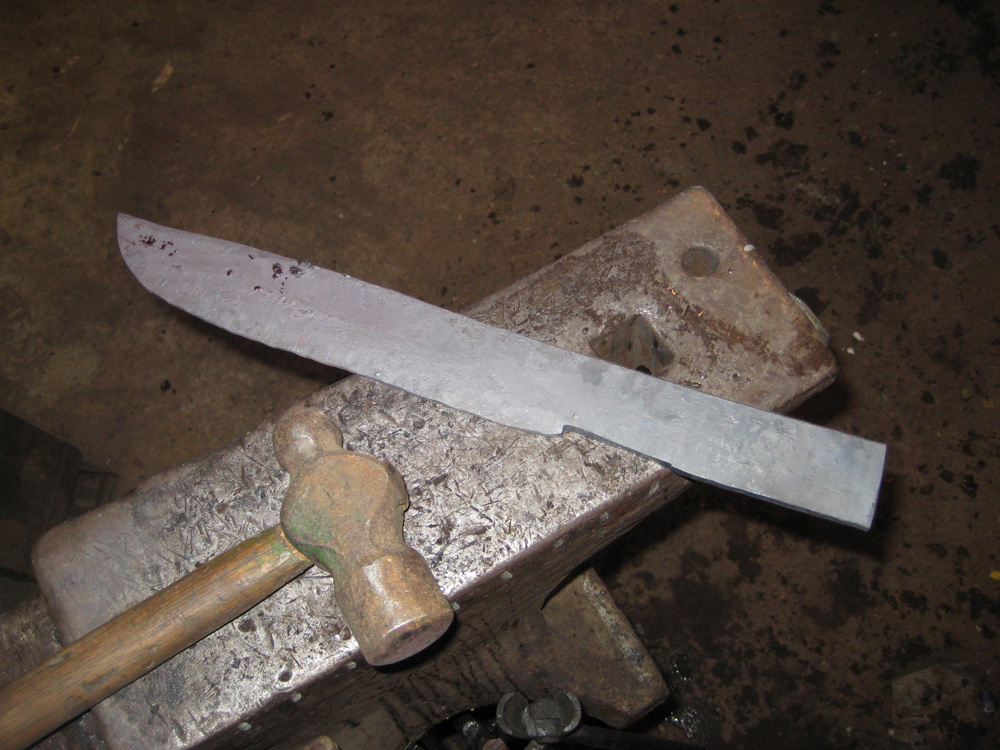
Here the bevels are forged in, and it is basically to shape. The little divot towards the back of the blade is a grinder mark I use to show me where the back of the blade should be when it is hot. It is probably not the best method, but it works for me. I also cut the tip in instead of forging it. Purists will think that is cheating, and it probably is, however I hate forging tips, I always get the fish lip thing. To keep that from happening I waste a little steel and cut the tip in. Once it is in, I still forge it a little to get it the shape I want it.
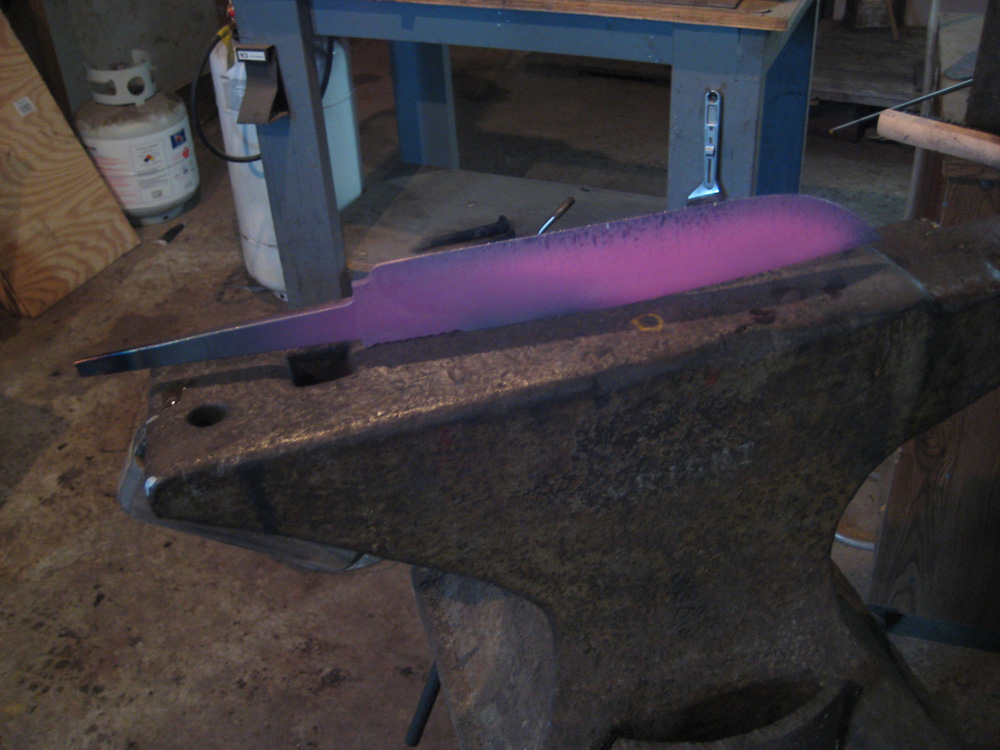
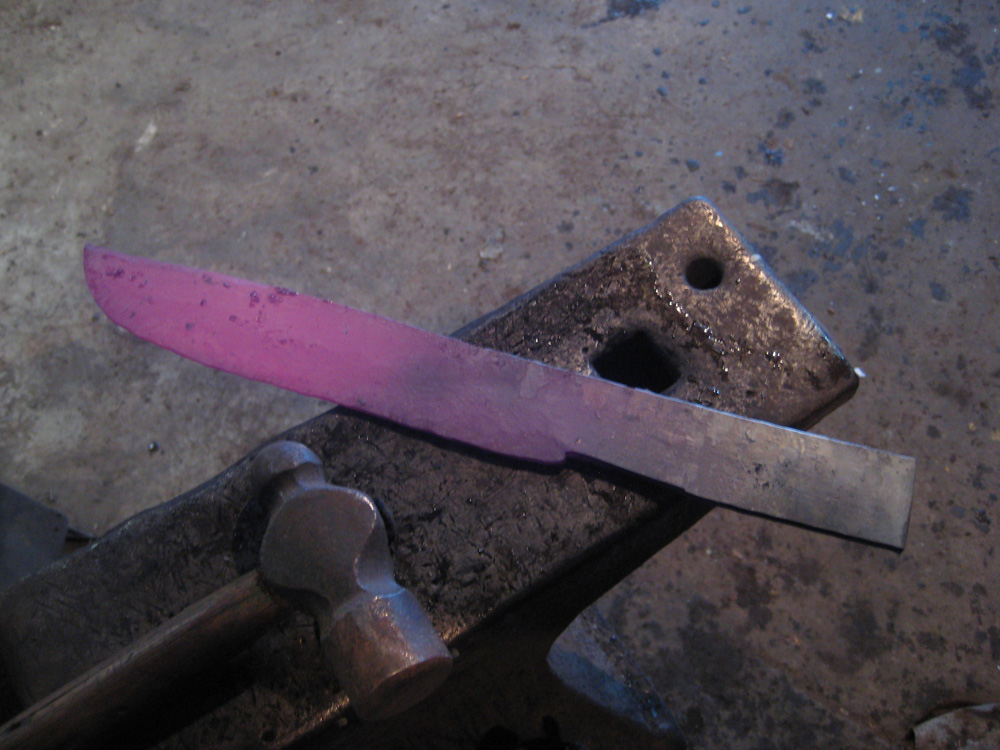
It is actually at a red heat there, but the flash makes it look black. I still have put the tang in it, but I had about enough for today. Here is one more picture of it without the flash so you can see the difference.
Ok, so I skipped a few steps
here. I profiled and ground the edges. It is a two
handed job and I could not take pictures of it. I also
created the tang of the knife. After doing all that, I filed
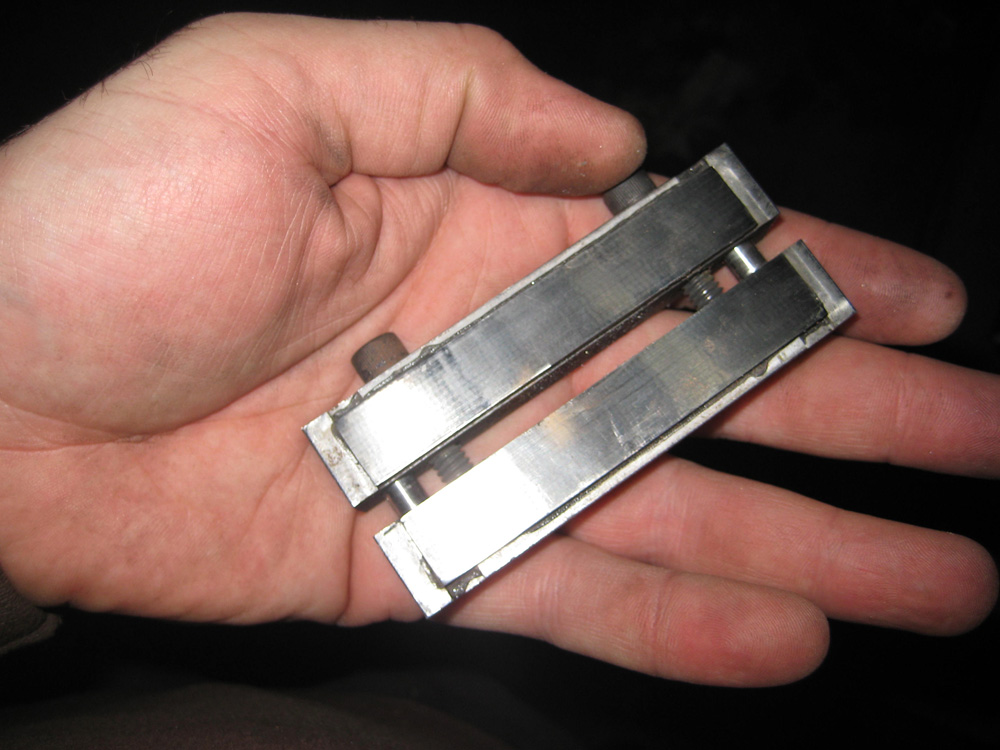
in the shoulders using my file guide. It has two carbide
inserts and I can file right down to them, and no further.
This assures me that I have very straight shoulders. I also use a
chainsaw file to make a radius where the tang meets the shoulders
to keep any stress points out of the blade. This is the file
guide.
I am now normalizing the blade. Forging puts a lot of stress in the steel, plus the temperatures I hit while forging make for a lot of grain growth. Normalizing reduces the grain size and takes the stresses out of the steel.
Just a shot with the flash so you can see the details of the knife so far.
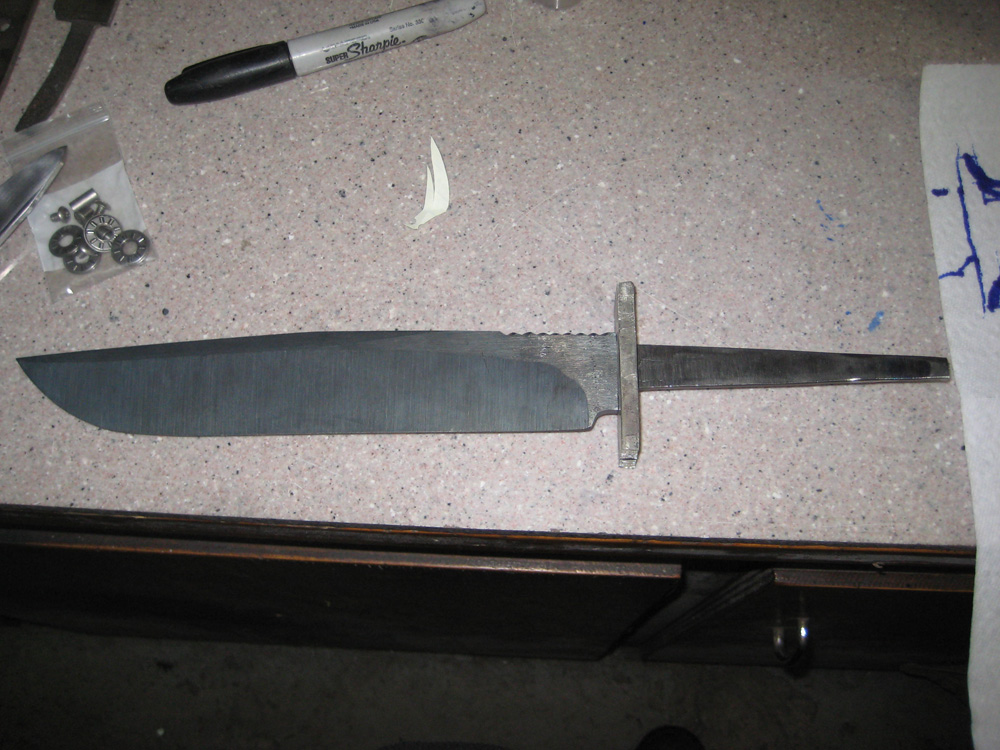
OK, so now I have to do my least favorite part, fitting up the guard. This one is getting nickel silver, so it is a little more difficult than the micarta ones I have been doing. It is just tedious and nit-picky, and I am not great at it. Here it is so far.
OK, so I skipped about a thousand steps. First, Jerry and I decided that the knife I was making was not "beefy" enough. I promised him one that would remove a limb, and the one I am making will be a great slicer, but seems too thin to me. It is probably just me being too picky, but I decided to get some different steel and try again. So just repeat the above steps and then heat treat with clay, and then you will have what I have here. It has been fitted up with a nickel silver guard and heat treated with Satanite clay for a very nice hamon. In the next photo, it has been fine sanded to about 600 grit on the grinder, and then hand sanded to 180 grit by hand.
Here is the steel I used from Aldo Bruno. Have I mentioned how awesome Aldo is? I ordered some 1/4" W2, and he sent me W2 that was about .400 thick. I called him and got someone in his office (an actual person). I mentioned that I was sent nearly twice the amount of steel I ordered, they seemed surprised that I was even mentioning it. I pressed it out on my press to make it about 1/4" thick and you will soon see the result.
I skipped the next
several steps. They were all hand sanding, and I didn't want
my website to be nominated for the top site for sending someone
into a coma. Basically it works like this... I hand sand with
180 lengthwise, then 220 at an angle to make sure I got out all the
180 grit scratches. Then 400 lengthwise, then 600 angled,
then 1000 lengthwise, then 2000. After that I
etch.
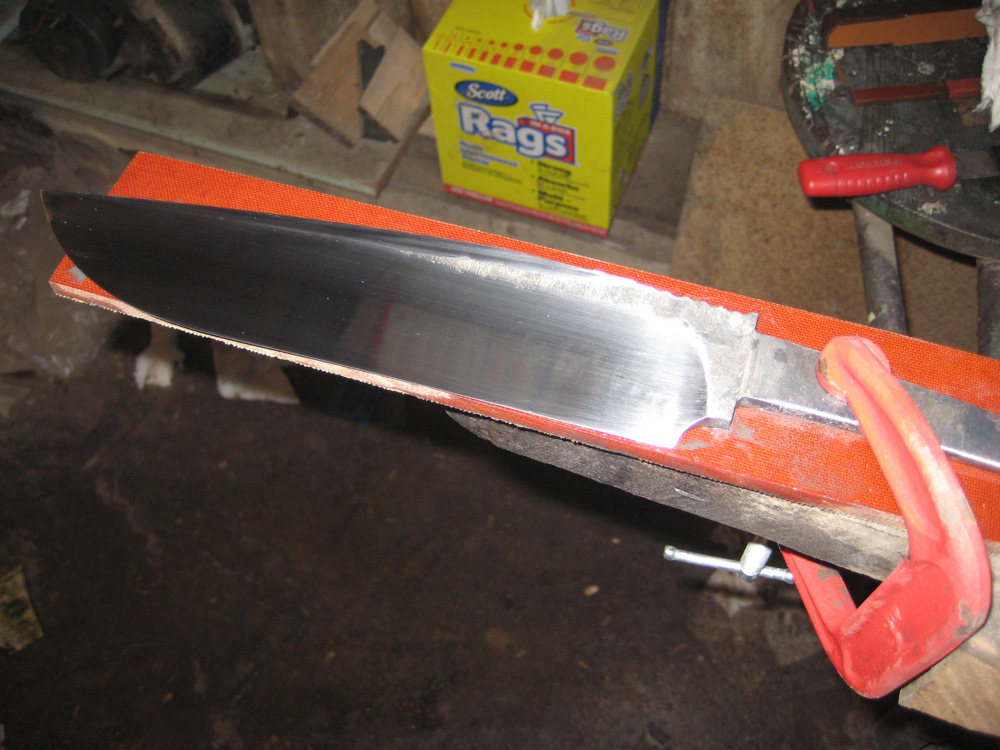
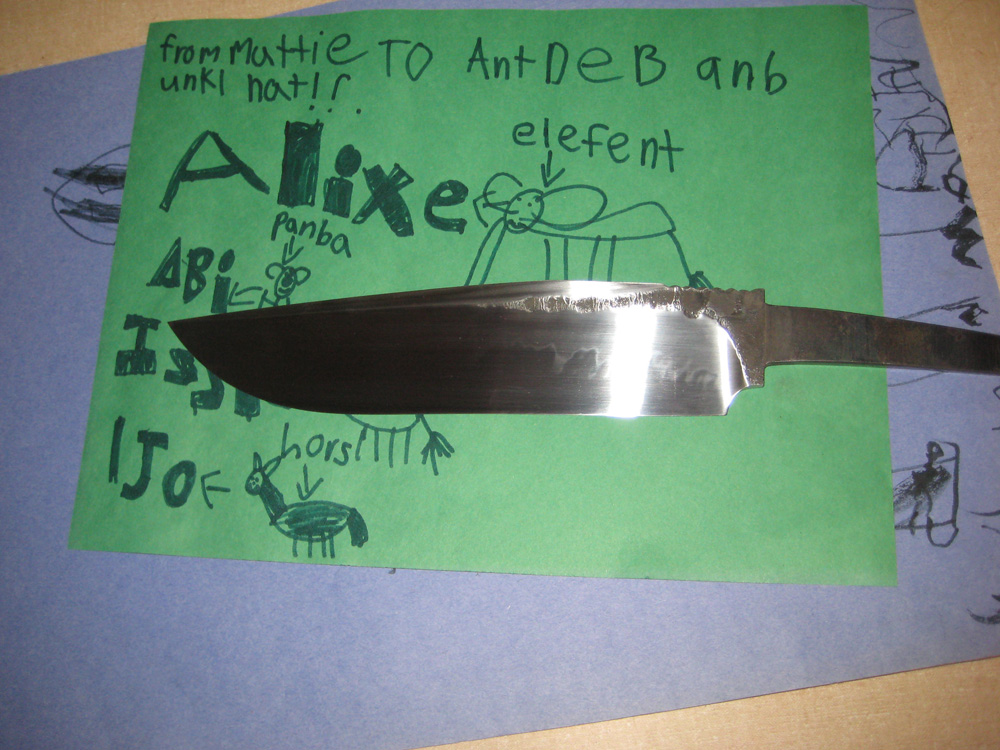
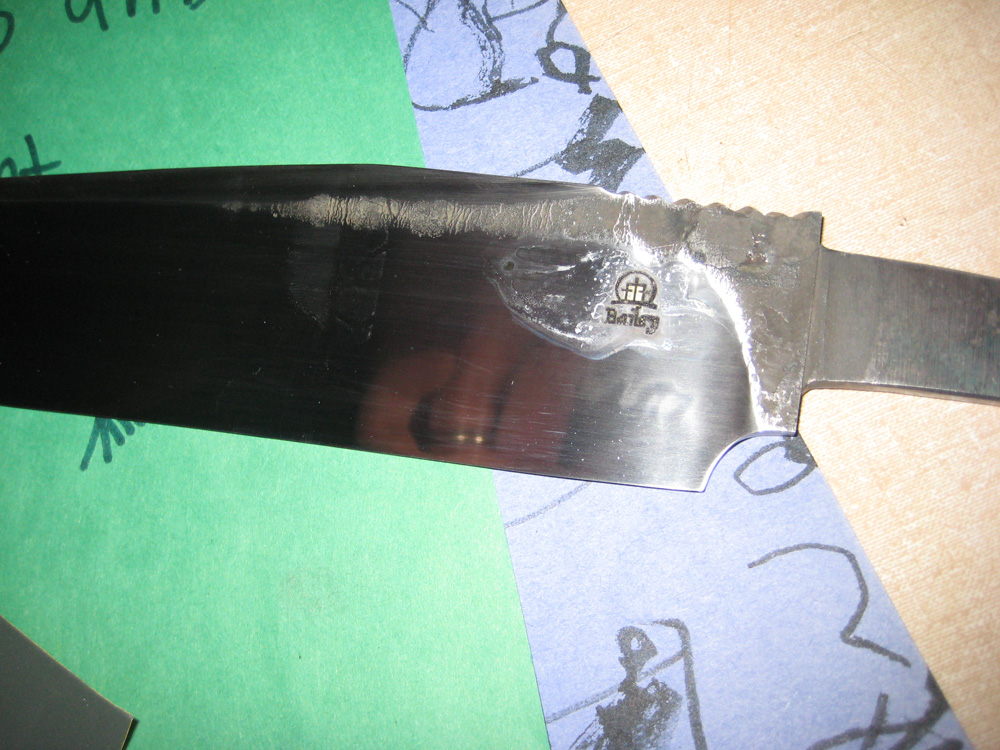
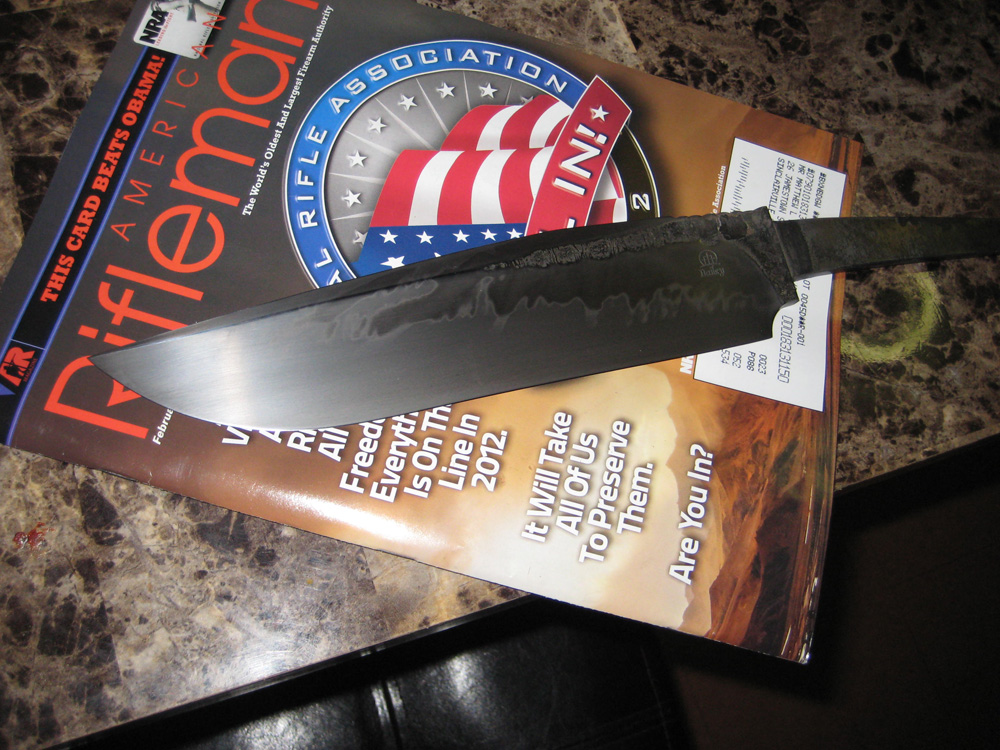
Here it is hand sanded to 2000 grit. See the difference from the last picture? With the exception that it is sitting on some of my daughter's artwork, neither do I...at least in the picture. I can see the hamon in the right light, but it does not really reveal itself in the pictures very well. You might be able to see it in the pictures, However, when I develop the hamon with the etchant, the difference will be noticeable.
Here it is getting ready for my logo. I built an etcher from the plans on Chris Crawford's site. I ordered my stencils from TUS tech. Once I get it all etched, I will be able to catch my fingernail in the groove made from etching. It will be there for a long time.
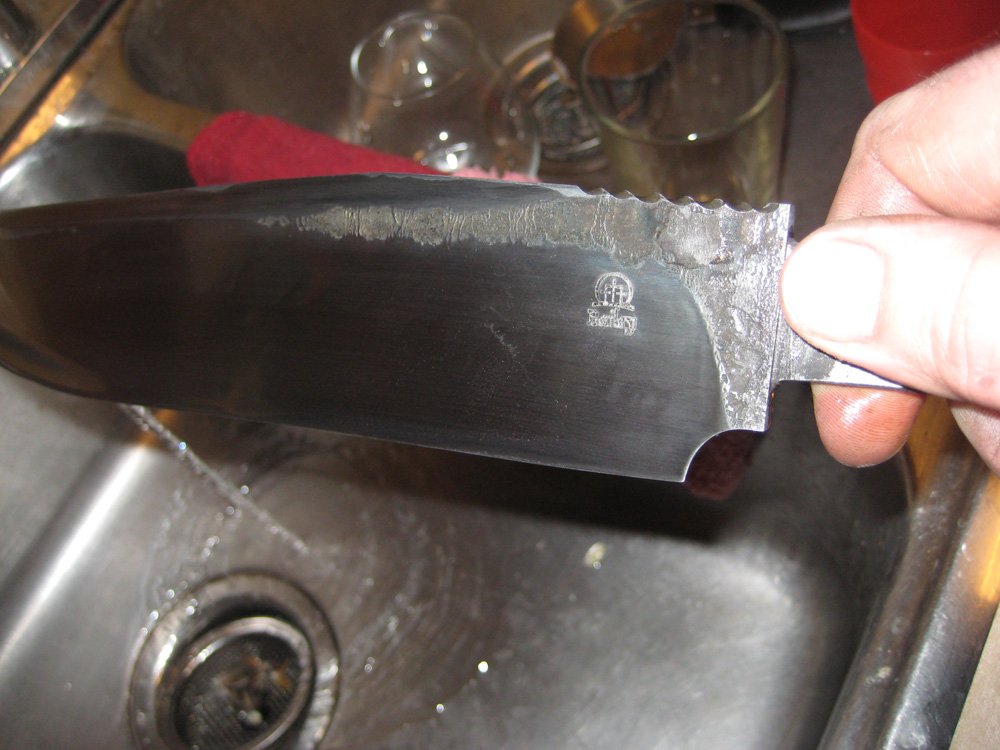
Here it is just after the etch. It is a bit cloudy, but I will touch it up with some 2000 grit sandpaper.
Here it is all sanded.
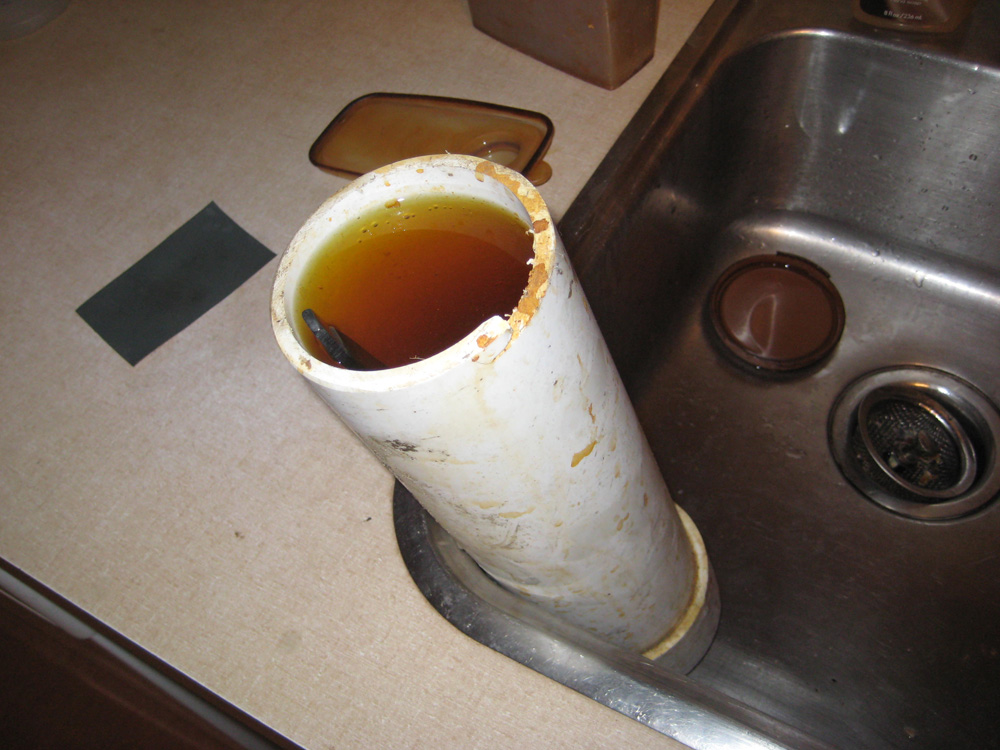
In the ferric chloride. I had to use the pvc tube I made, because the normal tupperware that I have was not deep enough to cover the whole knife.
In the ferric, out and
sand with 2000 sandpaper, in the ferric, out and sand, in and out,
lather, rinse, repeat...
After the last time out
of the ferric, when it is about where I want it, I sand it one last
time with the 2000, spray it with windex with ammonia to neutralize
the ferric, then I take a paper towel, wet it and wrap it around a
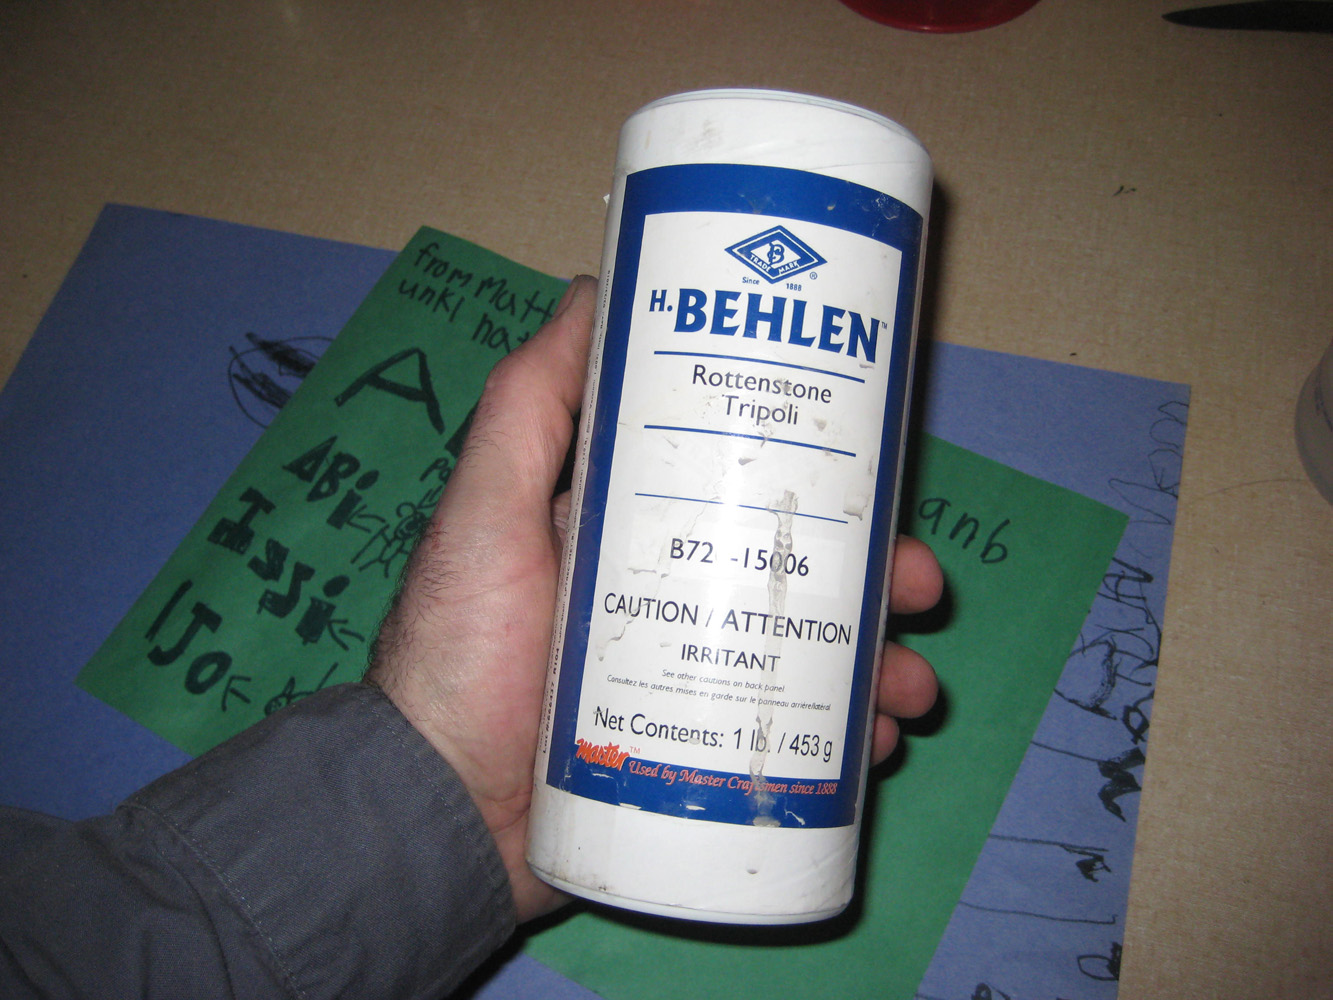
wooden ruler and sprinkle some rottenstone on it. Rottenstone
is a very, very fine powdered abrasive. It cleans up any of
the oxidation caused from the ferric, and really reveals the fine
details of the hamon.
Here it is all etched and sanded. If you can't see the hamon now, you might want to schedule and eye appointment and start training your dog to help you cross the street, because you eyes have stopped working. This is just a quick snapshot of it also. With the right lighting and backdrop, that hamon will absolutely pop! I am really excited about this one. My wife actually told me to stop playing with the knife and pay attention to her.
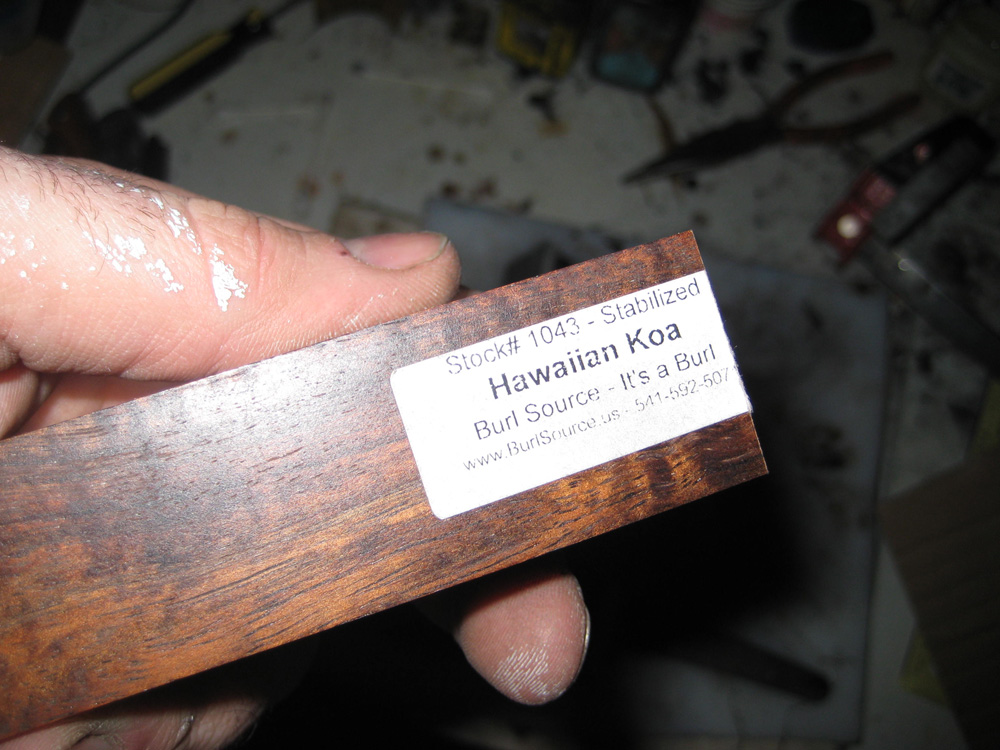
OK, I guess I might have skipped a few more boring steps. Let me tell you what I have done, and you can see the results. I milled out some nickel silver for a guard, then some black micarta for a spacer, some more nickel silver, more black micarta, and finally I had some stabilized curly koa on order from Burlsource. It came in, so I got to the task of hollowing out the hole for the tang. It is a fairly tedious process, and I am not great at it. I outline the tang on the outside of the block, then set it up in my drill press and drill following the basic angles of the tang. I drill several holes, then connect them with a handle broach that I made out of a jigsaw blade. This process involves a lot of scraping, and fitting, and more scraping. Finally, when the handle is snug, I tap it all together with a hammer and drill the pin hole. It goes through the tang and will hold it all very tightly together. I also used a little cut off of the koa as a spacer.
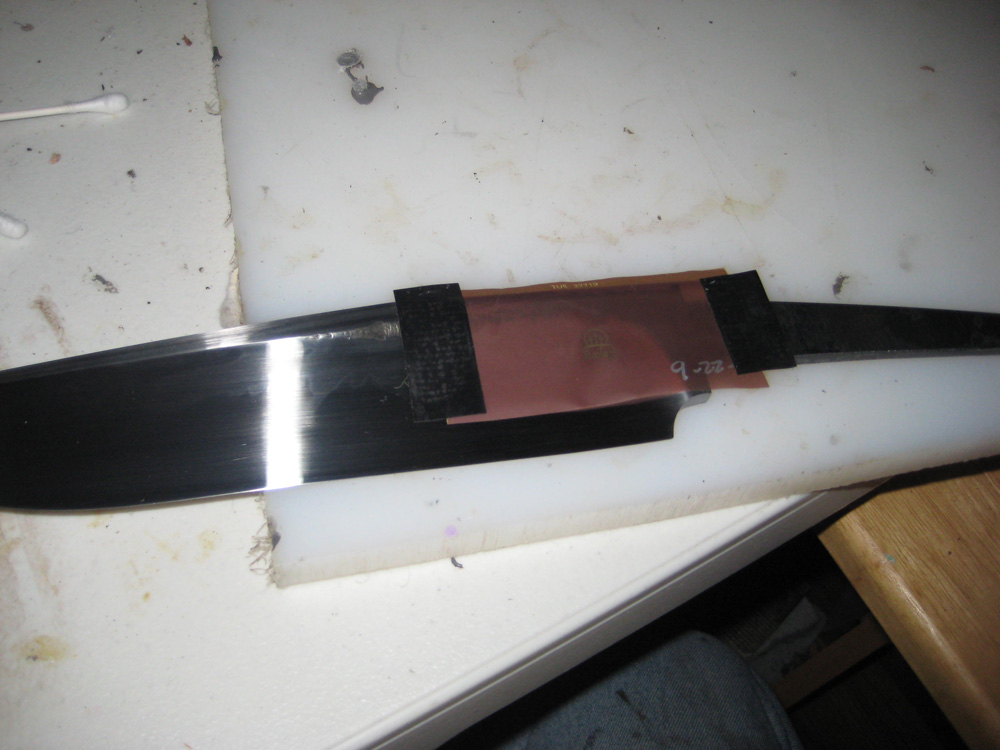
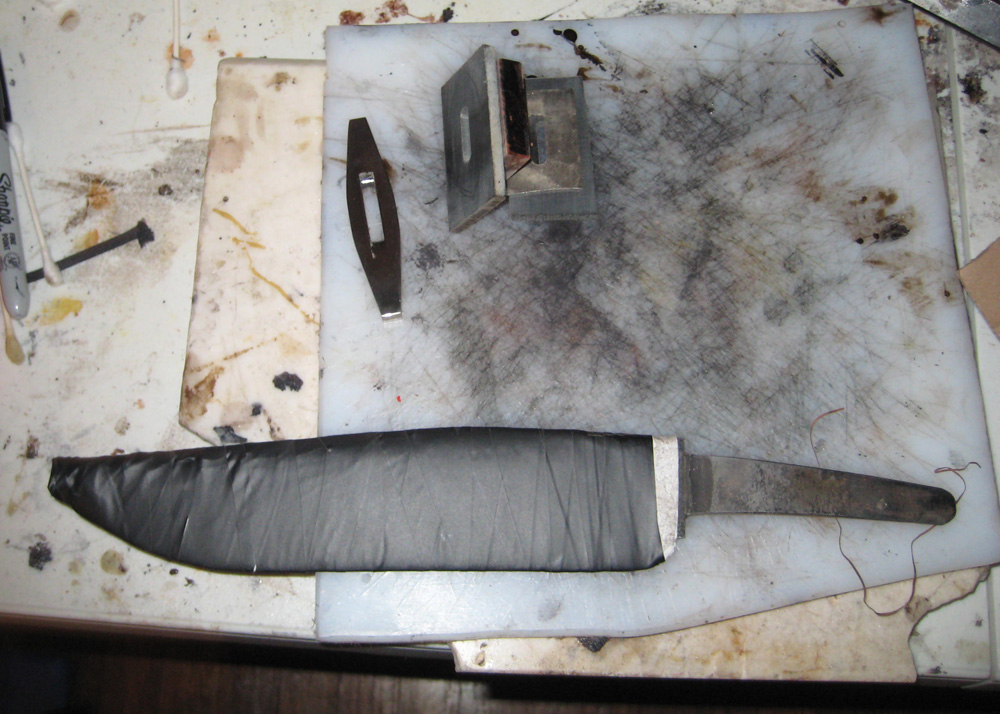
I have the blade
wrapped in a paper towel and then wrapped in electrical tape.
I just spent about a half a day hand sanding it and I would rather
not put any major scratches in it. The next shot is the koa
from Burlsource.
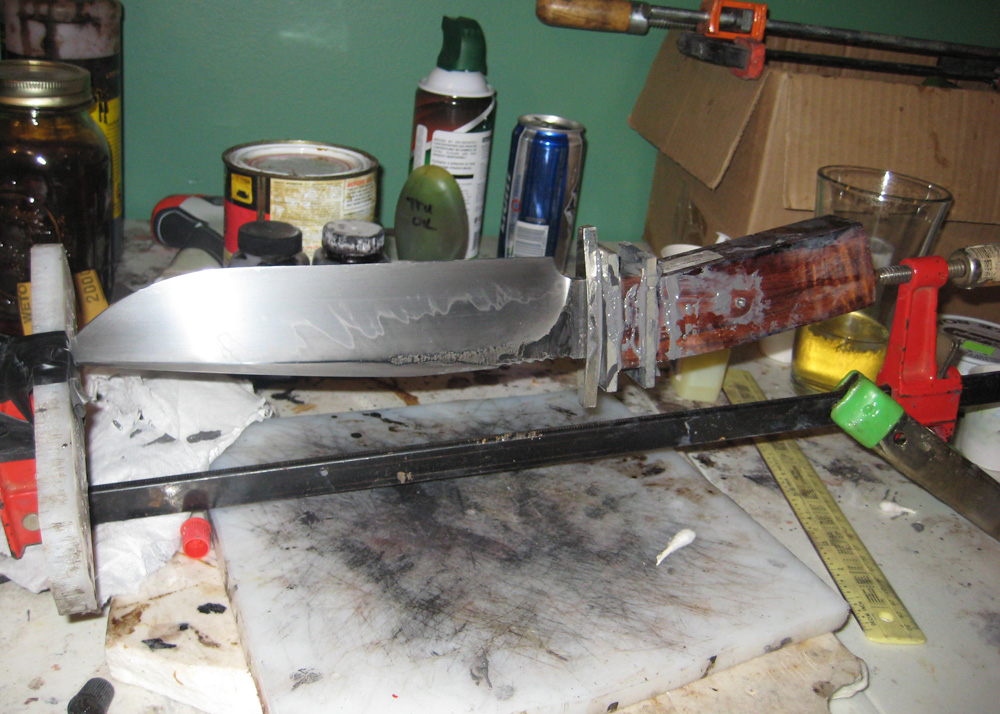
Now, I use JB weld to hold everything together, along with the pin, it will never come apart. I know because I have had to remove a handle after I screwed it up, and it took me about a half an hour with a hammer and chisel to tear it apart. I had to borrow a bar clamp from my friend, because mine was a little too small for this knife. I mixed up a lot of the JB weld and put it between all the layers, then filled up the tang hole with it. I put in a temporary pin in it that is coated with vaseline so I can remove it after it is all set up. I do this so that I can sand and sculpt the handle, then countersink the hole a little, and put in a permanent pin that I will peen over to fill the countersink. That way it will never come out, and if I do it right, it is slightly domed also.
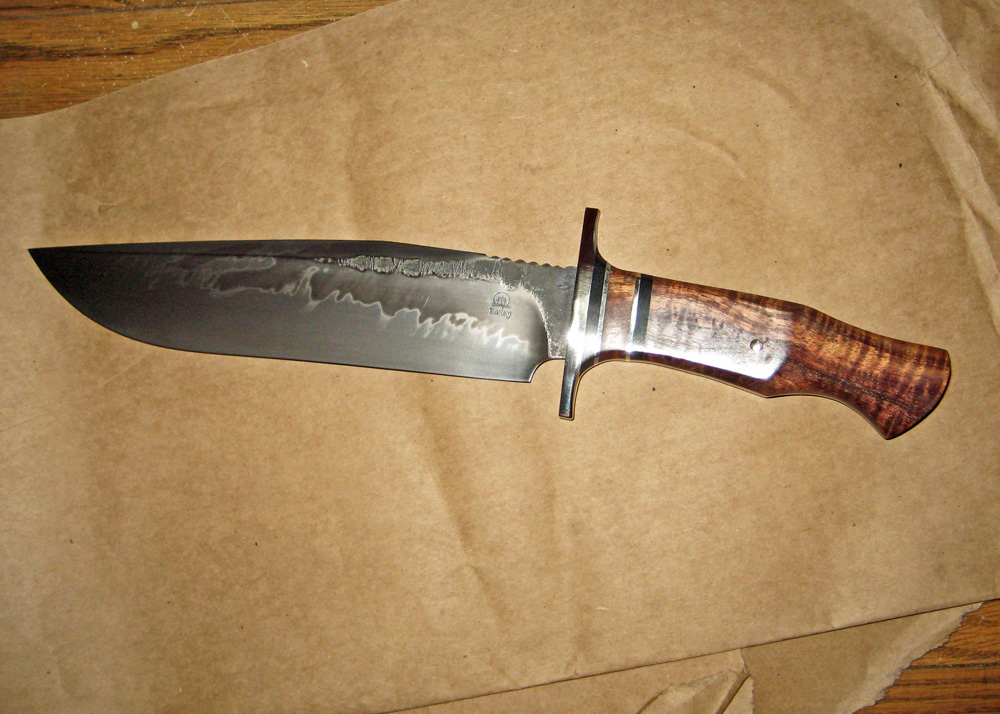
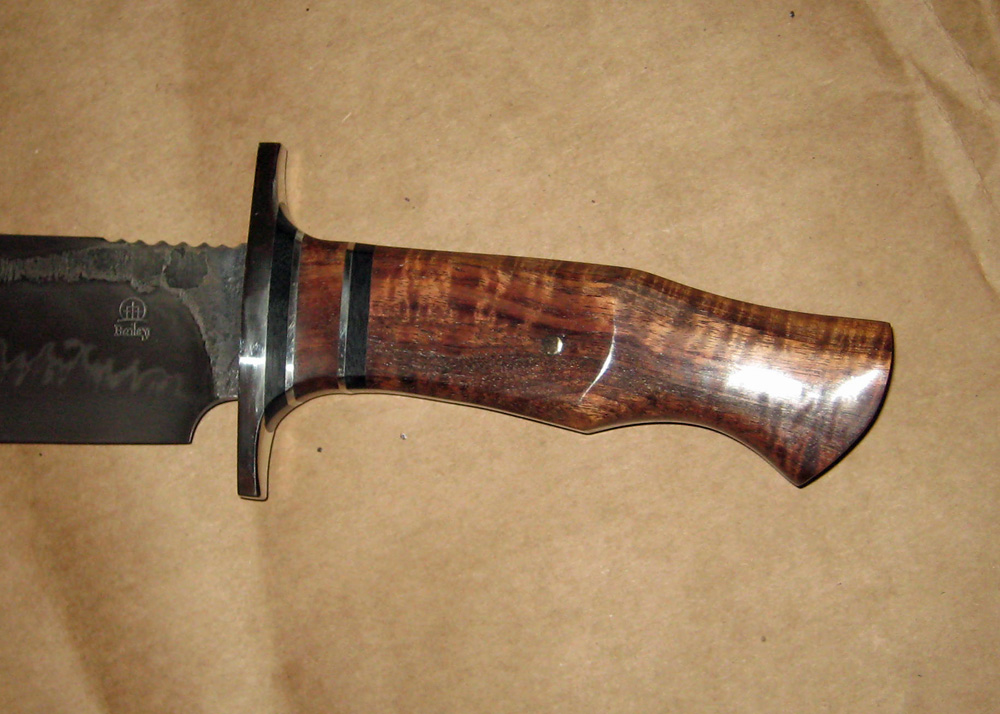
I spent the last few hours in the shop, and this is what I accomplished. I basically rough grind the handle shape on my 10 inch wheel and 2 inch wheel. After I get the basic shape down, I attack it with files and rasps. Next, I go over the whole thing with sandpaper, from 180 grit, all the way up to 800 grit. Then I buff it. The nickel silver takes some time to get out the scratches, but it is not nearly as bad as stainless. The Koa really polishes up well on the buffer after I sand it to 800. I keep going over it and touching up here and there to make sure all my lines are symmetrical. This is the result.
That was just a quick
snapshot to show it off. I still have to start the sheath and
then take decent pictures of it. Here is a closer shot of the
handle.
For this next part, I
am not going to get too detailed, because I already have a sheath
tutorial/WIP. I kind of wanted to document this one though
because I am trying a completely different style of sheath that I
have never tried before. I started it the same way that I had
done on the other WIP, and made a pattern on paper. This one
has several components, and I had a lot of little pieces to cut out
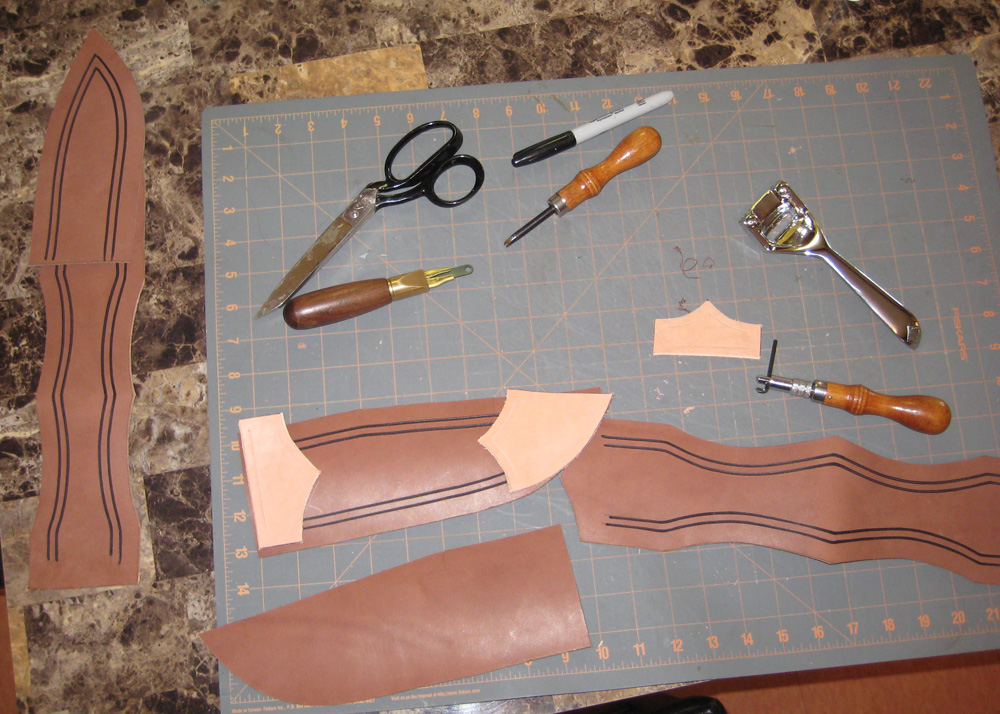
and stitch together. Here are the pieces. The long
piece on the left is for another sheath I am working on at the same
time.
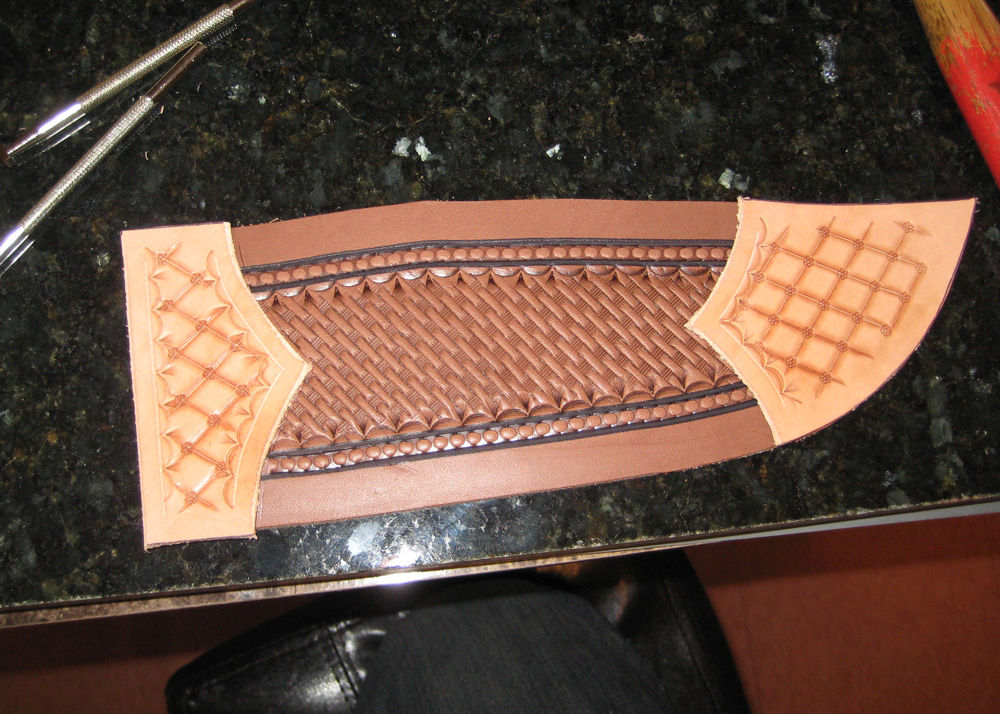
Here it is with some tooling on the main piece and the accent pieces.
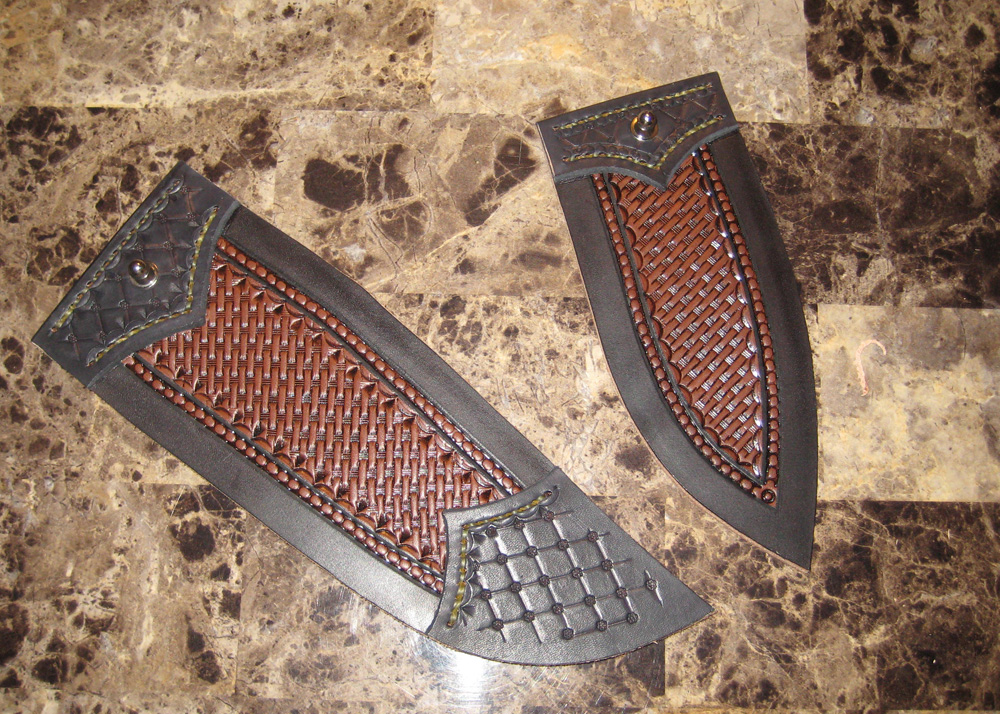
And here are the parts
all dyed and fit up. I had to stitch the accent pieces on it
also (by hand, I wish I had a machine) and I did this after I added
the Sam Brown stud.
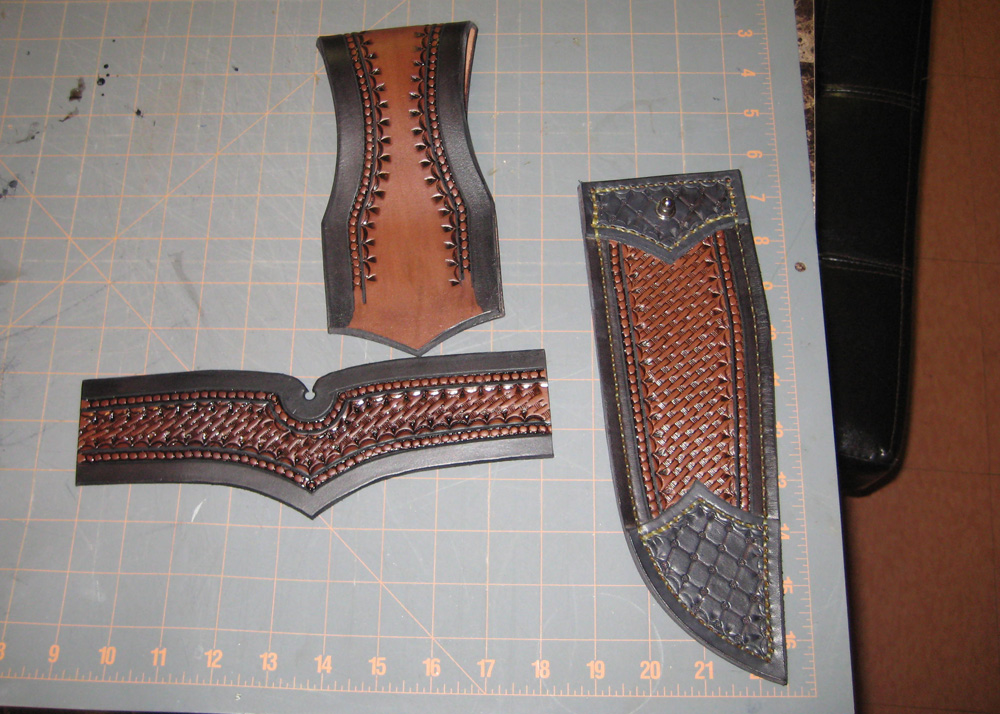
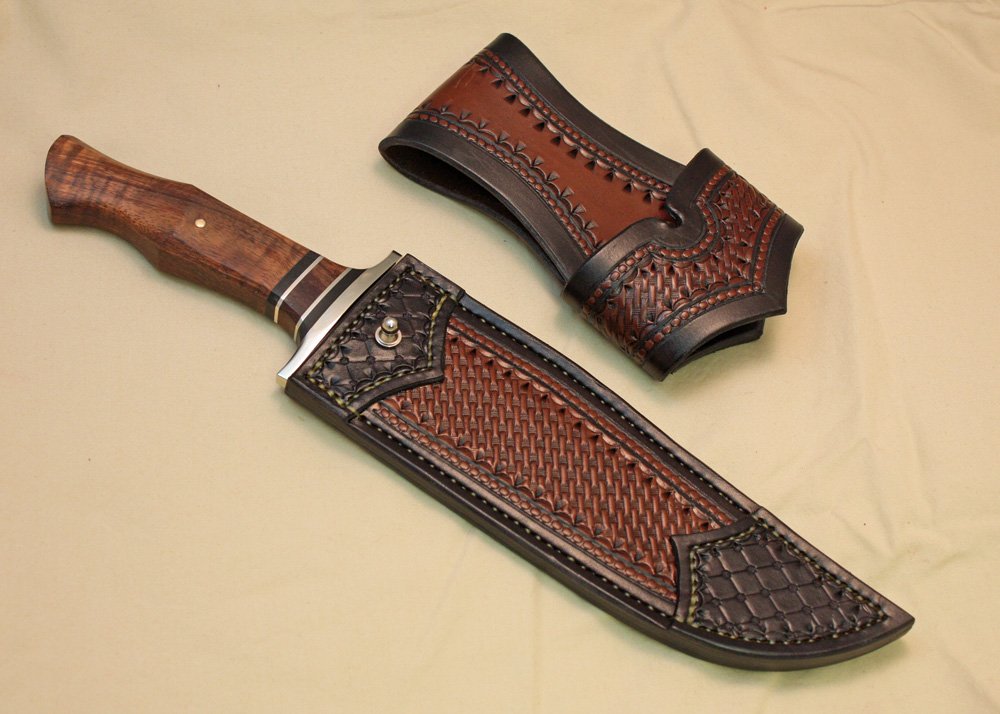
The sheath is going to
be a blade sheath with a detachable belt loop. Here are the
pieces for the belt loop. The blade portion has been grooved
and hand stitched. I can hand stitch a sheath this large in
about 35 minutes, possibly a bit longer, but I would be able to do
it in about one minute with a machine.
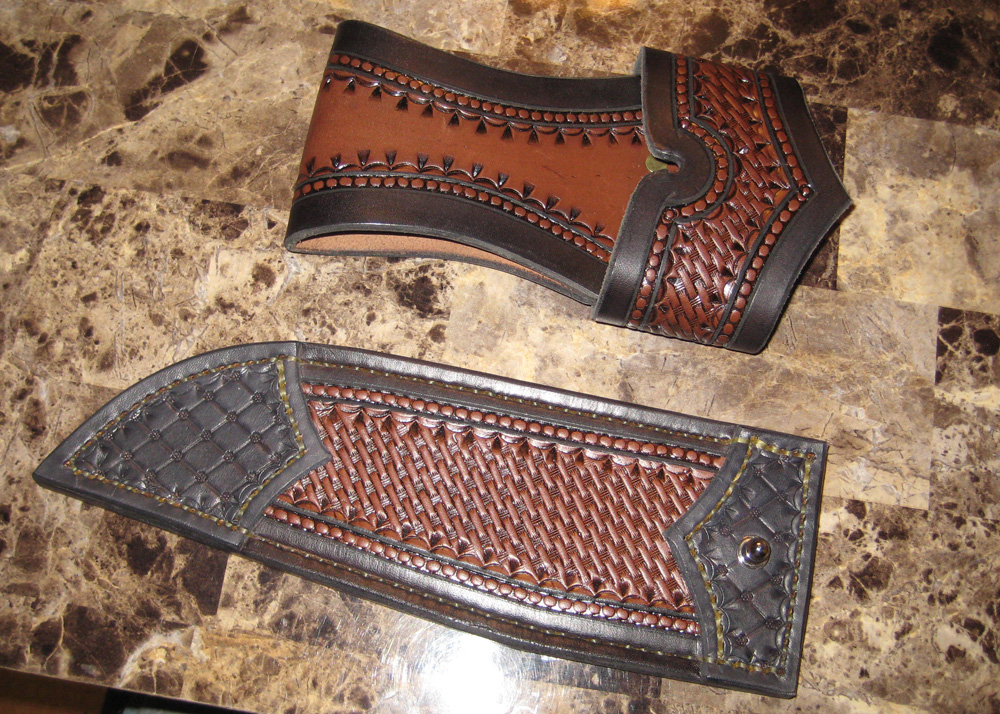
It took some thinking and some crafty use of my arbor press to figure out how to attach the sheath loop to the belt loop. If you aren't sure what I am talking about, here it is. I am sure I am not using the correct terminology.
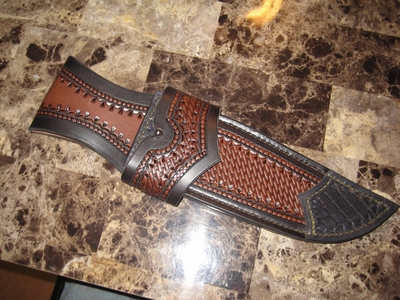
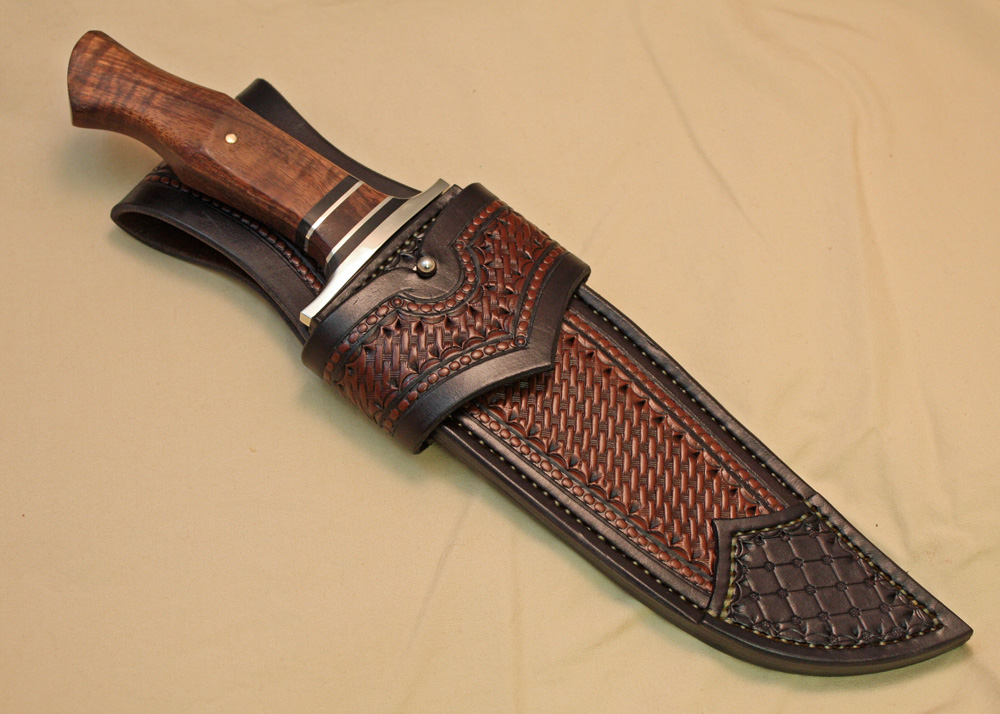
I placed the whole thing in the sheen to give it more of a luster, and it is in the food dehydrator now drying off. Here it is all together. I will take some pictures of the whole package with the correct lighting. Here is the sheath all together. I am pretty happy with how it turned out.
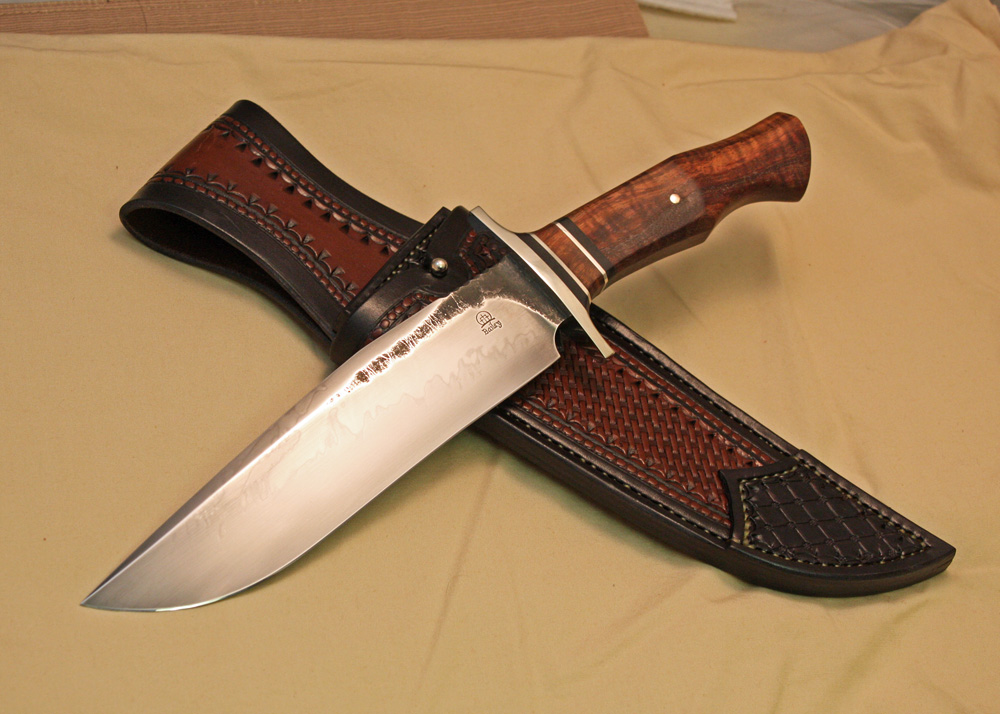
OK, the knife is
finished, and actually delivered to the customer. I am pretty
sure he liked it, especially after I showed him how it would shave
my arm as smooth as a baby's butt with one pass. Here are a
few pics of the completed knife.